


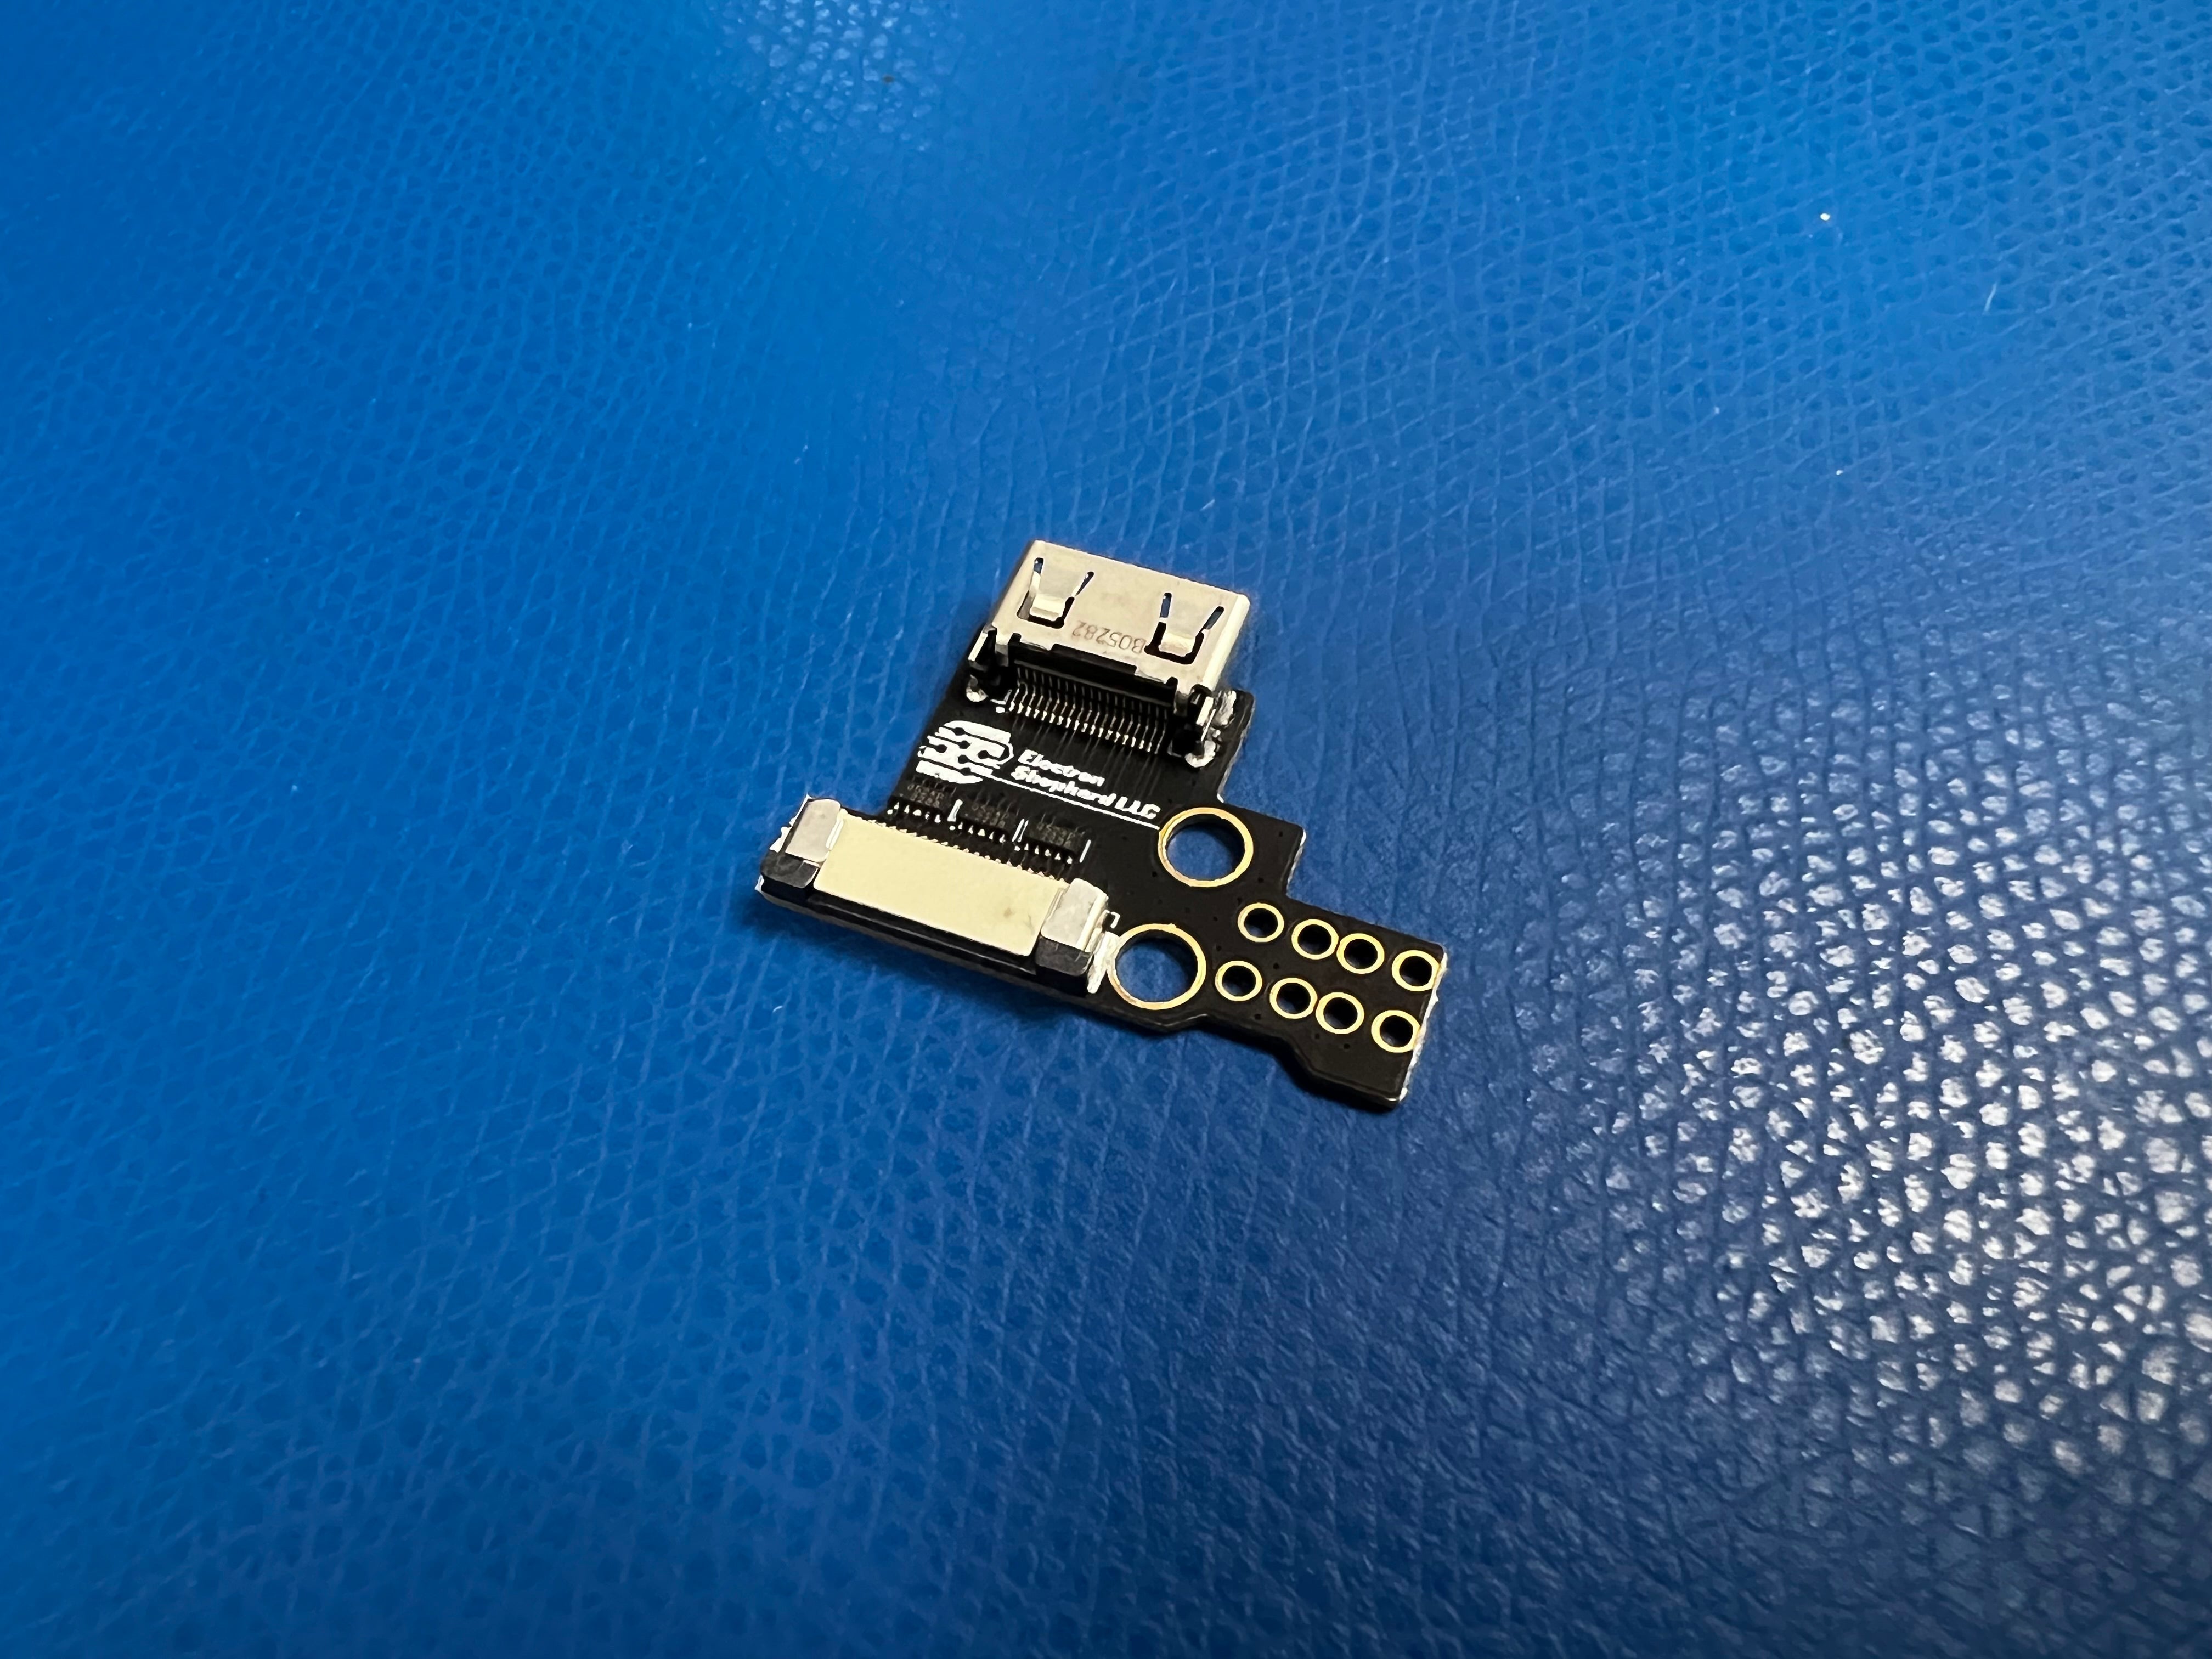
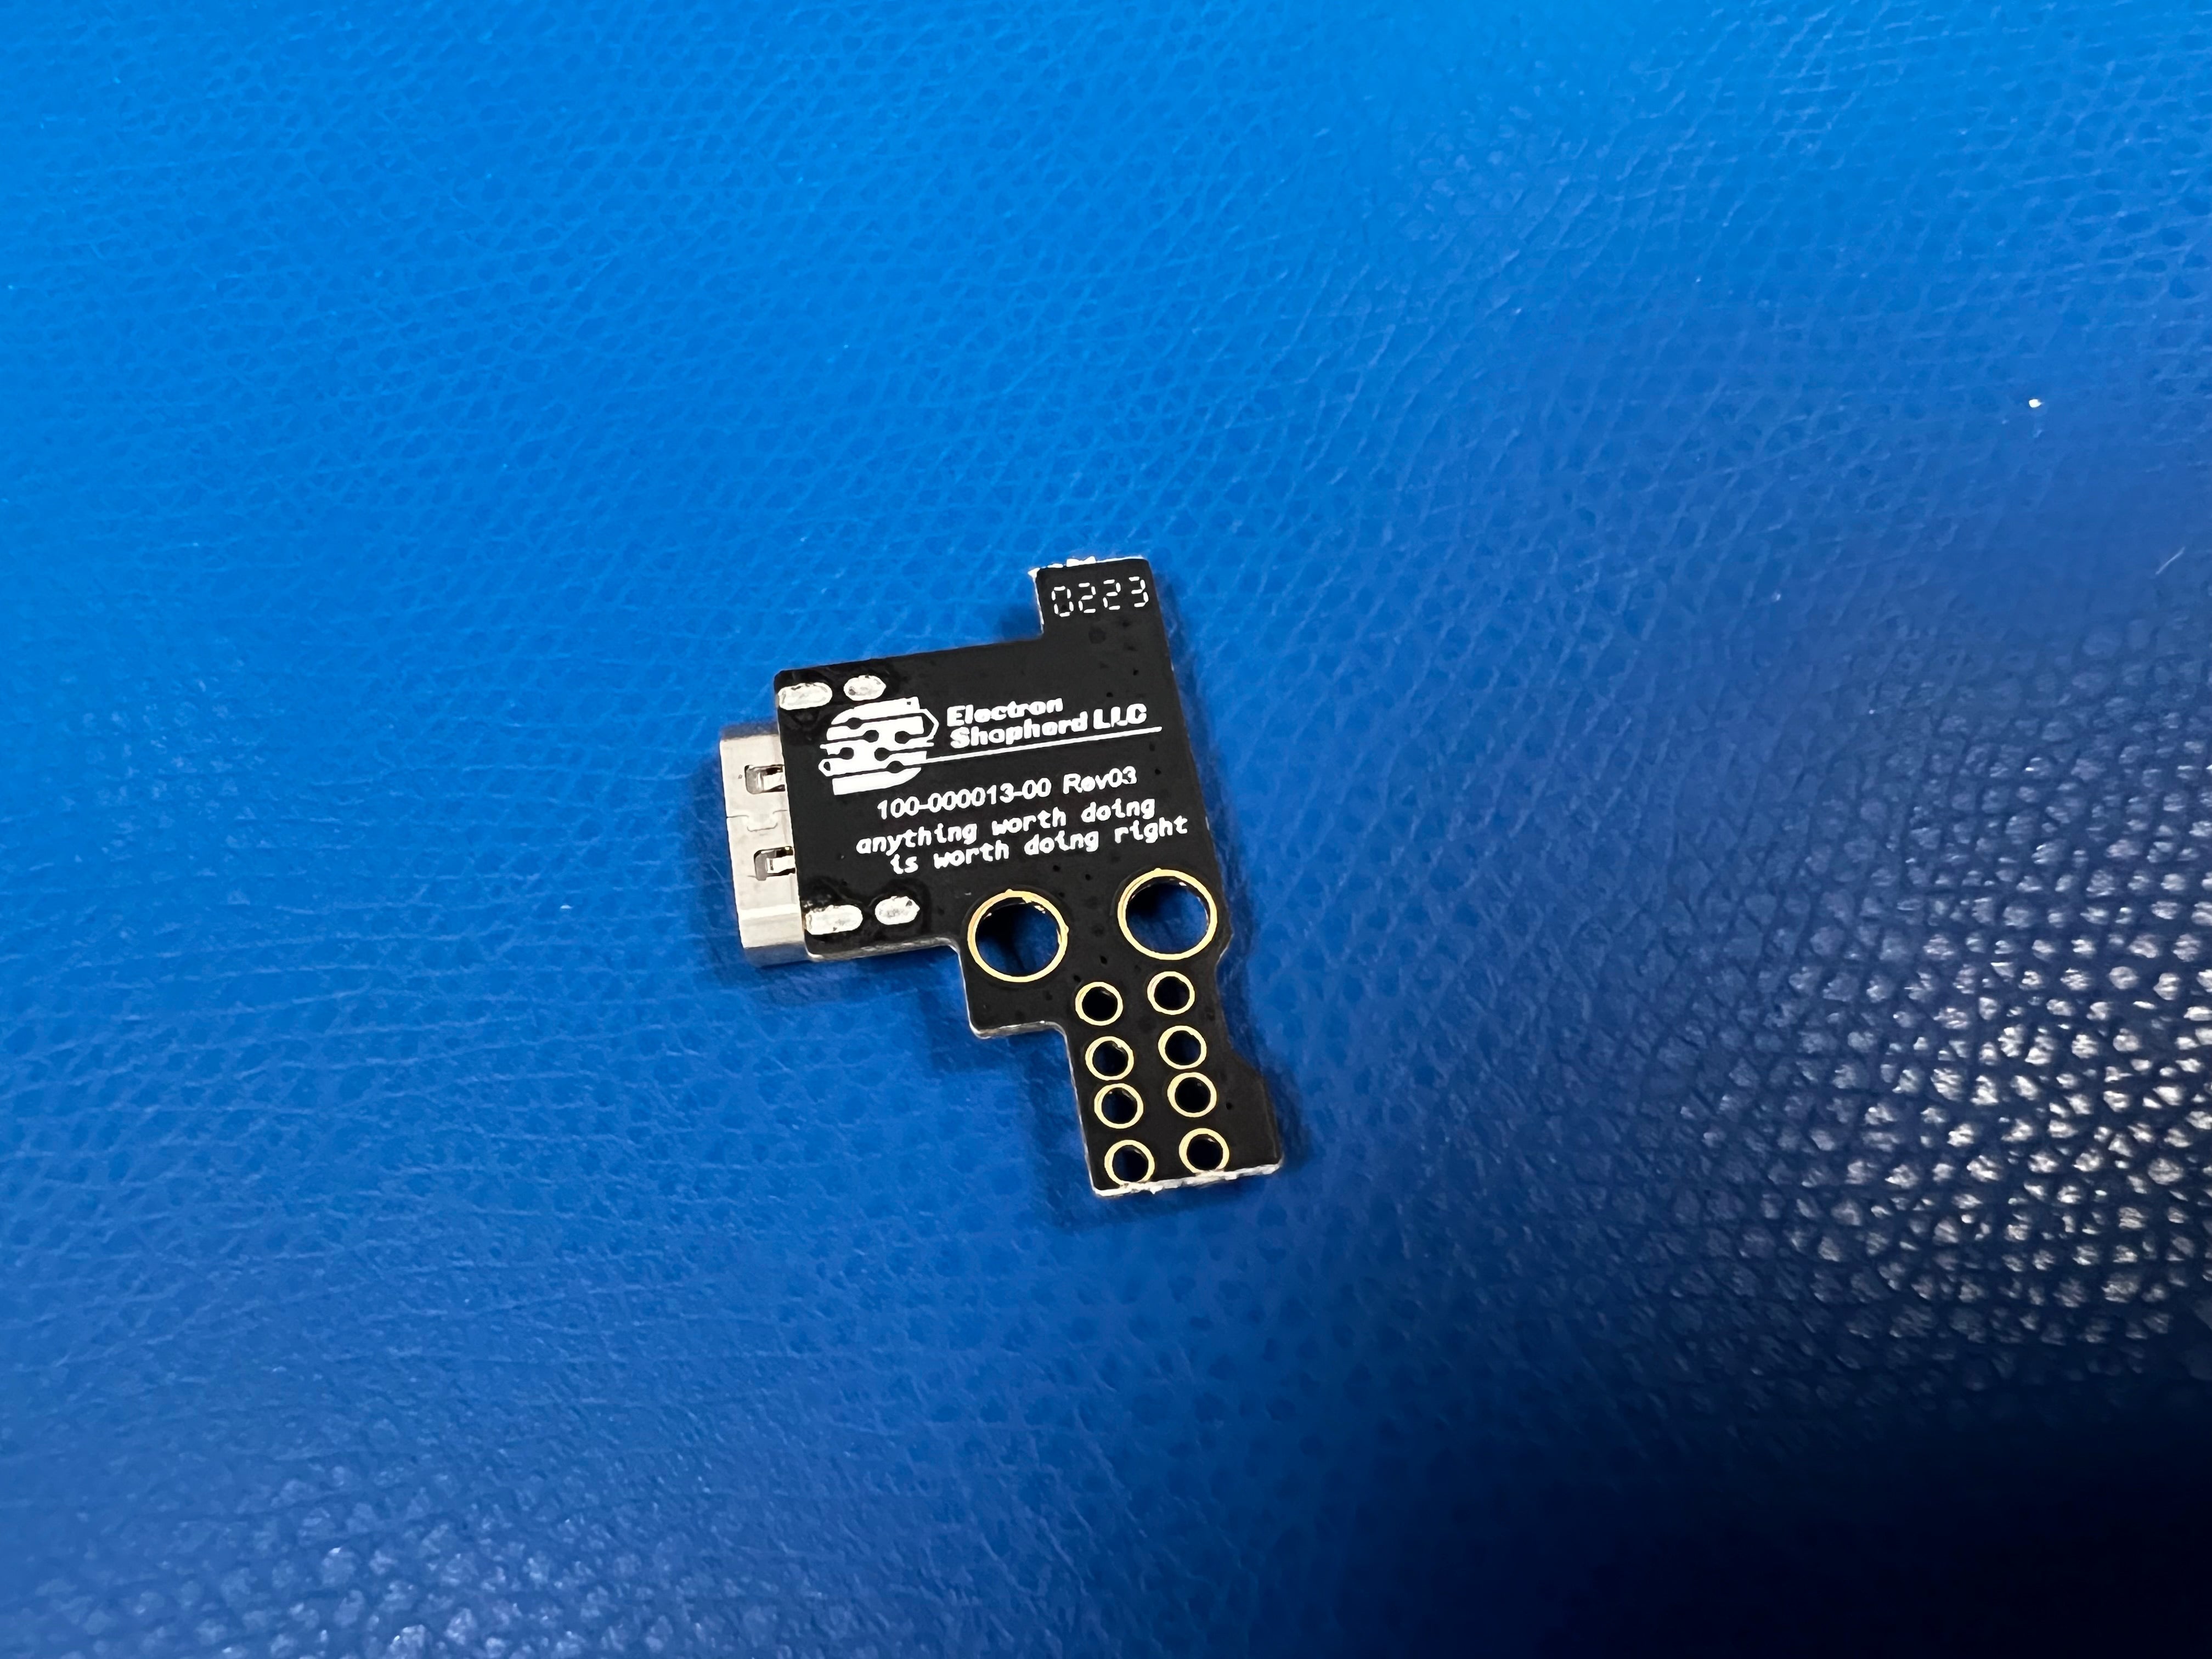
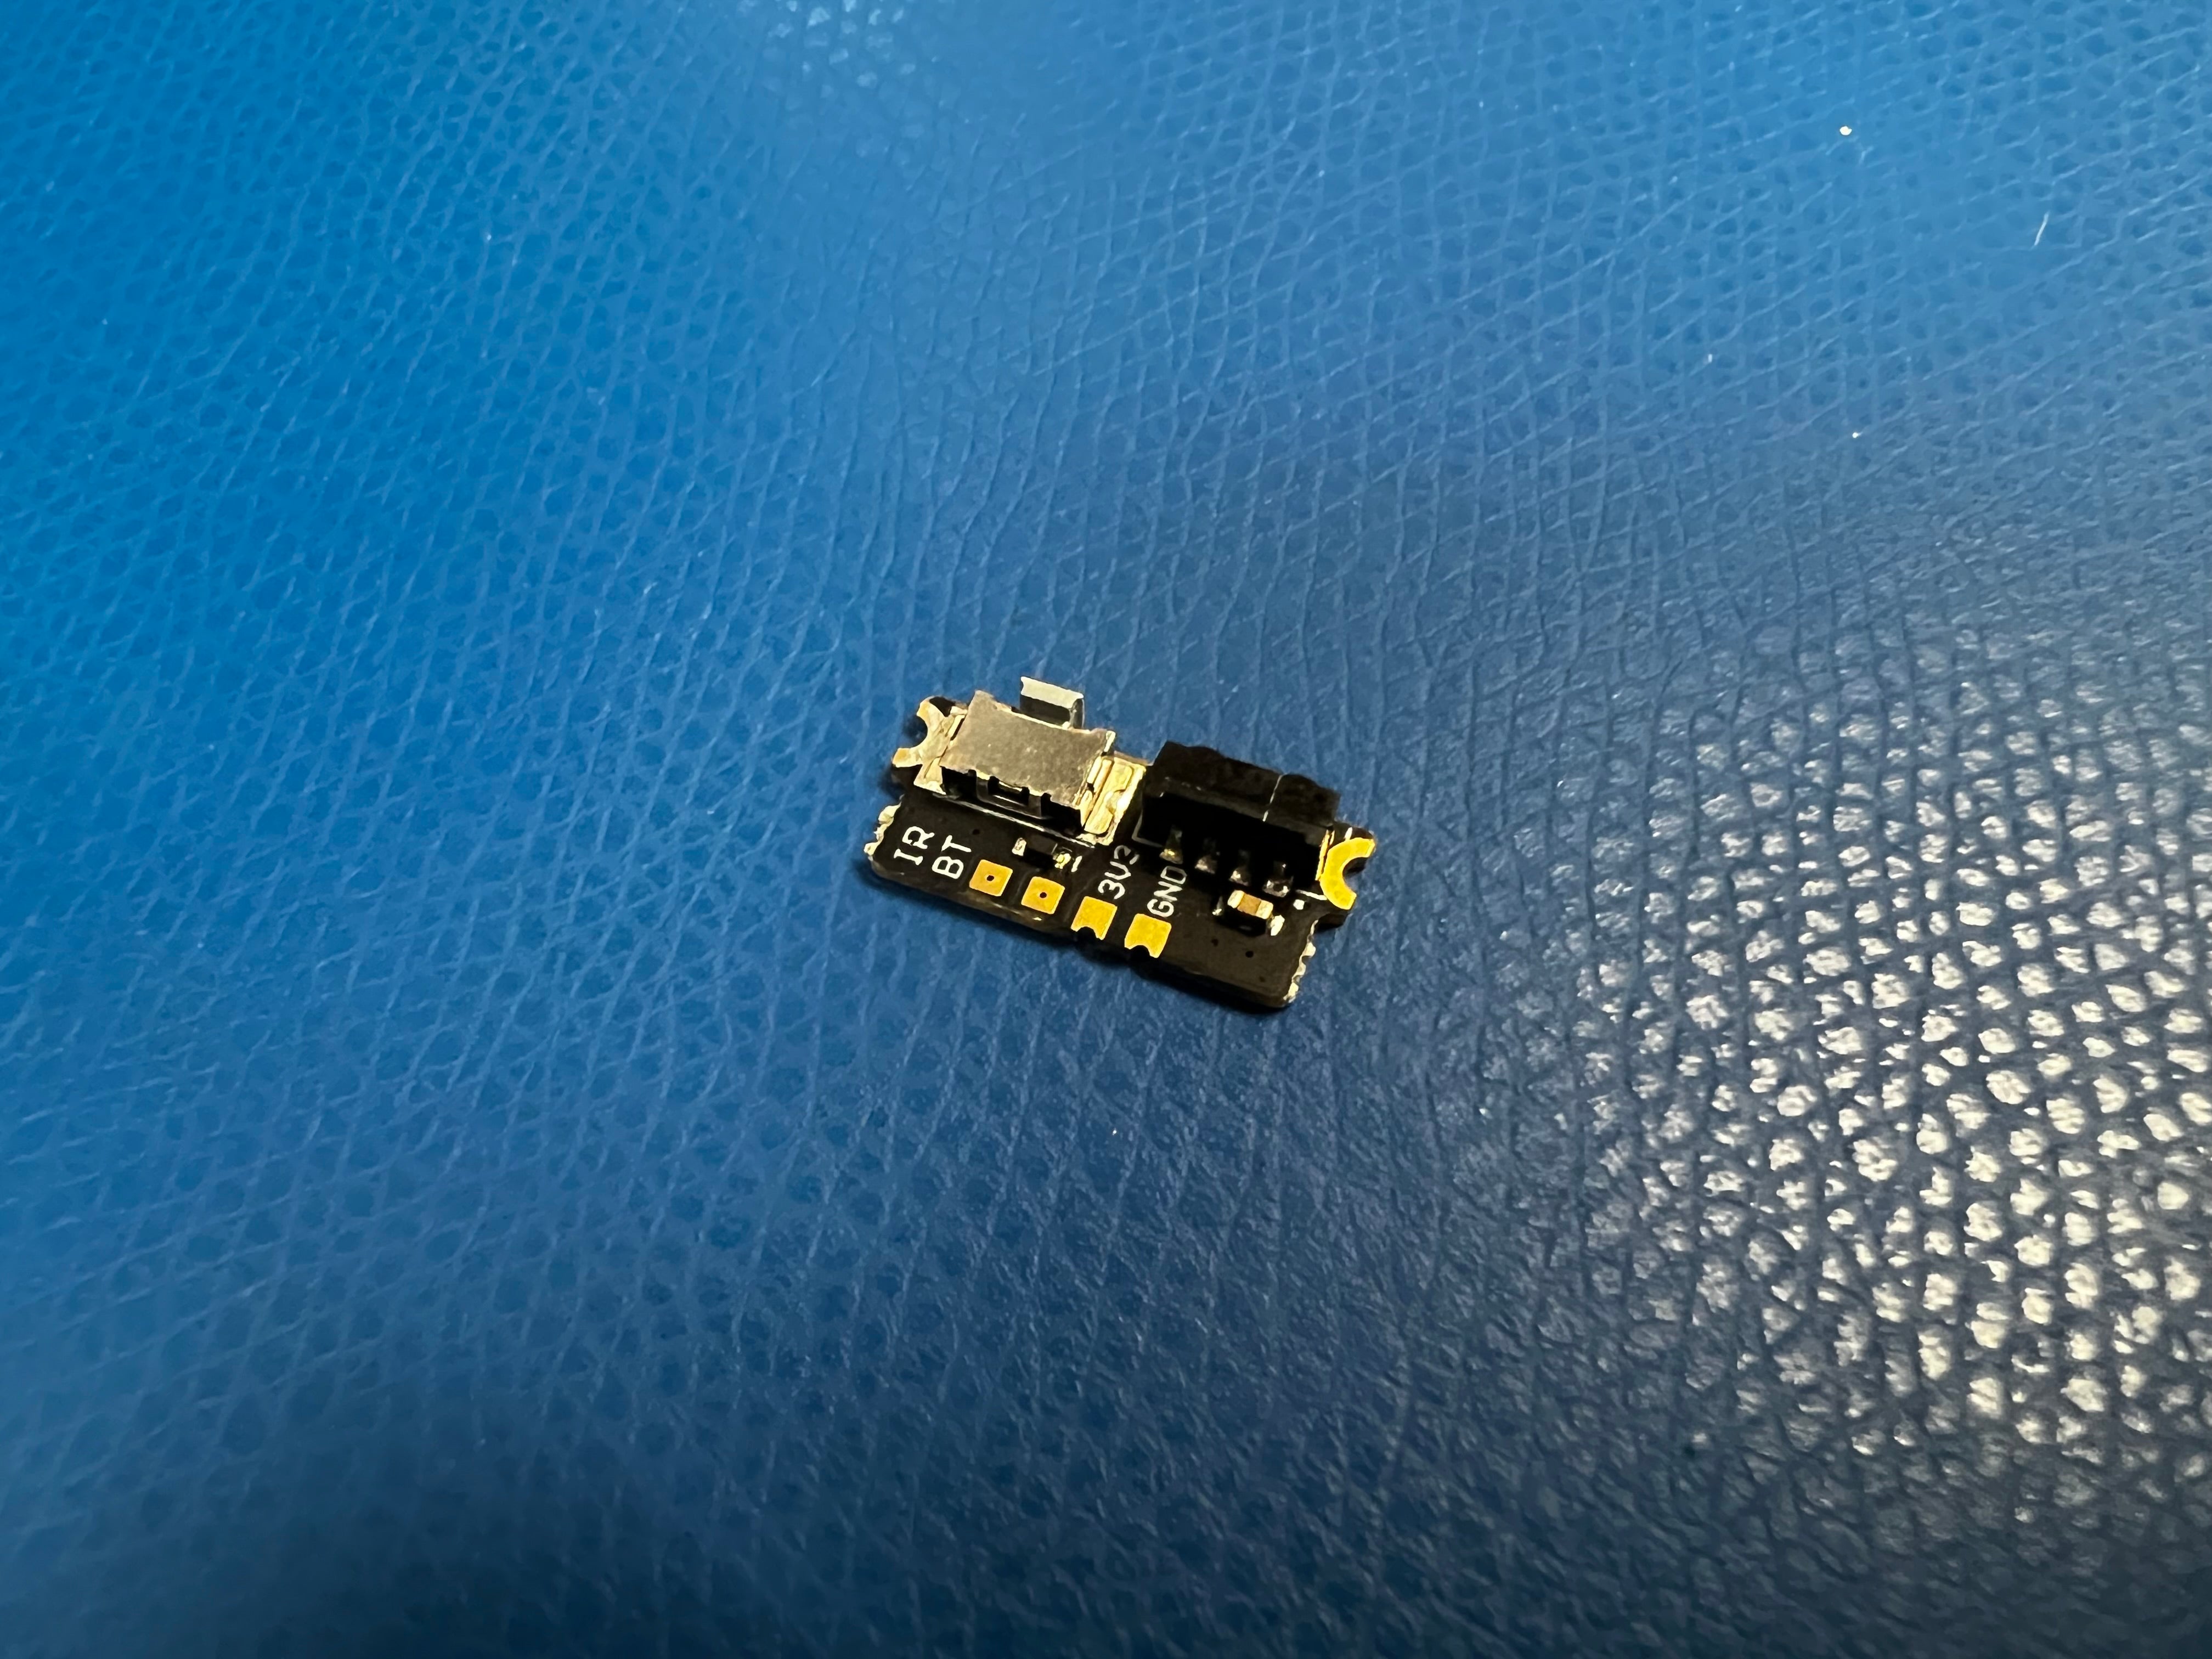
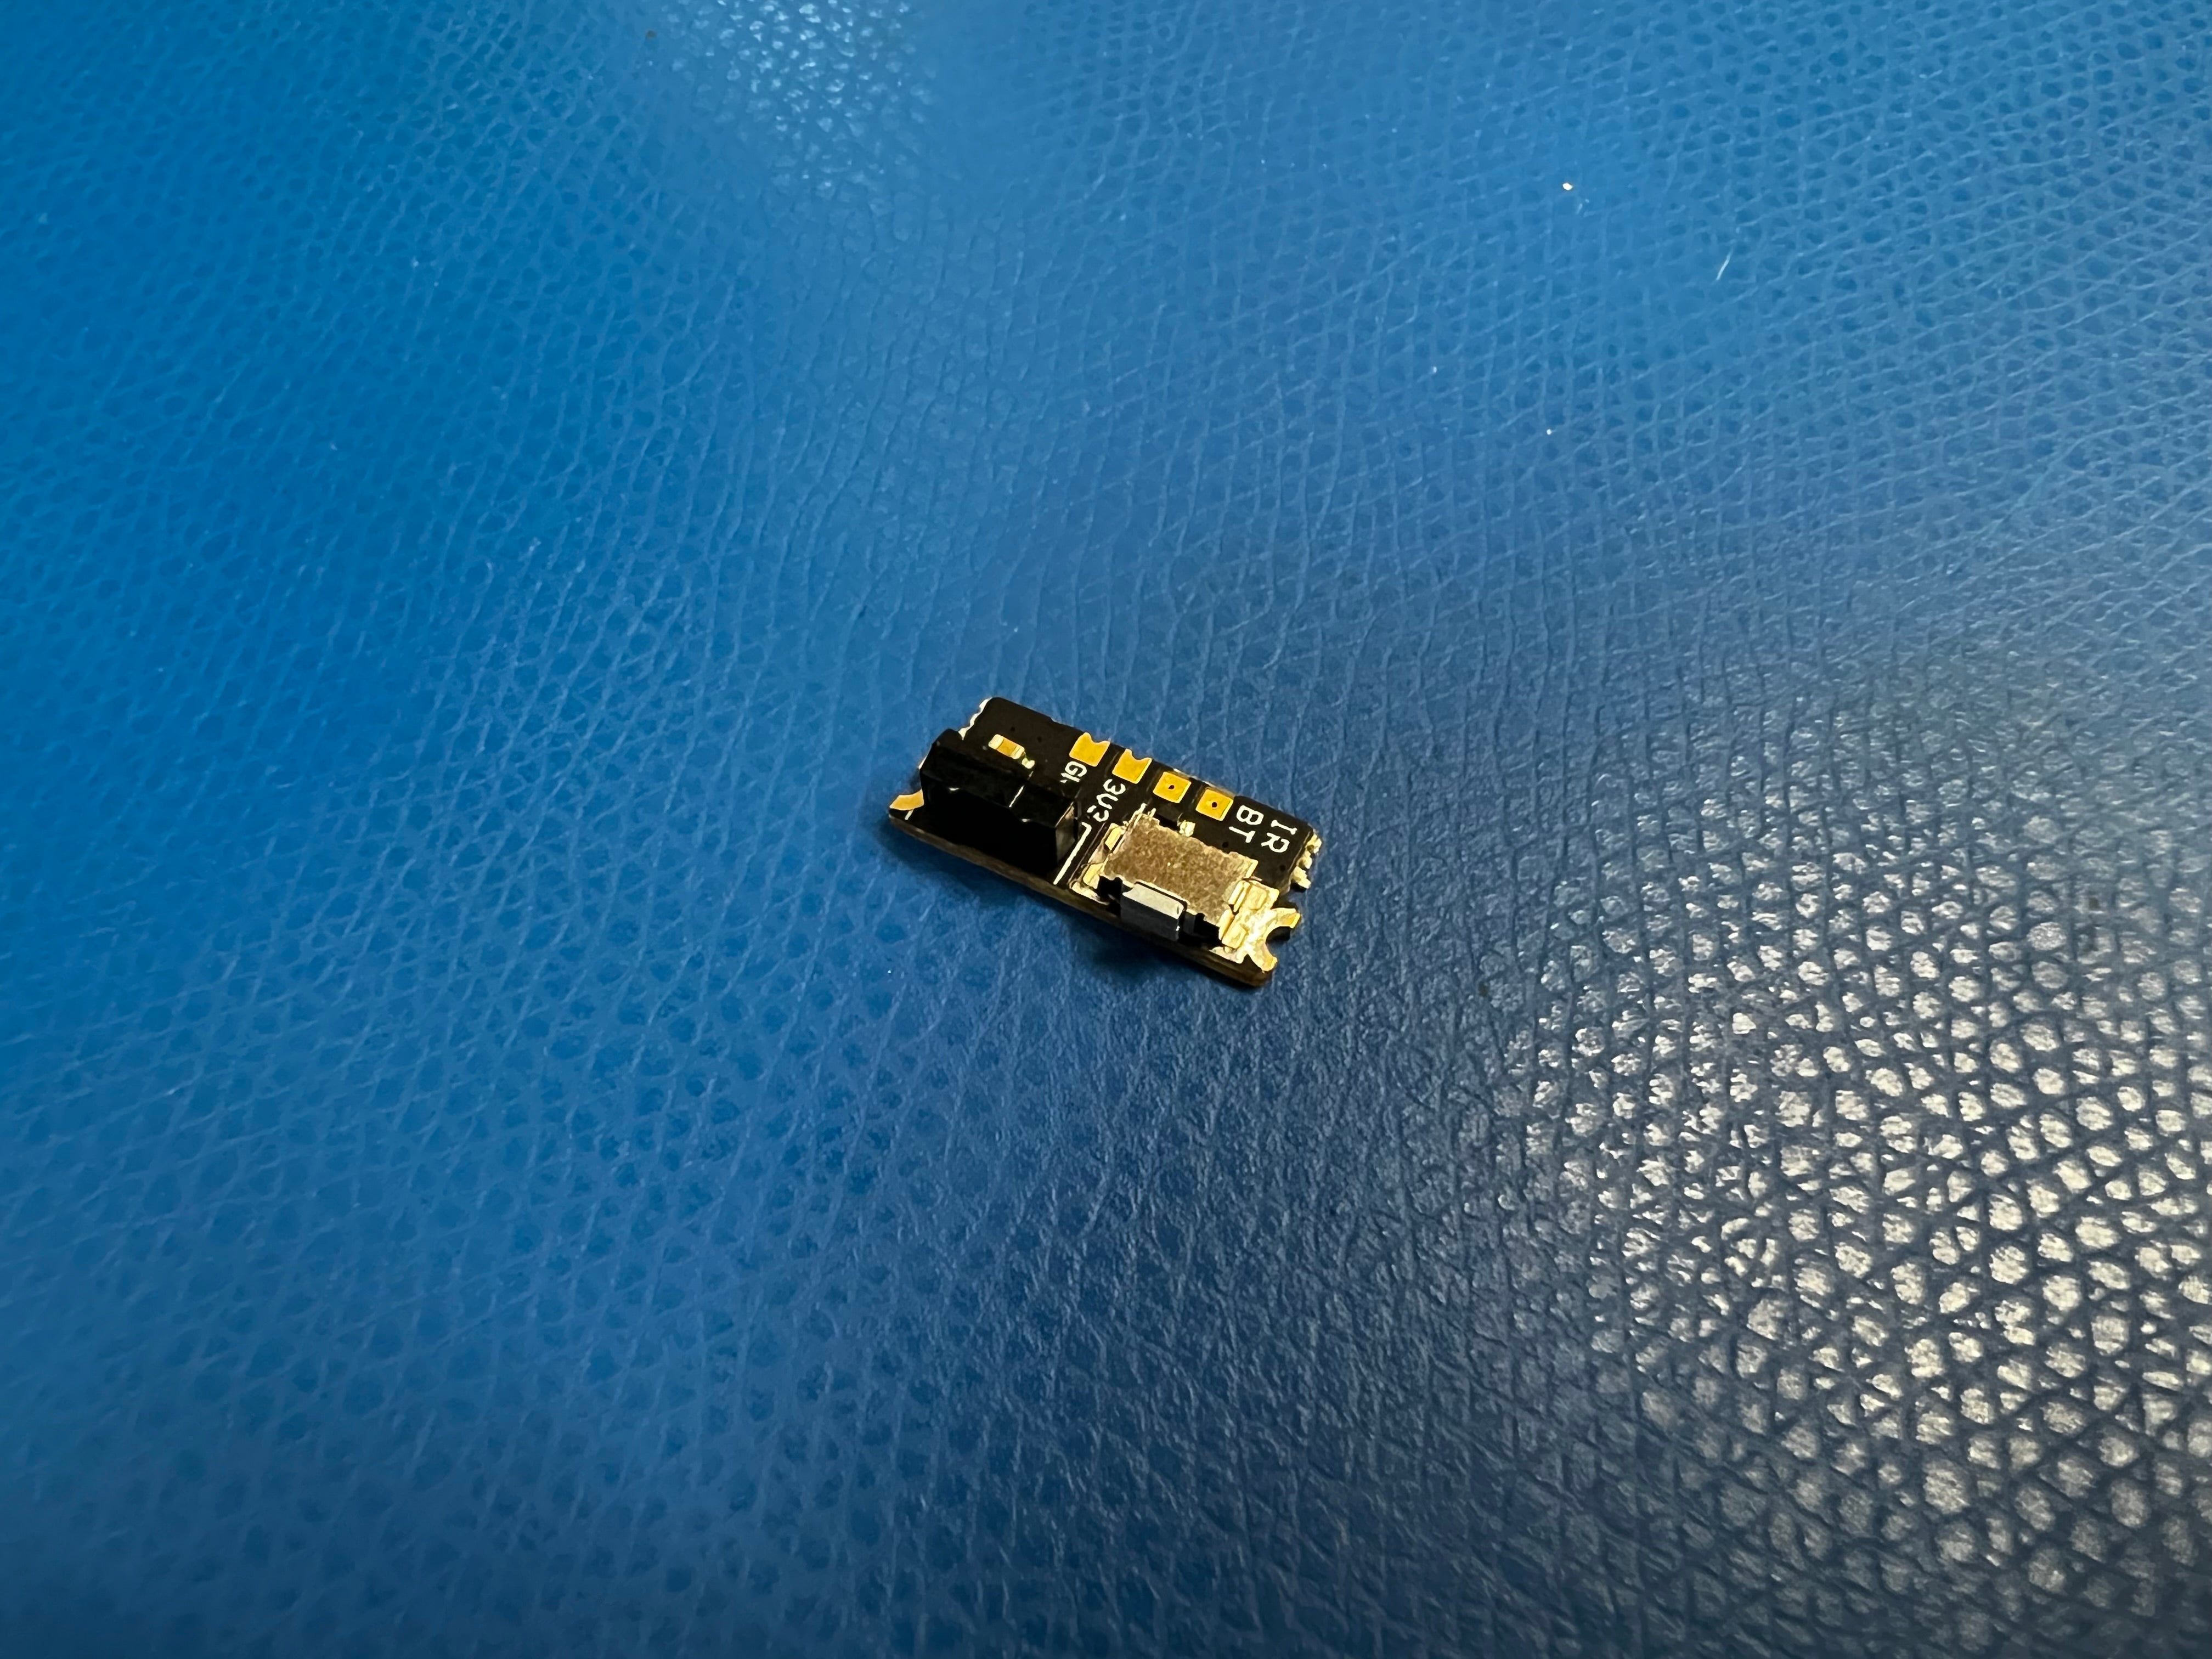
ElectronAVE Kit
for the Wii™
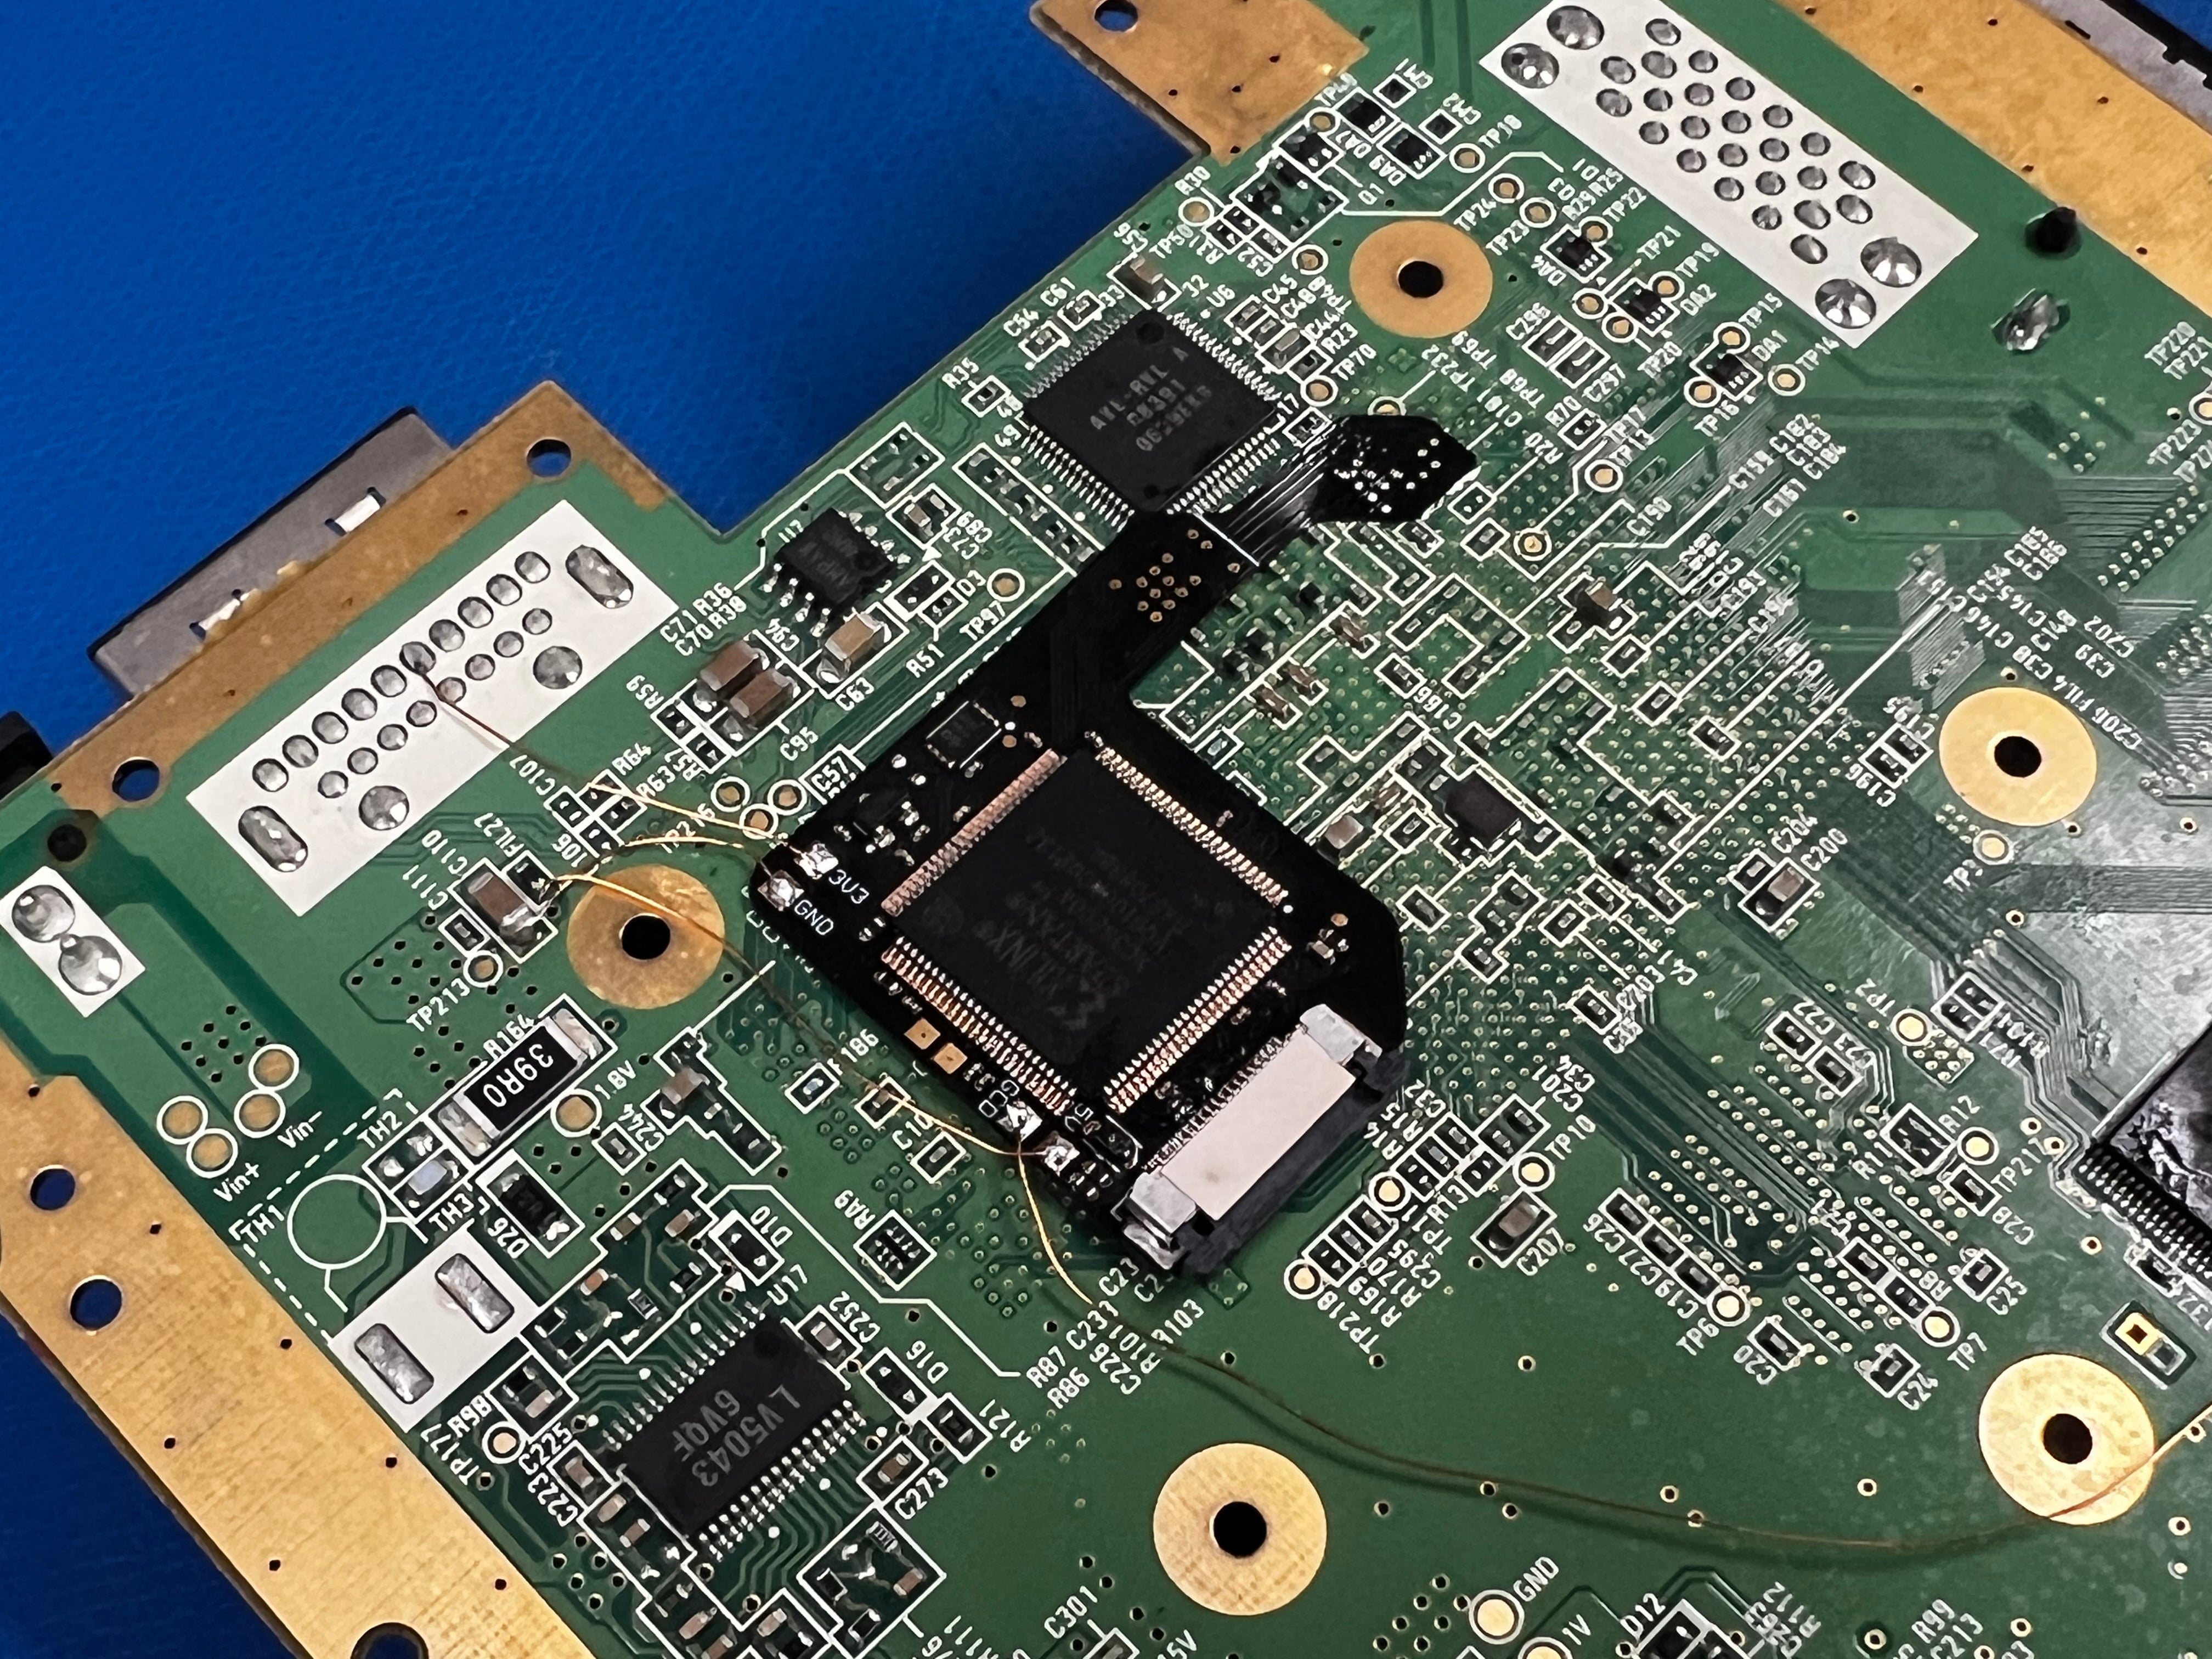
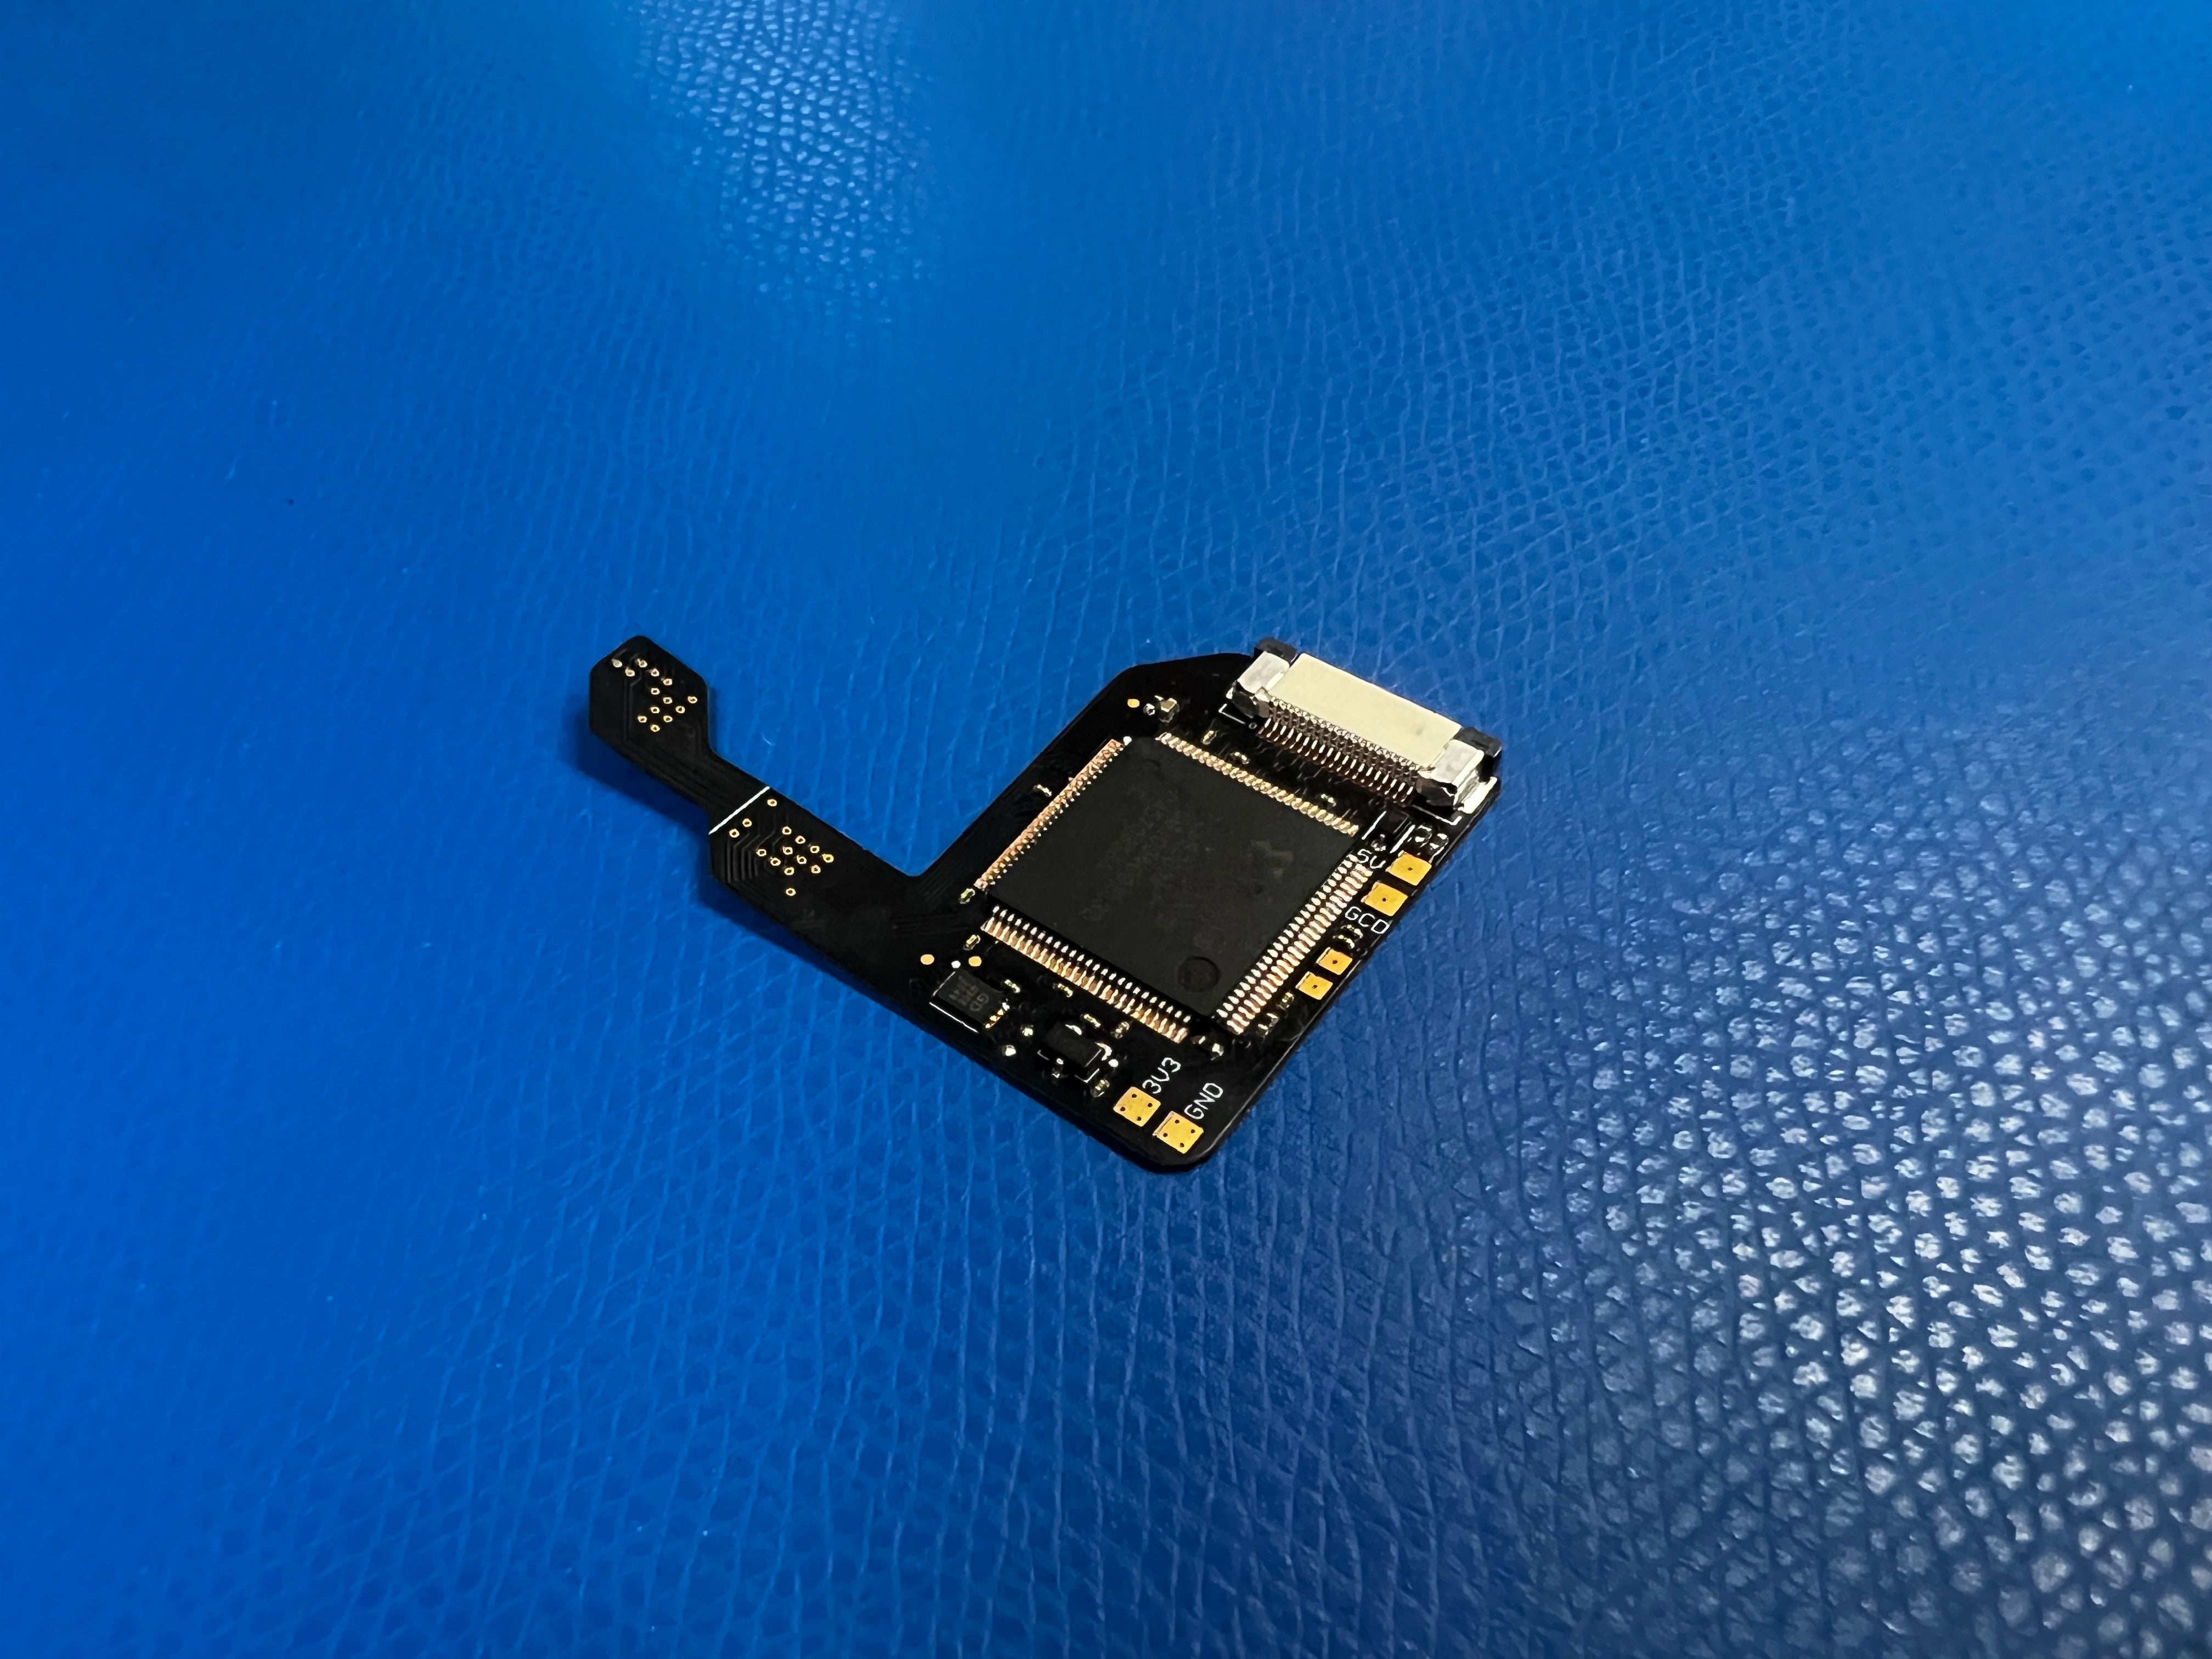
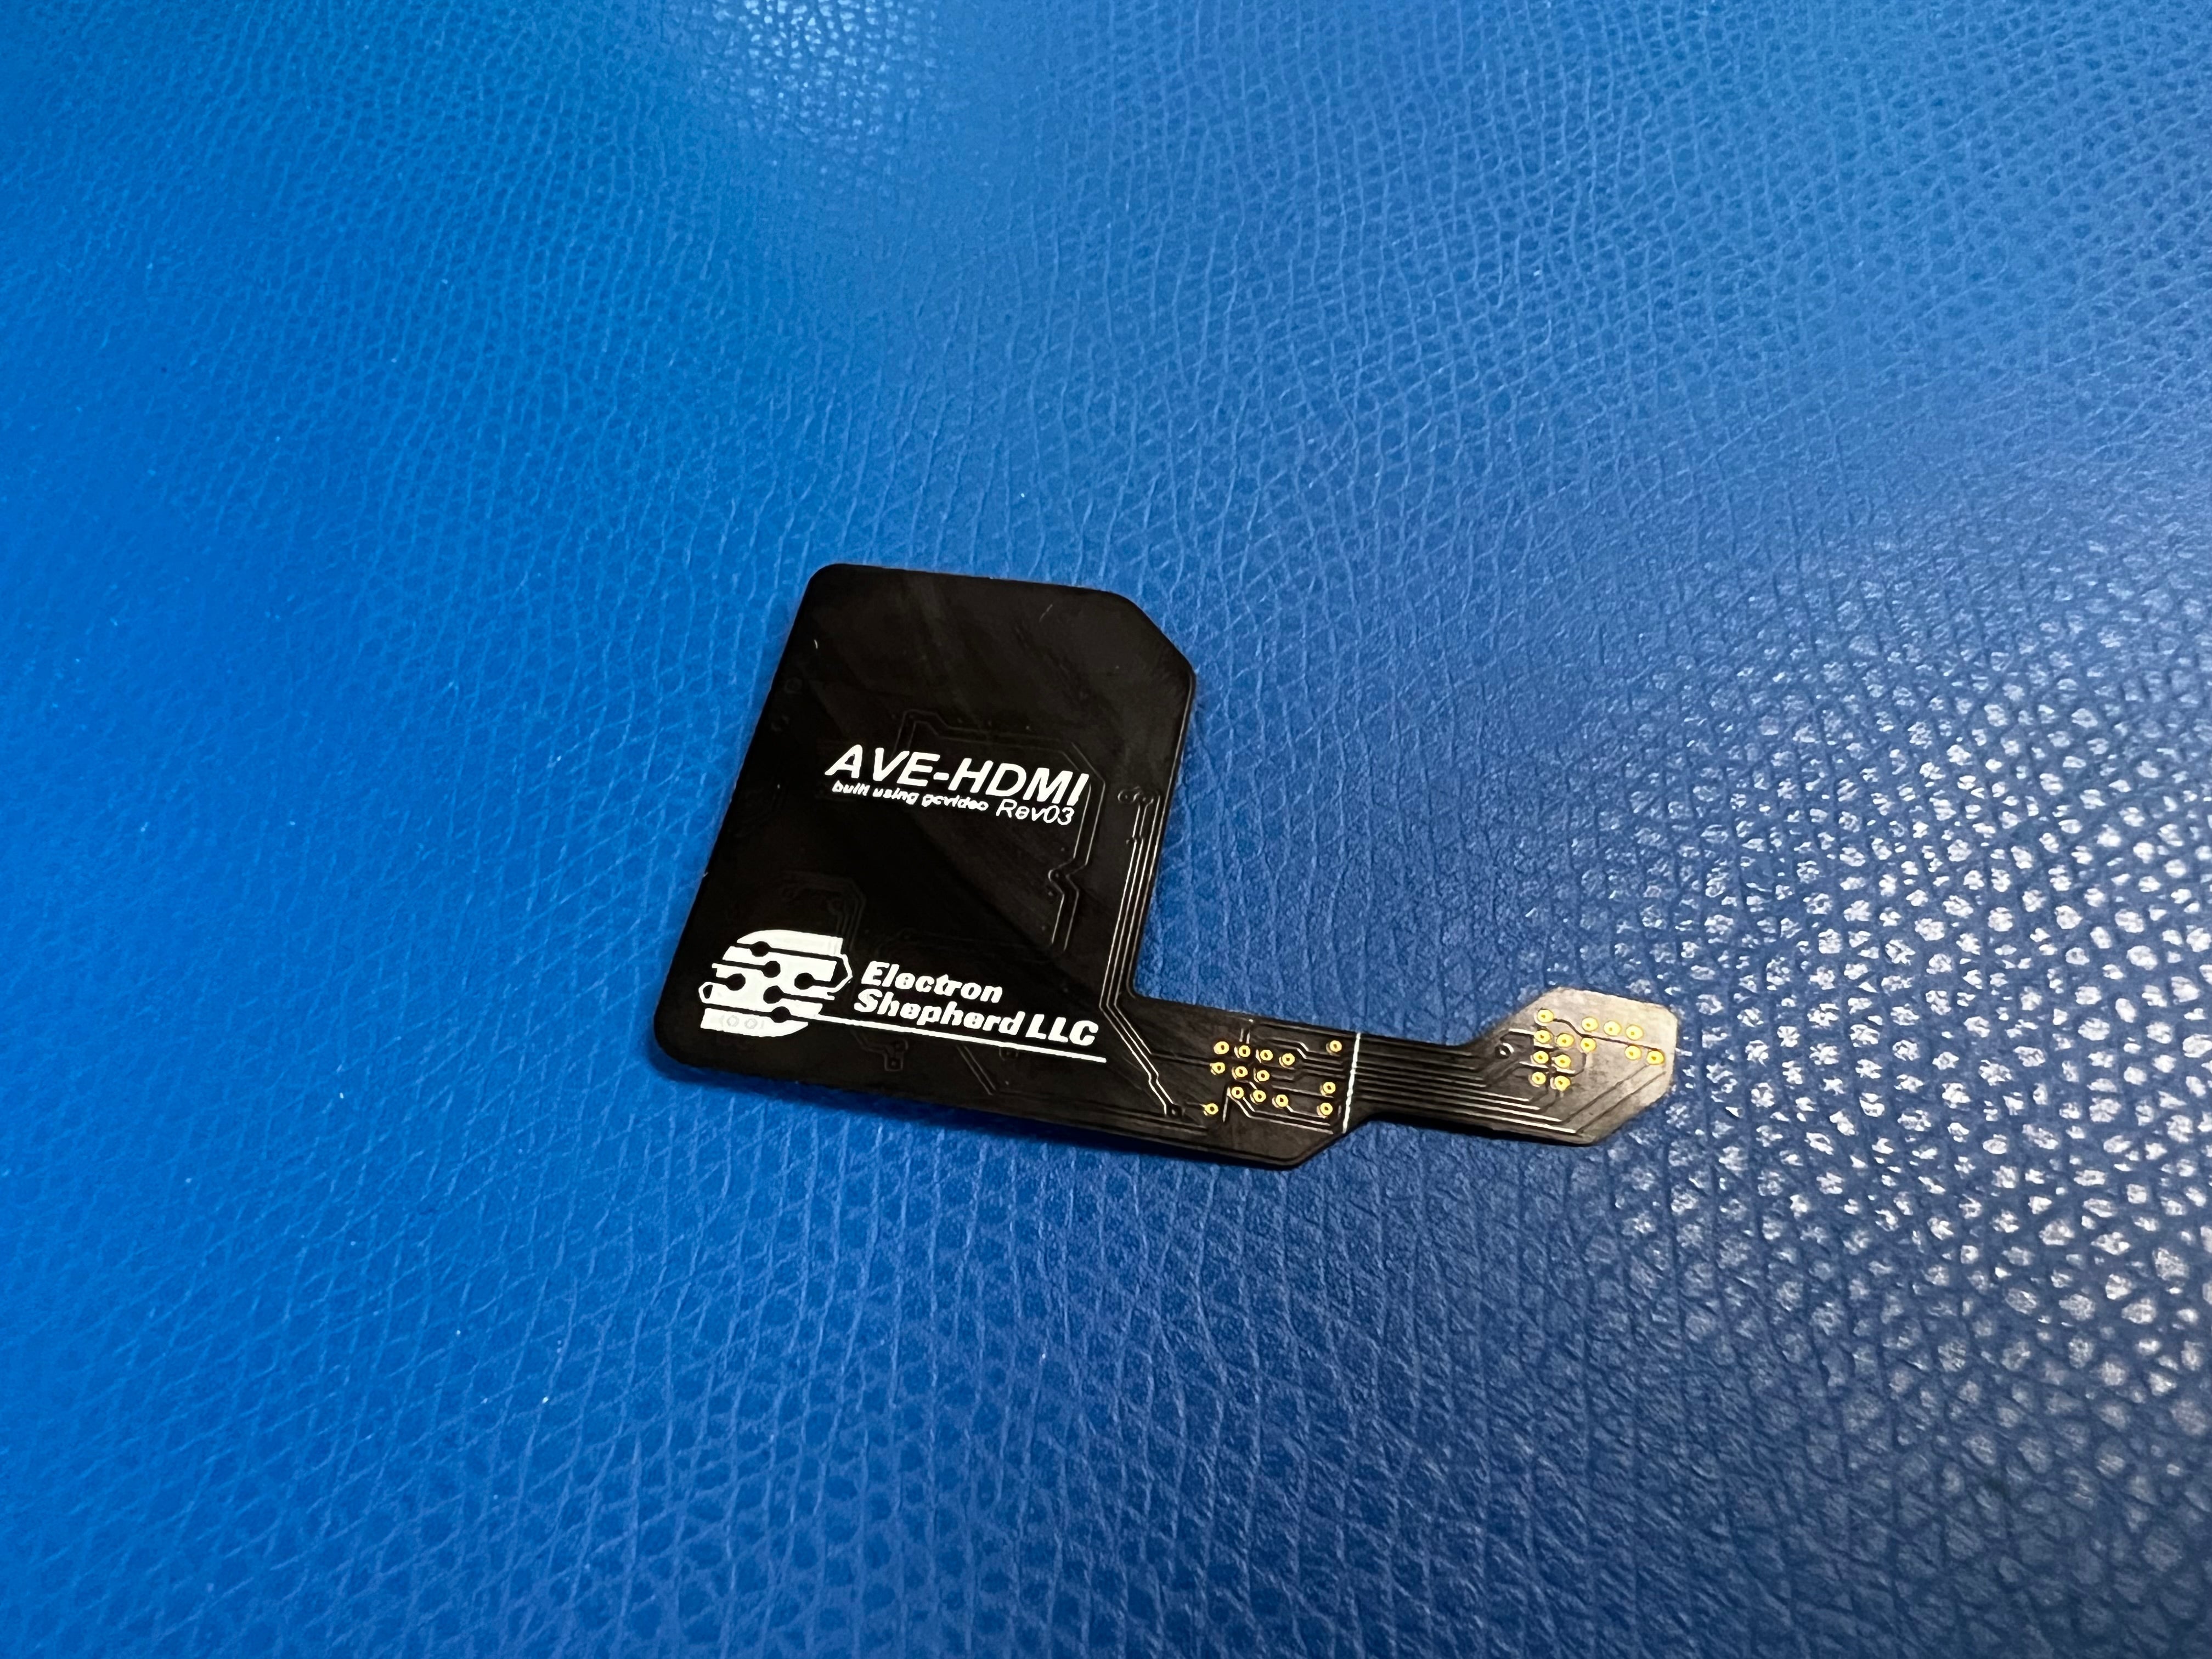
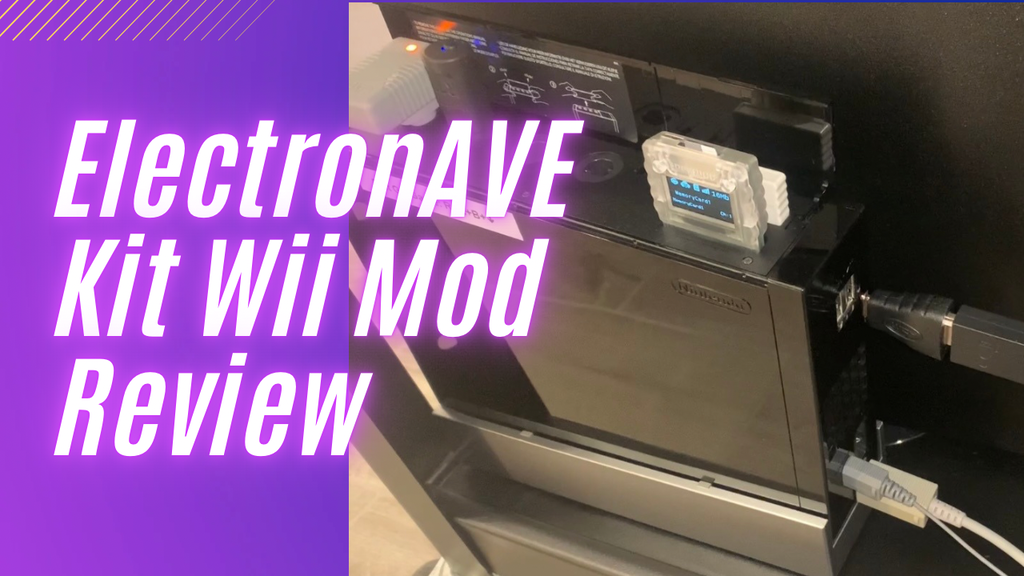
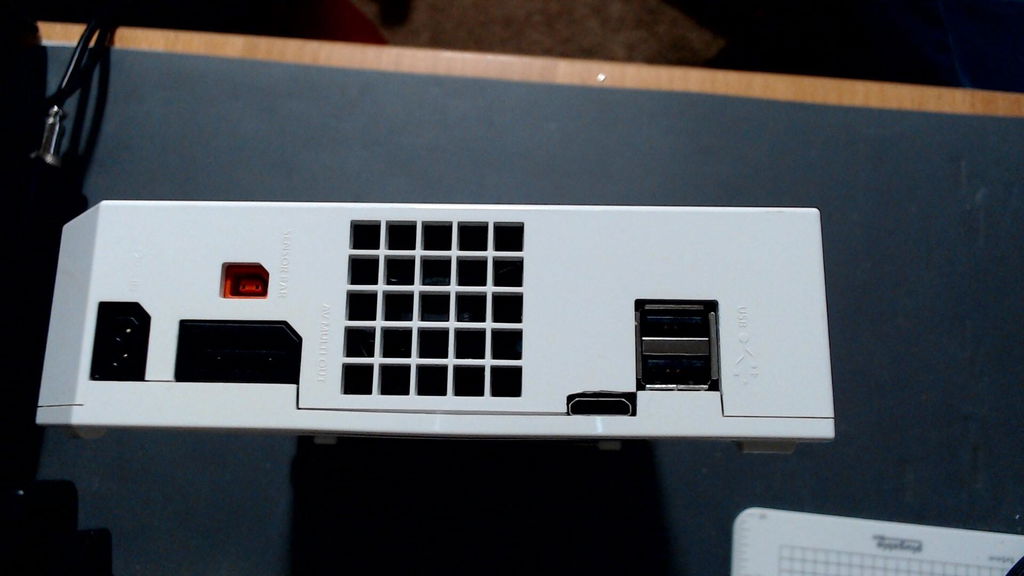
Initially released in this form in 2023 and considered to be one of the best methods for achieving direct HDMI™ output from the Nintendo Wii™!
Warnings!
Frequently Asked Questions
Installation Instructions
Technical Specifications
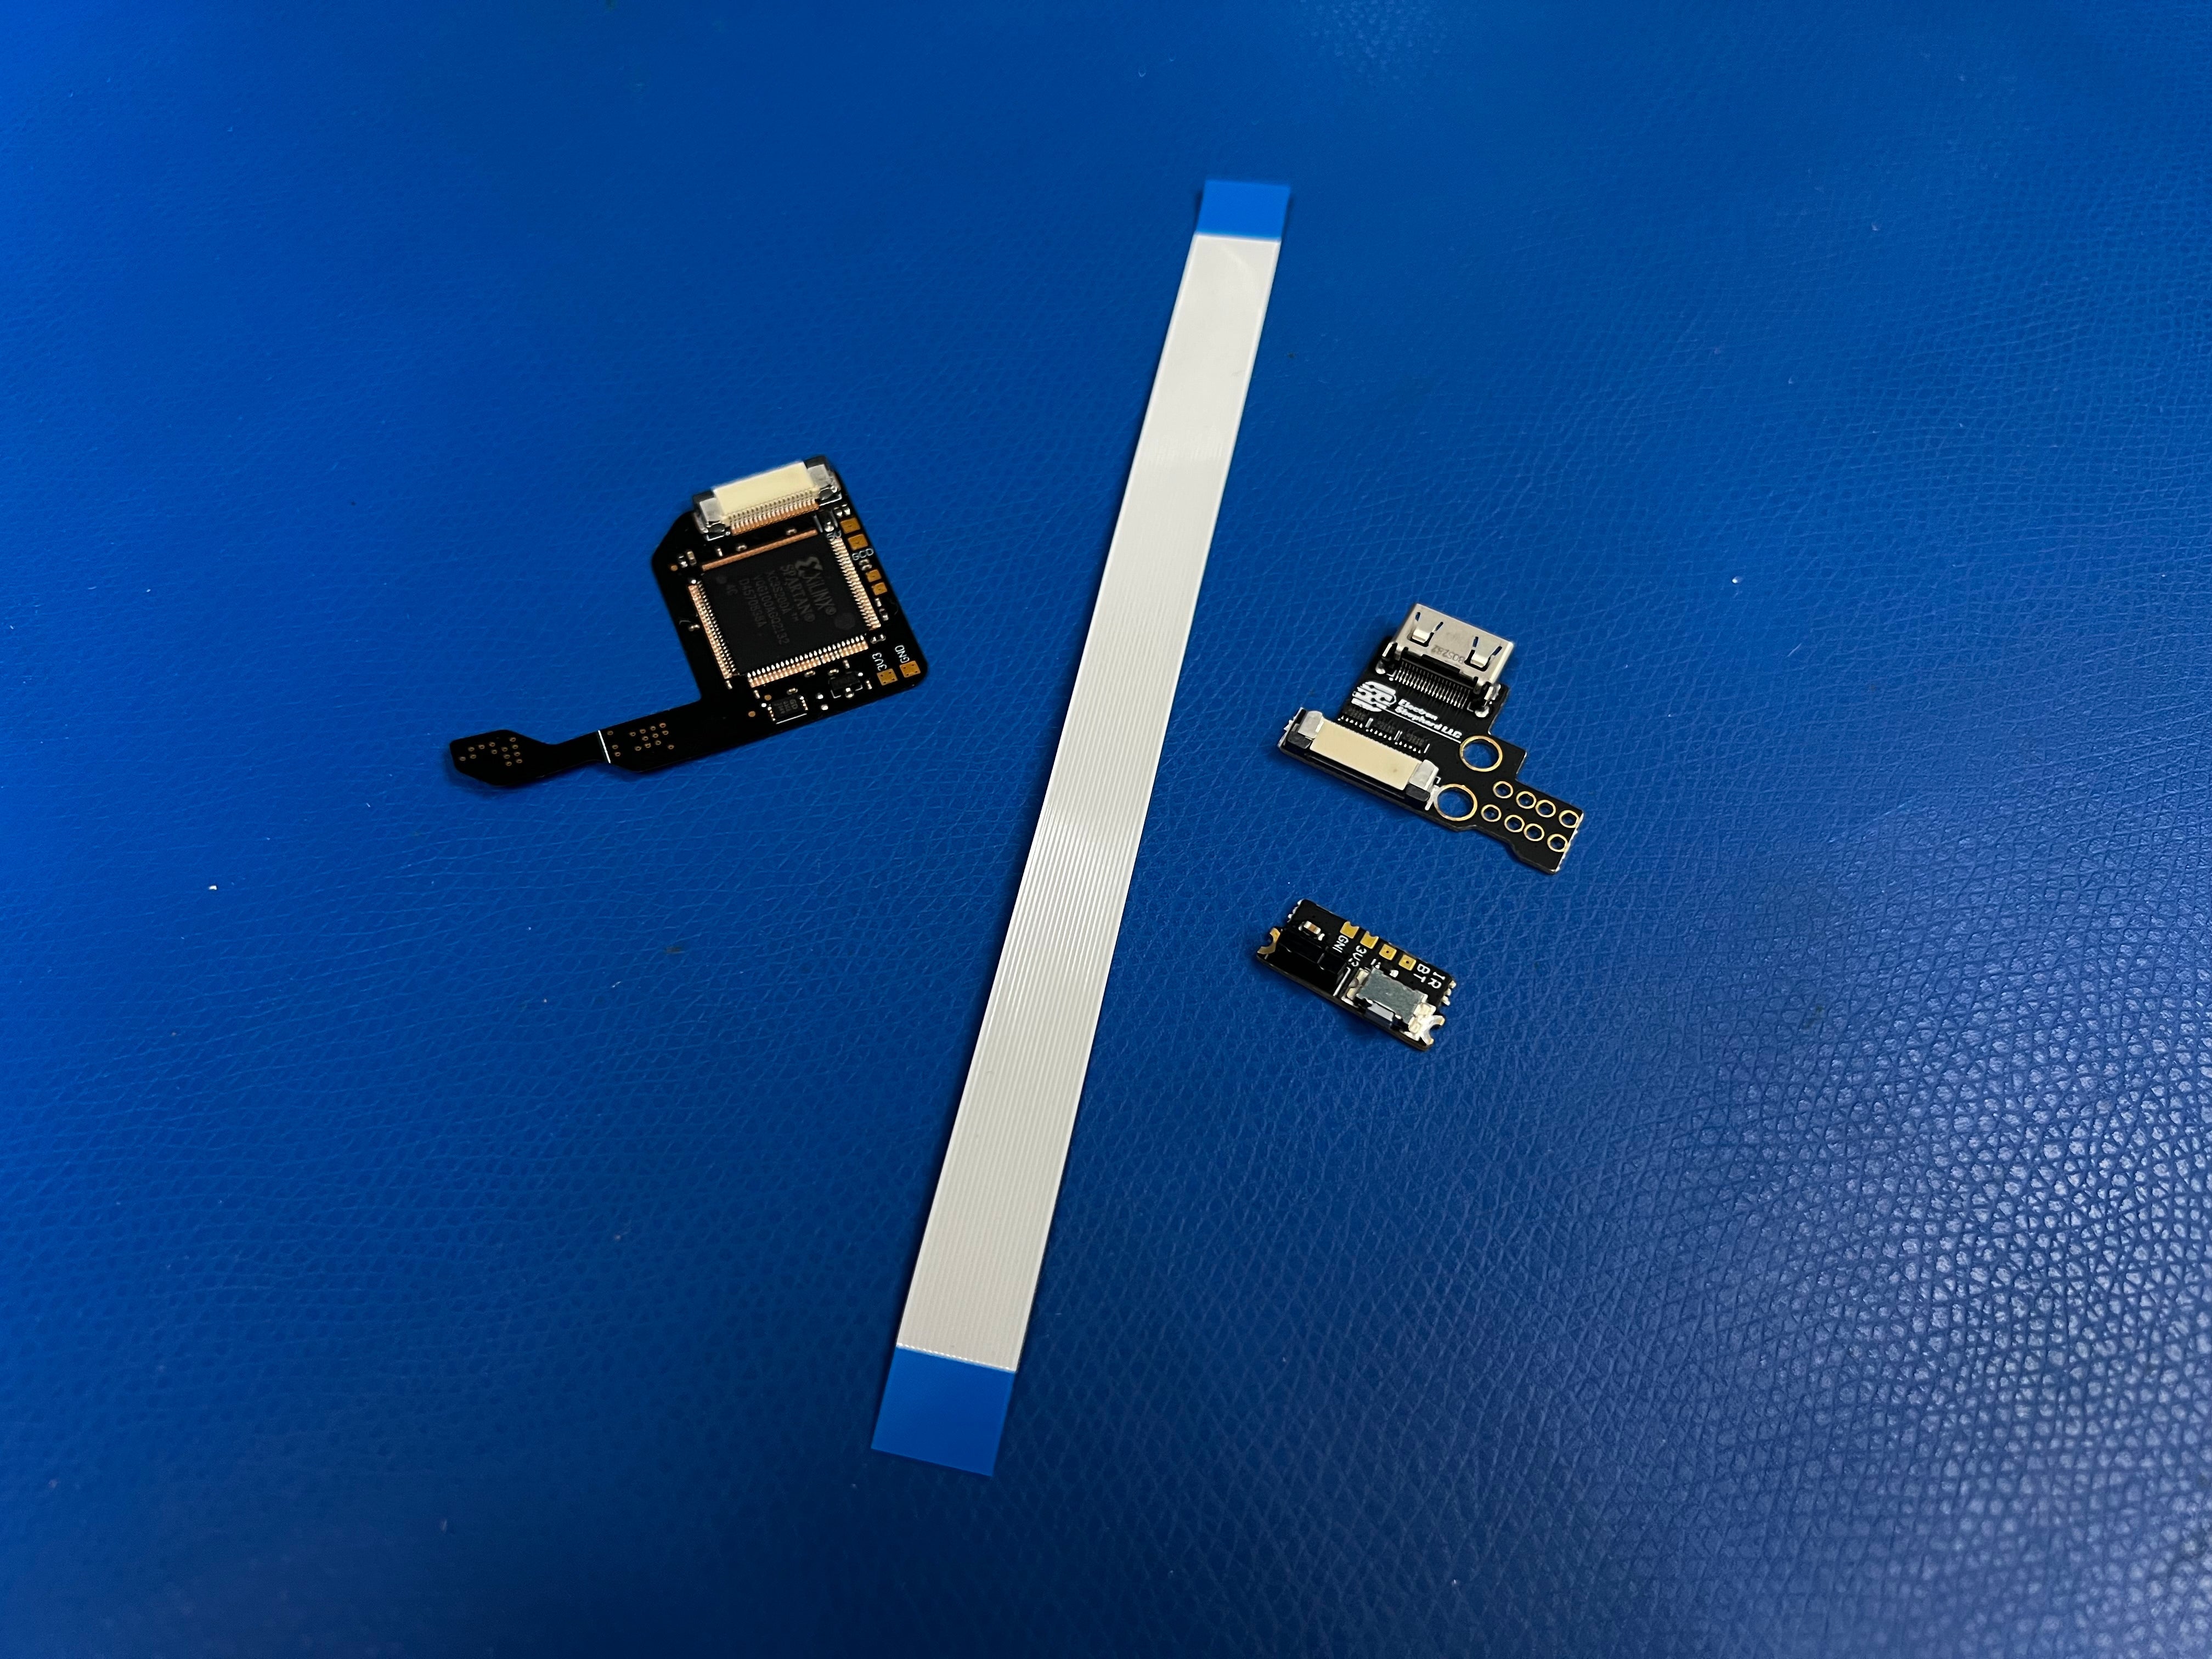
What's Included
Recommended Installers
Electron Shepherd has had conversations with each of these installers and has determined that they possess the skills to perform this installation for others.
Voultar (Kentucky, USA)
iFixRetro (New York, USA)
Retro Digital LLC (Florida, USA)
PastPerfectGames (North Carolina, USA)
PowrUp Gaming (North Carolina, USA)
Logistics (Connecticut, USA)
Bitjump Gaming (Utah, USA)
Modzvilleusa (USA)
Pink Skeleton Gaming (USA)
Prof_gLX (Canada)
Merki (Germany)
Nostalgic Indulgences (Singapore)
Oldskool Consoles (United Kingdom)
Quality Comparison
Videos
Electron Shepherd has no affiliation with the following creators. These videos were linked because they showcase the capabilities of this product.
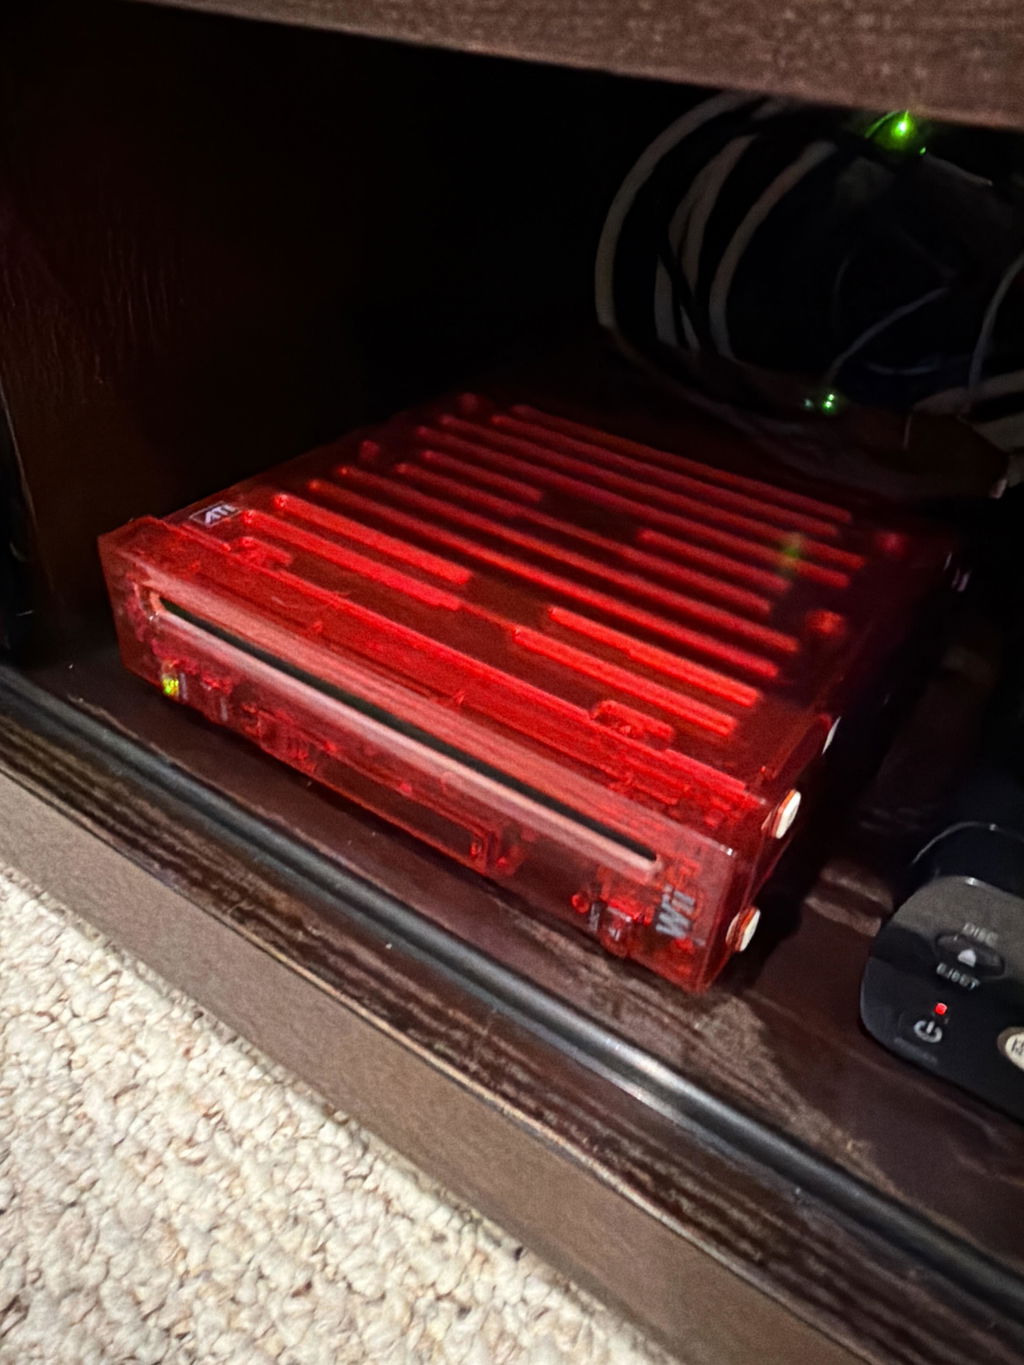
Product was easy to install and came with everything except wire.
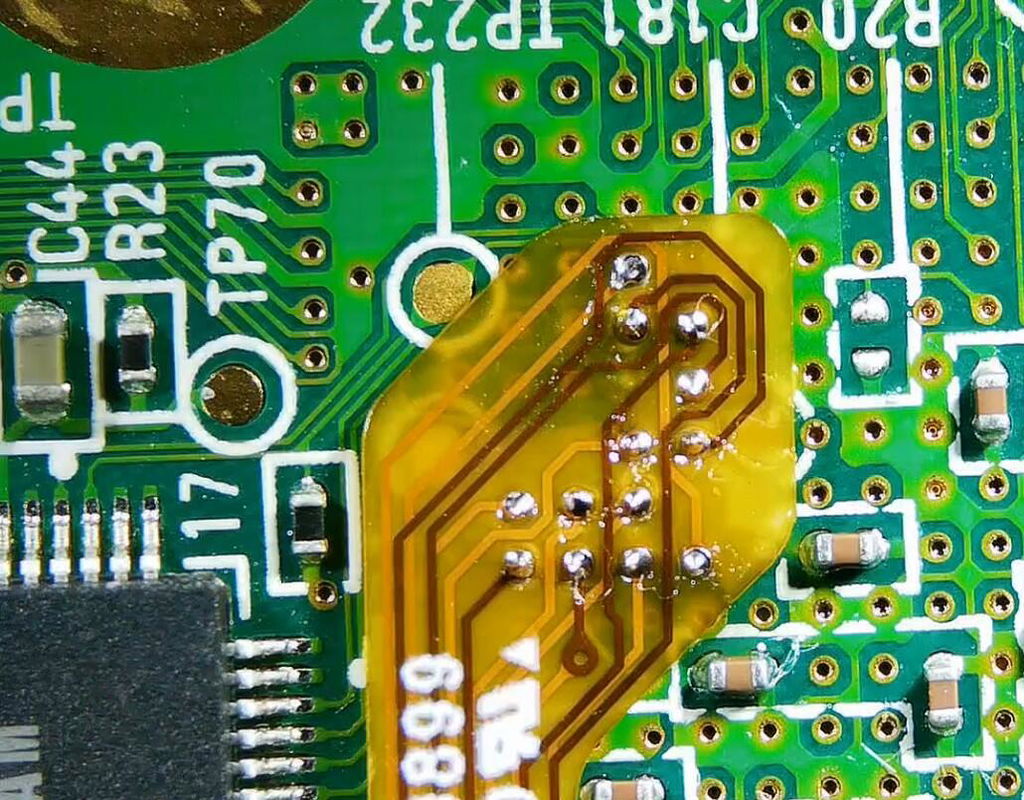
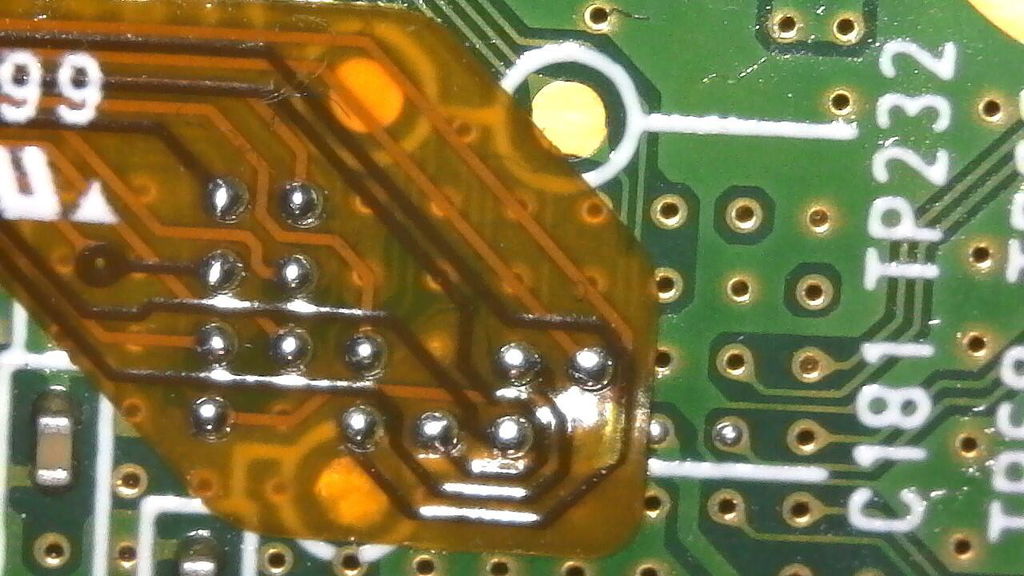
This is obviously a very thoughtfully designed product. I'm no pro at soldering but I have some experience and an electronic microscope. It took me two tries to get the vias done properly and I couldn't have done it without the scope. Also be sure to pay attention to the recommended wire gauge.
Hace un tiempo adqurí el producto, ya que un cliente quiso que se lo instalara en su consola, la verdad quede solprendido con el resultado final, me decidí a dejar este comentario ya que en el momento no vi tutorial en español mostrando y detasllando todo el proseso, espero que le sea de alguna ayuda este contenido:
https://youtu.be/k93JC8UylVU?si=fOr6nP2aiVyBhbVk
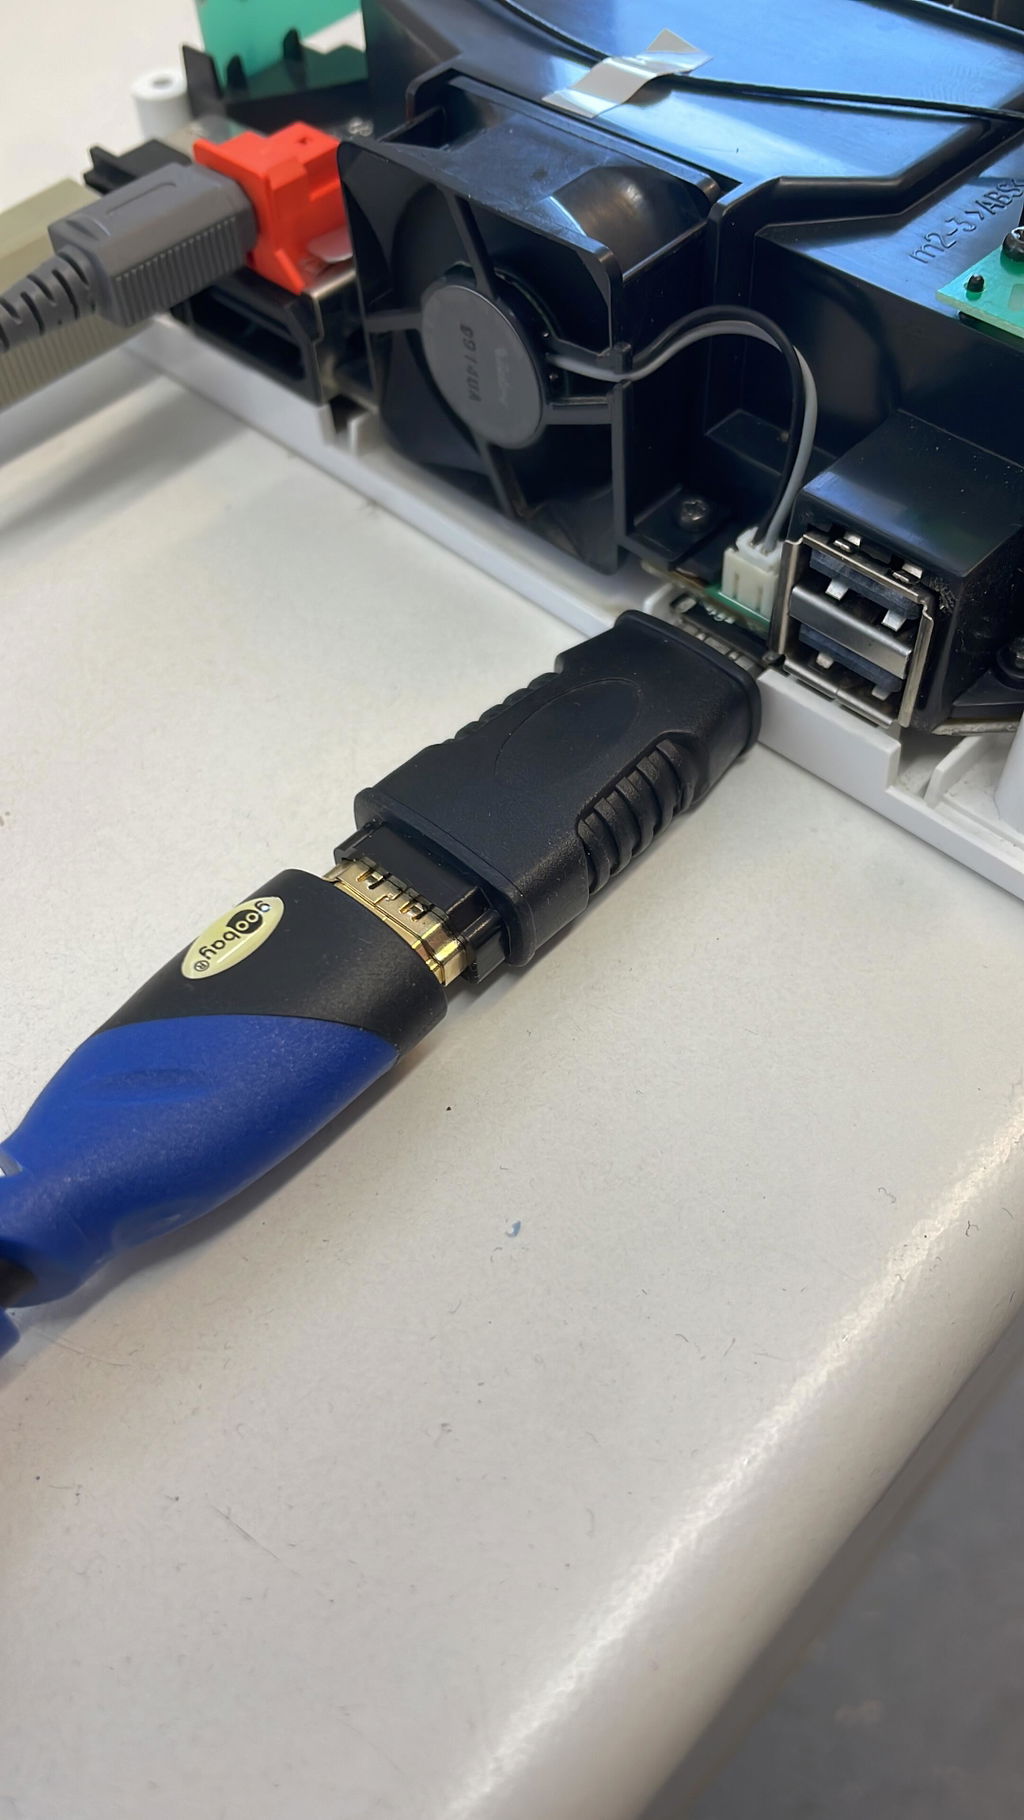
I asked a friend of mine to help me with the installation. He said the kit was well designed and the instructions are good as well.
As for the finished Wii: I hooked it up to my 4K TV and I’m very satisfied. Great video quality. I think I’ll be getting a scaler now to really take advantage of the upgrade. Thank you very much!
(PAL Wii, Revison 40)
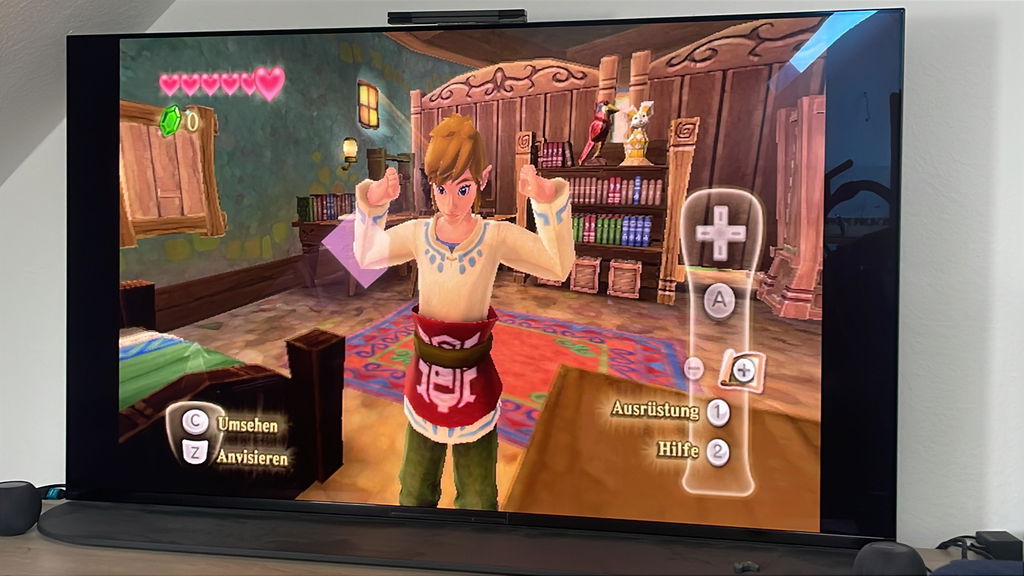
As expected, this is a very tricky install. The vias are exceedingly tiny but the translucent flex pcb let me line everything up well enough for the solder's surface tension to full it all properly into place. I wish some prepared lengths of wire were included but the freedom of choosing your own is valuable to some modders. This took almost three weeks to arrive after it was ordered, though I'm glad it did, without damage. One thing I wish was better documented is where and how to modify the case to fit the HDMI connector. It's not critical to get perfectly right -- unlike the soldering -- but it would be a nice addition to have a template or some measurements drawn on a sticker or something.
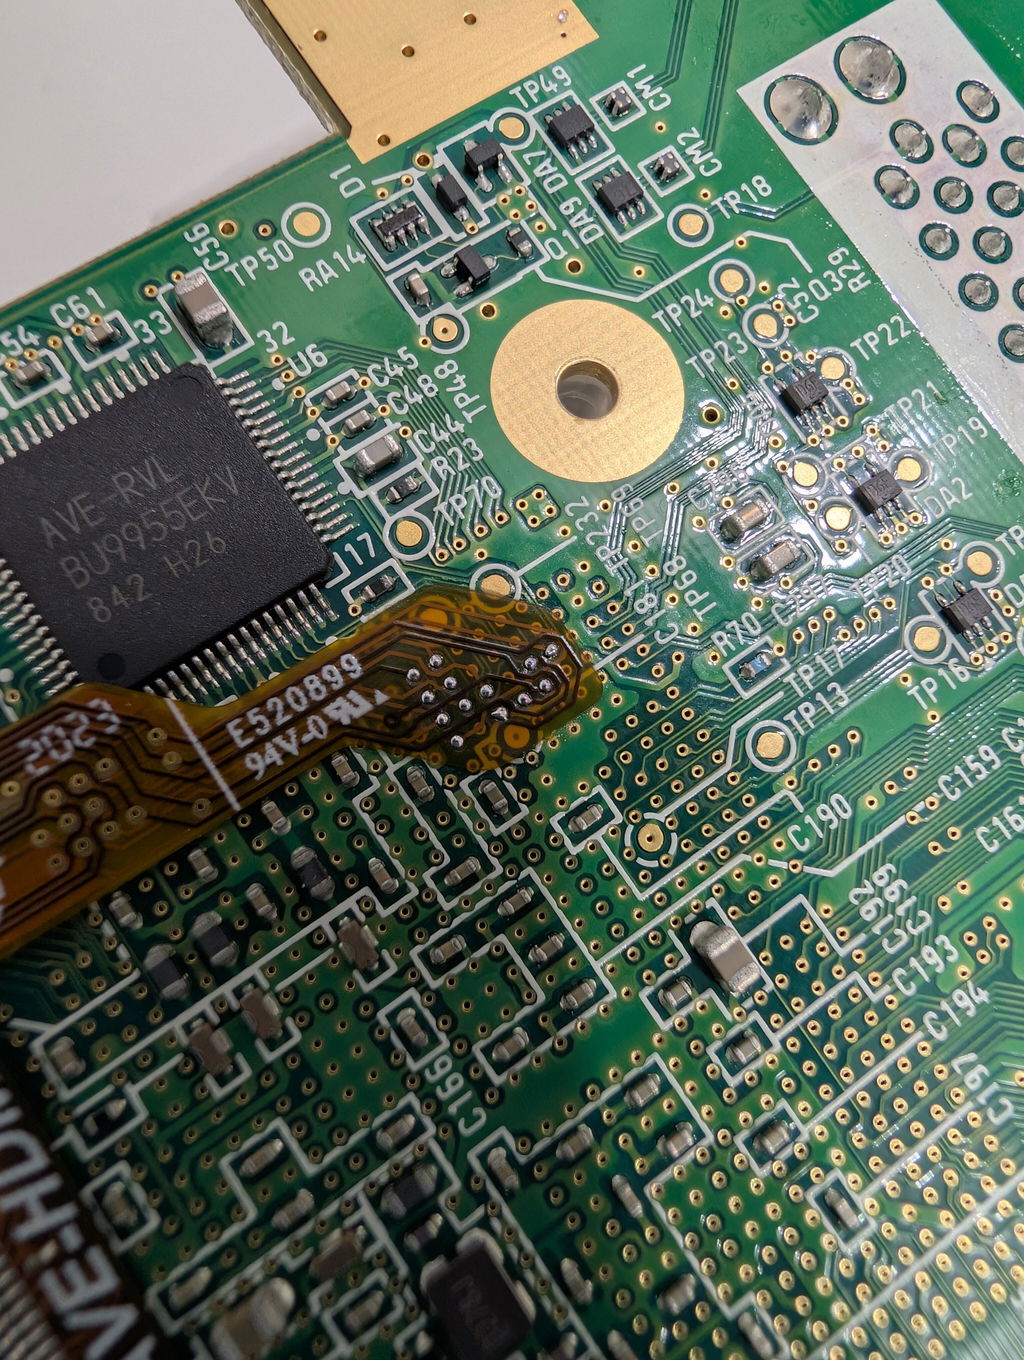
First off, ONLY DO THIS IS YOU KNOW WHAT YOU'RE DOING
This mod offers lovely video quality, however I only recommend doing it if you have the proper equipment and skill. The vias are extremely tiny and hard to solder to. Again, do this at your own risk.
As for how my install went, it was alright. I took my time scrapping away and soldering to the vias which is the hardest part. Outside of that, everything was pretty easy. Just soldering a board and a couple wires. Tho, I don't know if this was my fault or not, the pad for the gamecube controller lifted straight off the flex cable.
side note: Weird at first I got ZERO signal from it so I thought I messed up but then I bumped the eject button and then immediately got a picture. I don't think there's a correlation at all but felt like mentioning it anways
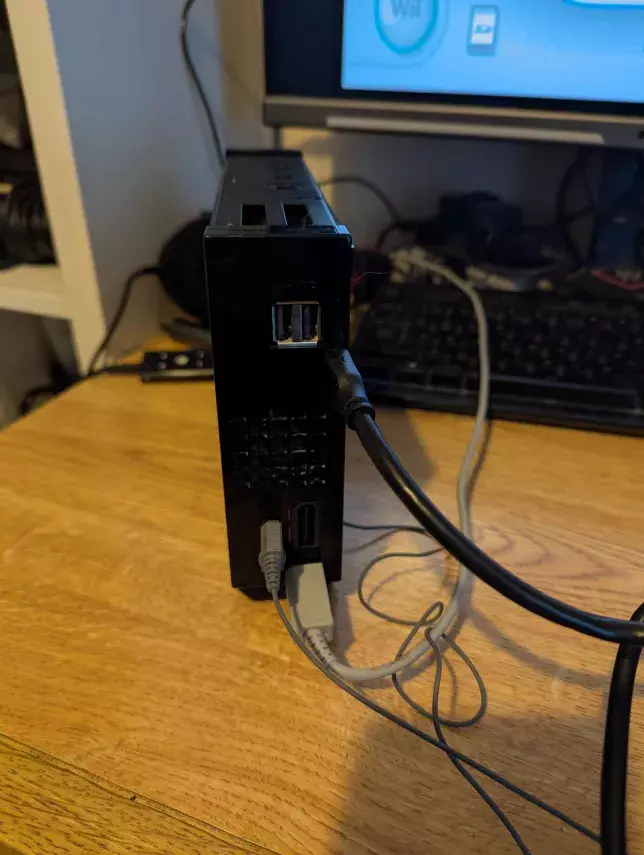
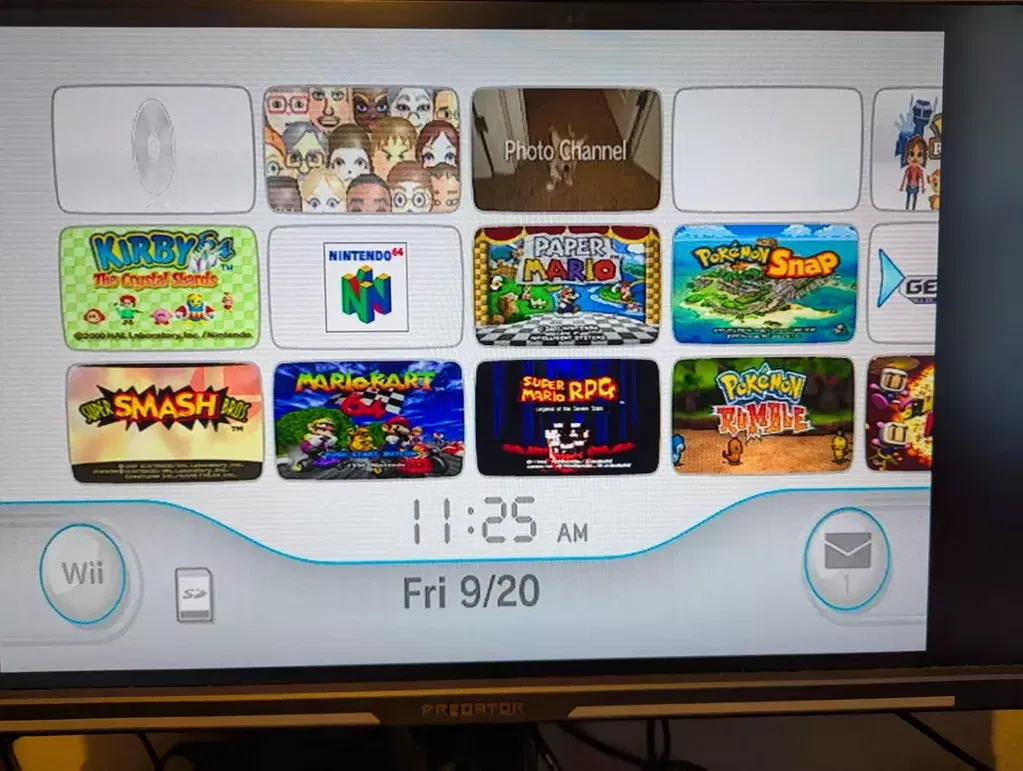
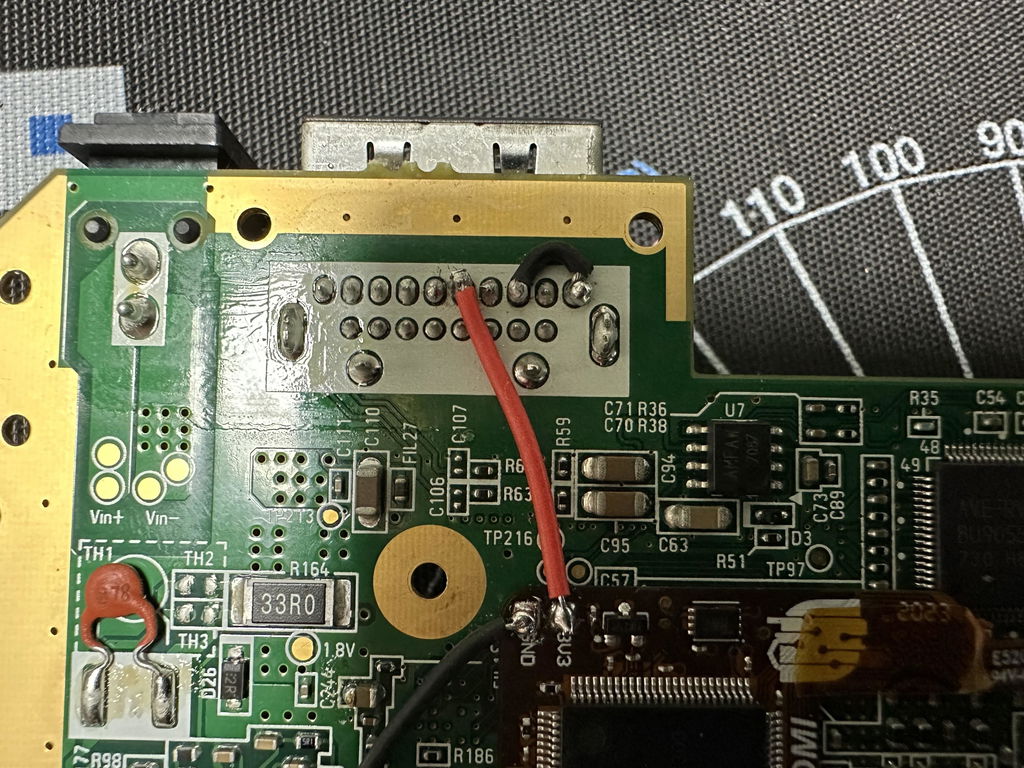
I wasted a kit and ended up buying 2 kits total because they didn't bother to mention that bridging the wires for 480p access on the hdmi would be different on different models. I followed the instructions posted on this site, and thought it was broken as i had a black screen with no sound, the hdmi port would be recognised and the component cables would work verifying that i didn't brick my wii.
In an attempt to unsolder the AVE from the wii i ripped one of the pads, forcing me to buy another kit. It wasn't until i read the REVIEWS that i saw other people having the same problem as me, a black screen on a RVL-01 wii.
I'm posting this here for other people as well, you don't bridge pins 5 and 6 like it's told in the instructions, you bridge pins 8 and 10, requiring a wire.
The product works, that's all i can say about it, i'm giving it that score for basically scamming me for what one of these kits are worth.
But you really need to fix the those instructions
https://youtu.be/erMveocqH4I?feature=shared
I have installed other enhancments into consoles so this microsoldering was fairly easy following the Voultar video and having the proper tools. Alignment was the difficult part. These are really tiny points to solder to.
I installed the kit and did a continuity check as outlined on the webpage and all checked out just fine. However I never got an HDMI signal, such a waste of time and money. The analog worked just fine so I know the Wii was working. I question the quality assurance of the product as I have seen many people report it did work. I’d return but trying to remove from my motherboard clearly destroyed the components, which escalating into a rage with further consequences. This kit is a gamble and for me I ended up losing a functioning wii.
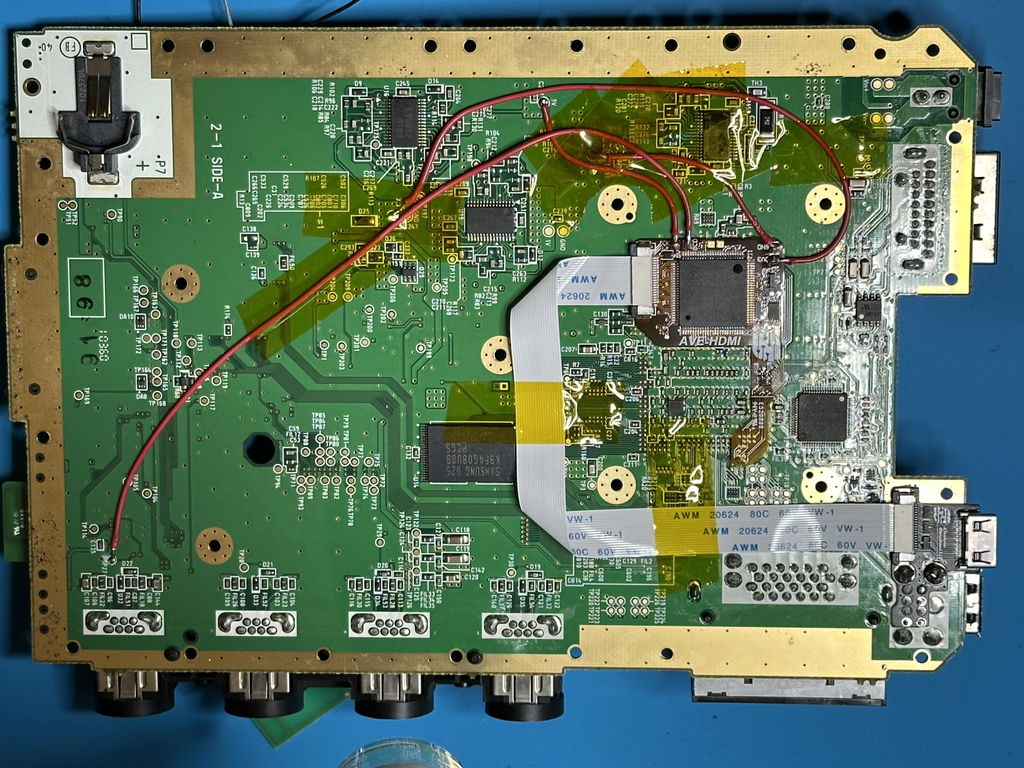
This kit is indeed not for beginners. It wasn't easy to install but it was a fun challenge that I thoroughly enjoyed! The biggest issue I had with the kit is that the board is only secured from one side, leaving the rest of the board hanging off of one or two vias, and with the way the ribbon cable comes out of it, it really puts a lot of stress on one via in particular. My kit had an issue with this. the vias on the board didn't connect to the mod chip, so I manually had to ruin a jumper wire between the two. This was inconvenient and a pain to do, and I bet this wouldn't be a problem if the mod board was more securely attached to the Wii, or maybe even if there were more via connections so that the ones it hangs on aren't important ones. Other than that, the kit is great and the video output looks amazing!
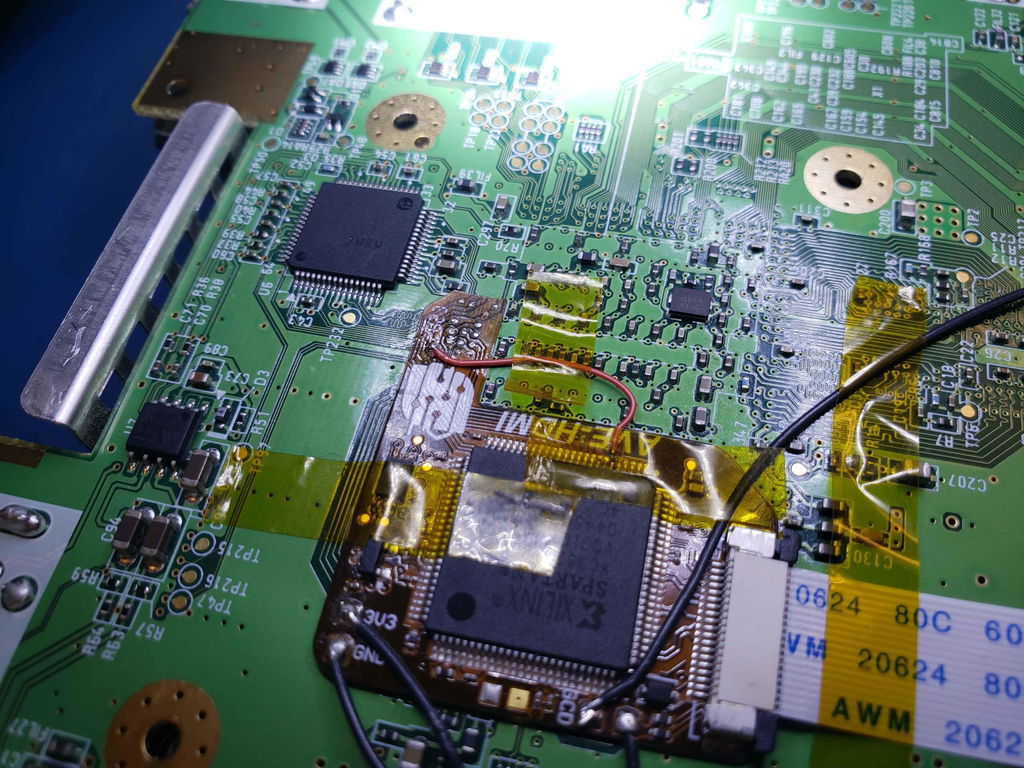
I have got the kit running in my Wii now and it is great! I am very satisfied with it.
The installation instructions on the site together with the youtube video from Voultar where great. I did not have any issues whatsoever. That is also why I choose this kit over the cheaper Chinese variants.
I love mods like this so for me its a win anyway. But I don't really think it is worth the price for just the better video and sound quality and response time.
That is because:
- It cost me around 100 euro to get the kit here in the Netherlands. That is 10 times more than what I actually paid for my second hand Wii a few years ago.
- Wii games are perfectly playable with the Wii2HDMI converter which costs between the 10 and 20 euros here. You are not playing games on the Wii now to get good video/audio quality anyway.
This kit is really for the enthusiasts and/or people that want to get the best possible Wii gaming experience.
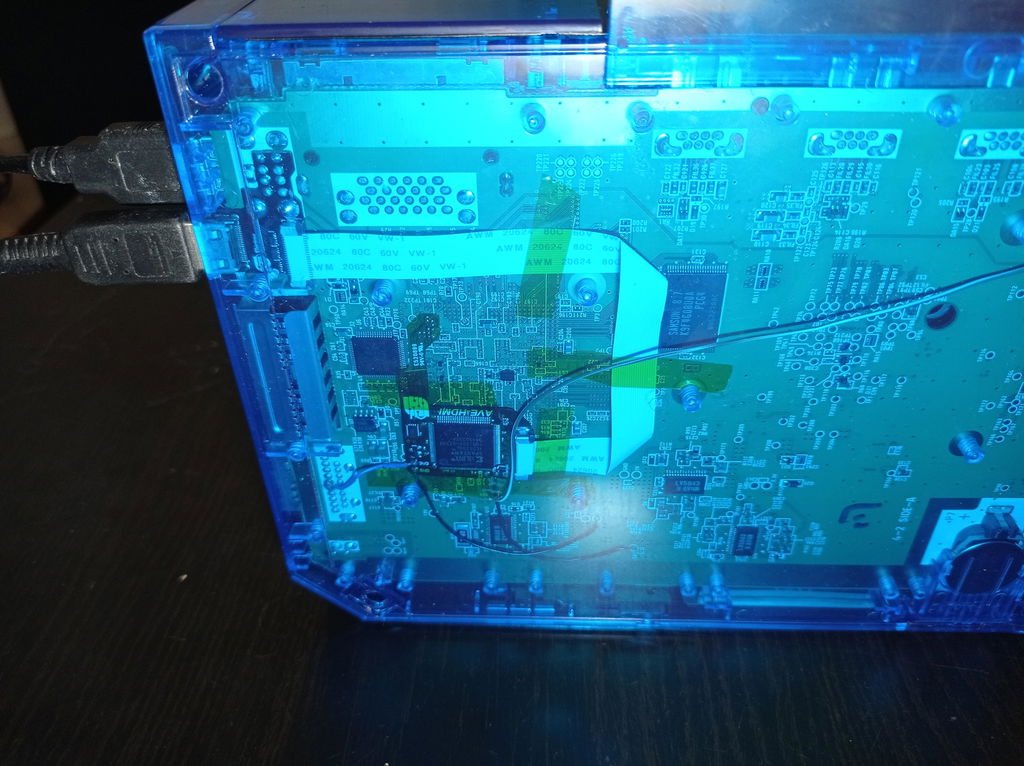
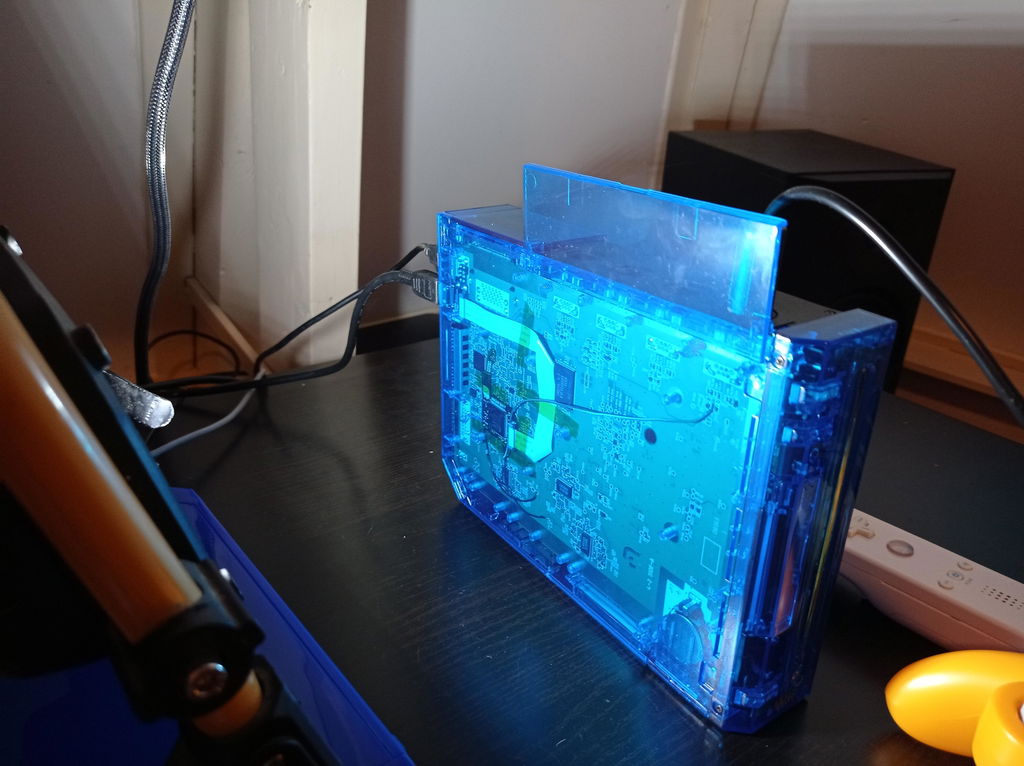
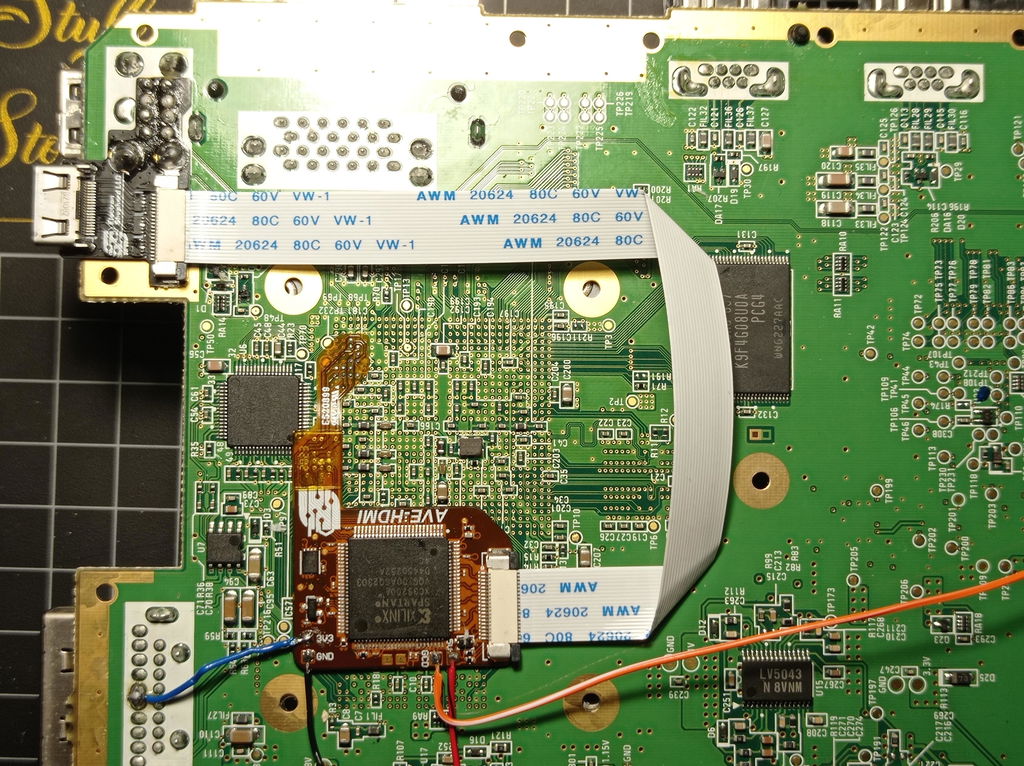
I feel like I had an abnormally easy time installing this kit. I didn't end up needing to scrape any of the vias to get them to tin, and placement was nearly perfect with help from my phone camera's macro lens.
Two things to mention for people who will attempt to install this kit:
1. Plan the routing of your wires. I had slightly thicker wires than the instructions called for, which made crossovers a bit more annoying to deal with. In hindsight I should have found closer spots for 3v and ground. Also, the ground plane on a 6 layer wii is more difficult to solder to than you think it will be, be patient with it.
2. PLEASE test your soldering of the flex cable with a multimeter. It took a while to reassemble the wii to a point where I could test my work proper, and having to go back to the bare pcb after that work would have been very annoying.
I would recommend for anyone who isn't completely confident in installing this kit/not ok with the possibility of losing a wii to reach out to one of the verified installers, I can see a failed attempt to install this kit going very wrong very quickly.
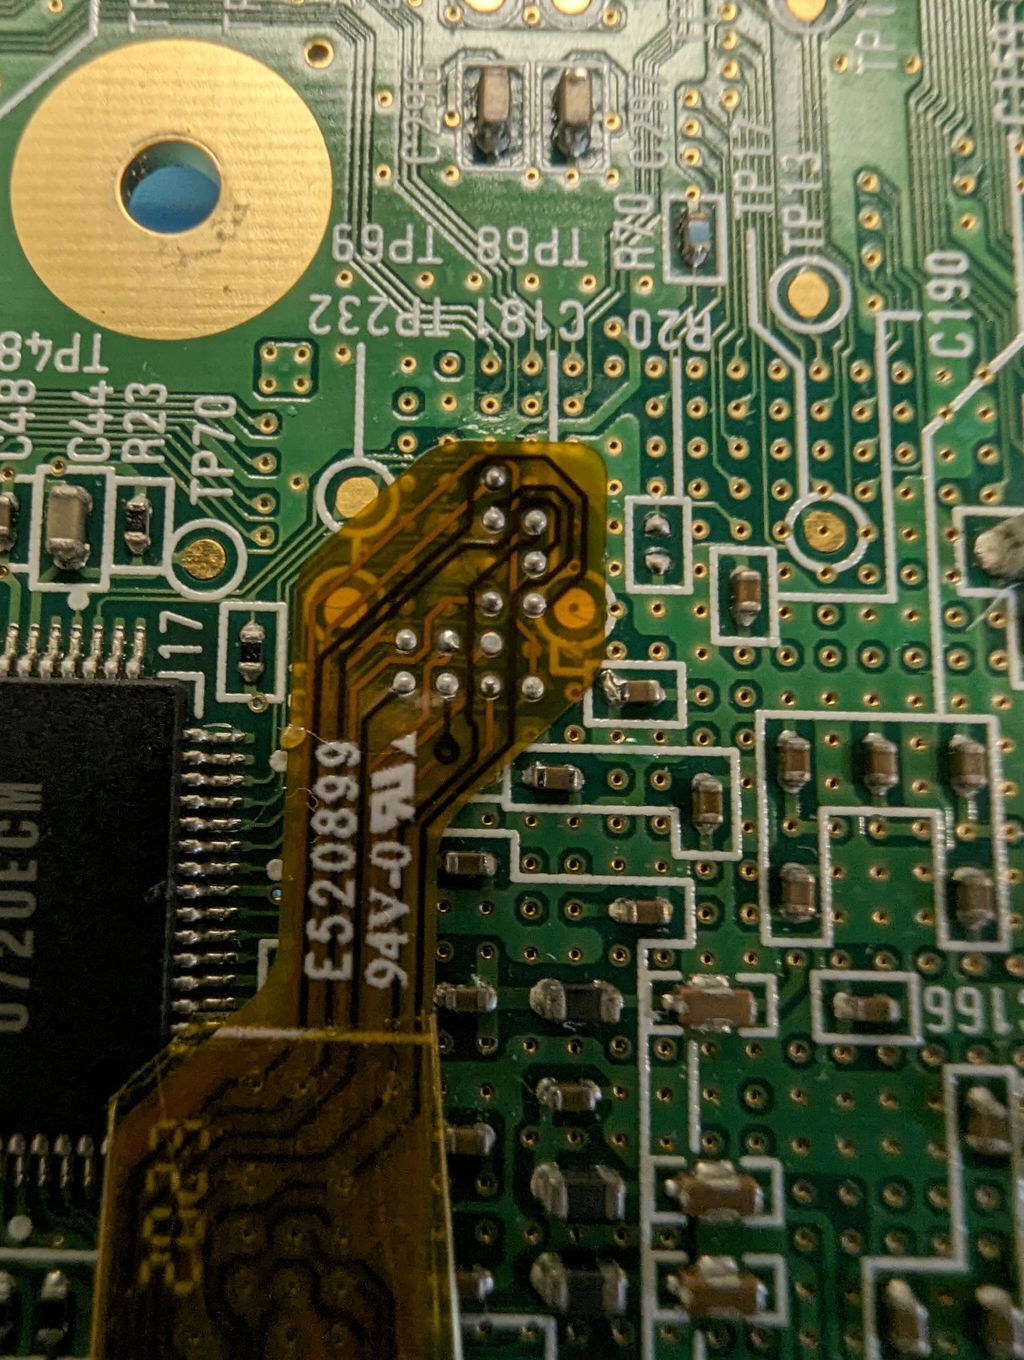
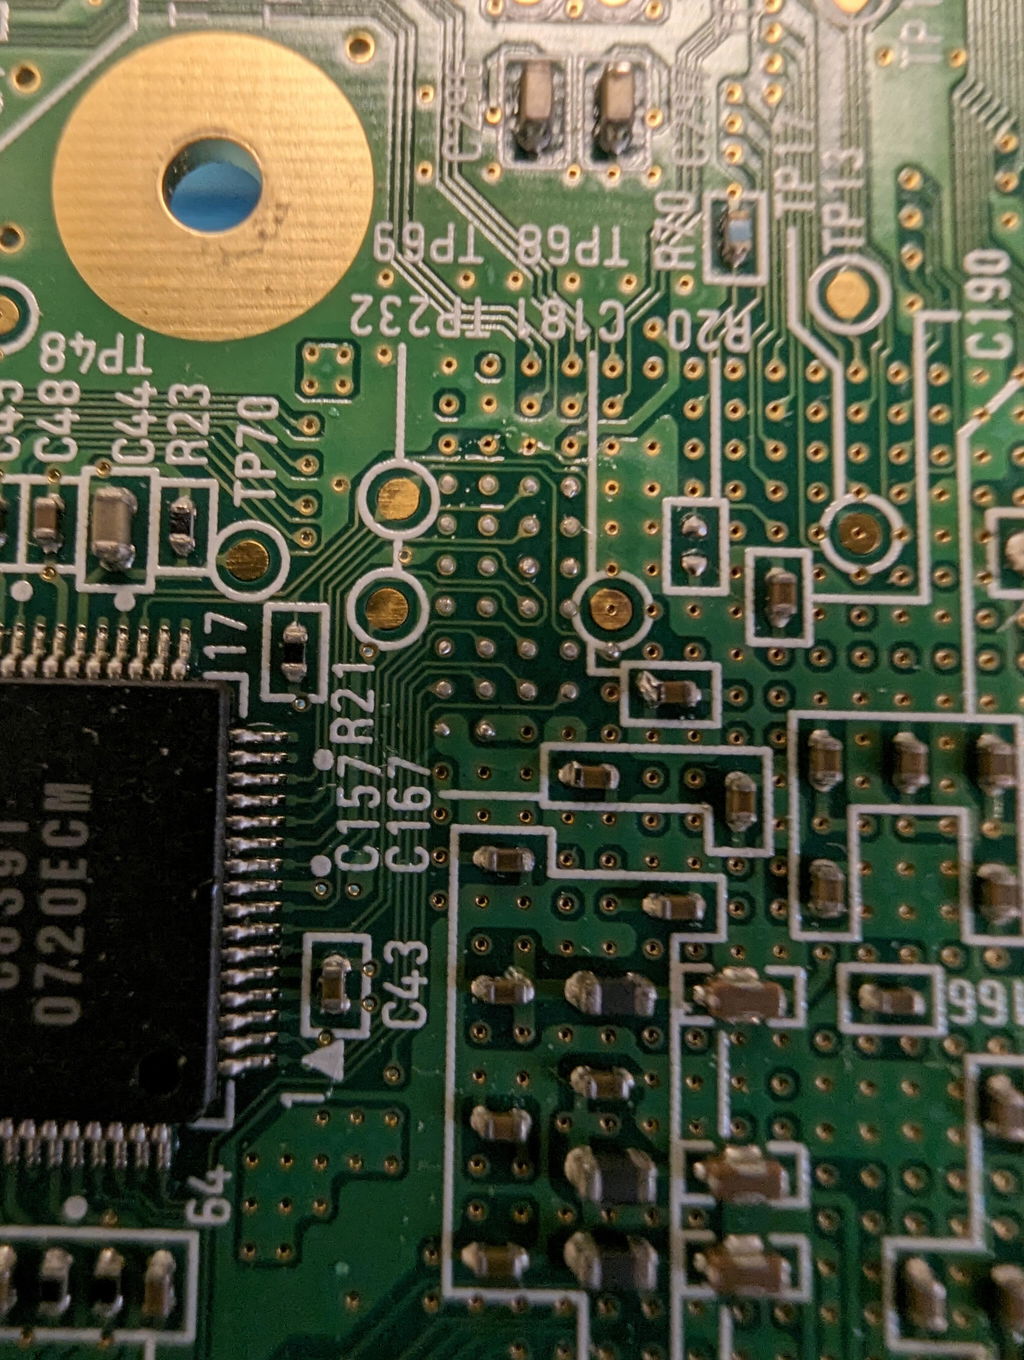
great product, super easy install. i had no 26awg wire so doubled up 30awg was used.
ir button function and gc port function both work perfect for accessing osd menu.
480p was possible on cpu-40 with no bridged pins.
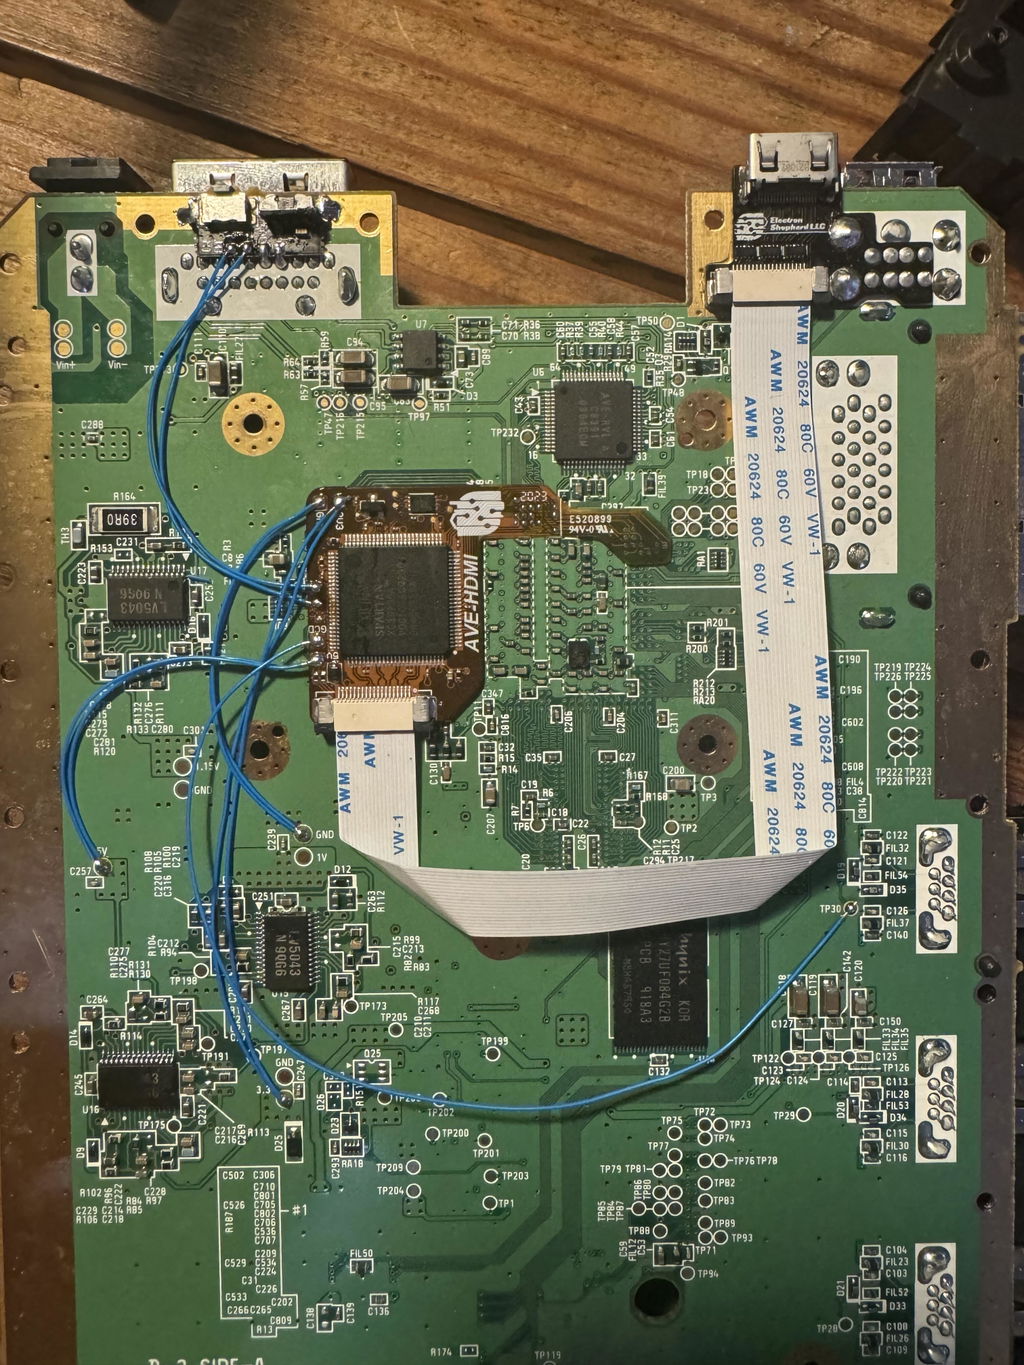
Hi Ian -
Thank you for the honest feedback. As was mentioned throughout our numerous conversations via the chat option on my website, I am in the process of rebranding and revamping the information available for this Kit and the installation process associated with it. You can now find detailed installation instructions here: https://electron-shepherd.com/pages/ave-hdmi-installation-instructions
I'm sorry that my repeated chat support over the last few days and the available installation videos on the product page were not sufficient enough to gain more than a 1-Star review.
I'm glad that you were able to get your Kit installed and working well nonetheless.
-Shane
Disassembling & re-assembling the nintendo Wii is frustrating. The actual electronAVE install was challenging but enjoyable compared to the Wii case and Nintendo's sick sense of humor. If you take on this project: use your camera to document each and every screw, position, and size of that screw before and after you remove it whilst disassembling the Wii case. You will thank me later.
My only gripe is that there is no included (paper?) template to help with the modifying and cutting into the Wii case to accommodate the HDMI port and IR receiver. That would've been a nice addition.
All in all, I'll probably mod my other Nintendo Wii with the electronAVE soon (now that I know what is involved).
I have been modding consoles for some time and this kit is one of the best I've used for adding HDMI to a wii.
Installation was a bit difficult without a microscope, but totally doable. Asked a question and got a prompt response from support. The product works great
Very good video quality, colors are vibrant and no noticeable latency
Works as advertised, and is relatively simple to install.
Awesome product. I use this to have dual output to my CRT and my computer for recording. I output on the CRT using component but unfortunately can’t use the Wii menu option to output 480p. On my pc 480p looks so good when recording but it messes up my TV. I might use it for recording special moments. I consider myself to be below average with soldering. I have no issues things like replacing batteries or splicing cables but anything with traces or test pads gets very difficult. As I upgraded my setup I improved my skills but I can see why the microscope was so heavily recommended. It’s possible to do with a magnifying glass but the hard part is scraping the contacts and getting them tinned. A multimeter ended up saving me. Extremely pleased with the end result and I’m very happy I was able to do this mod