ElectronAVE Kit

ElectronAVE Kit
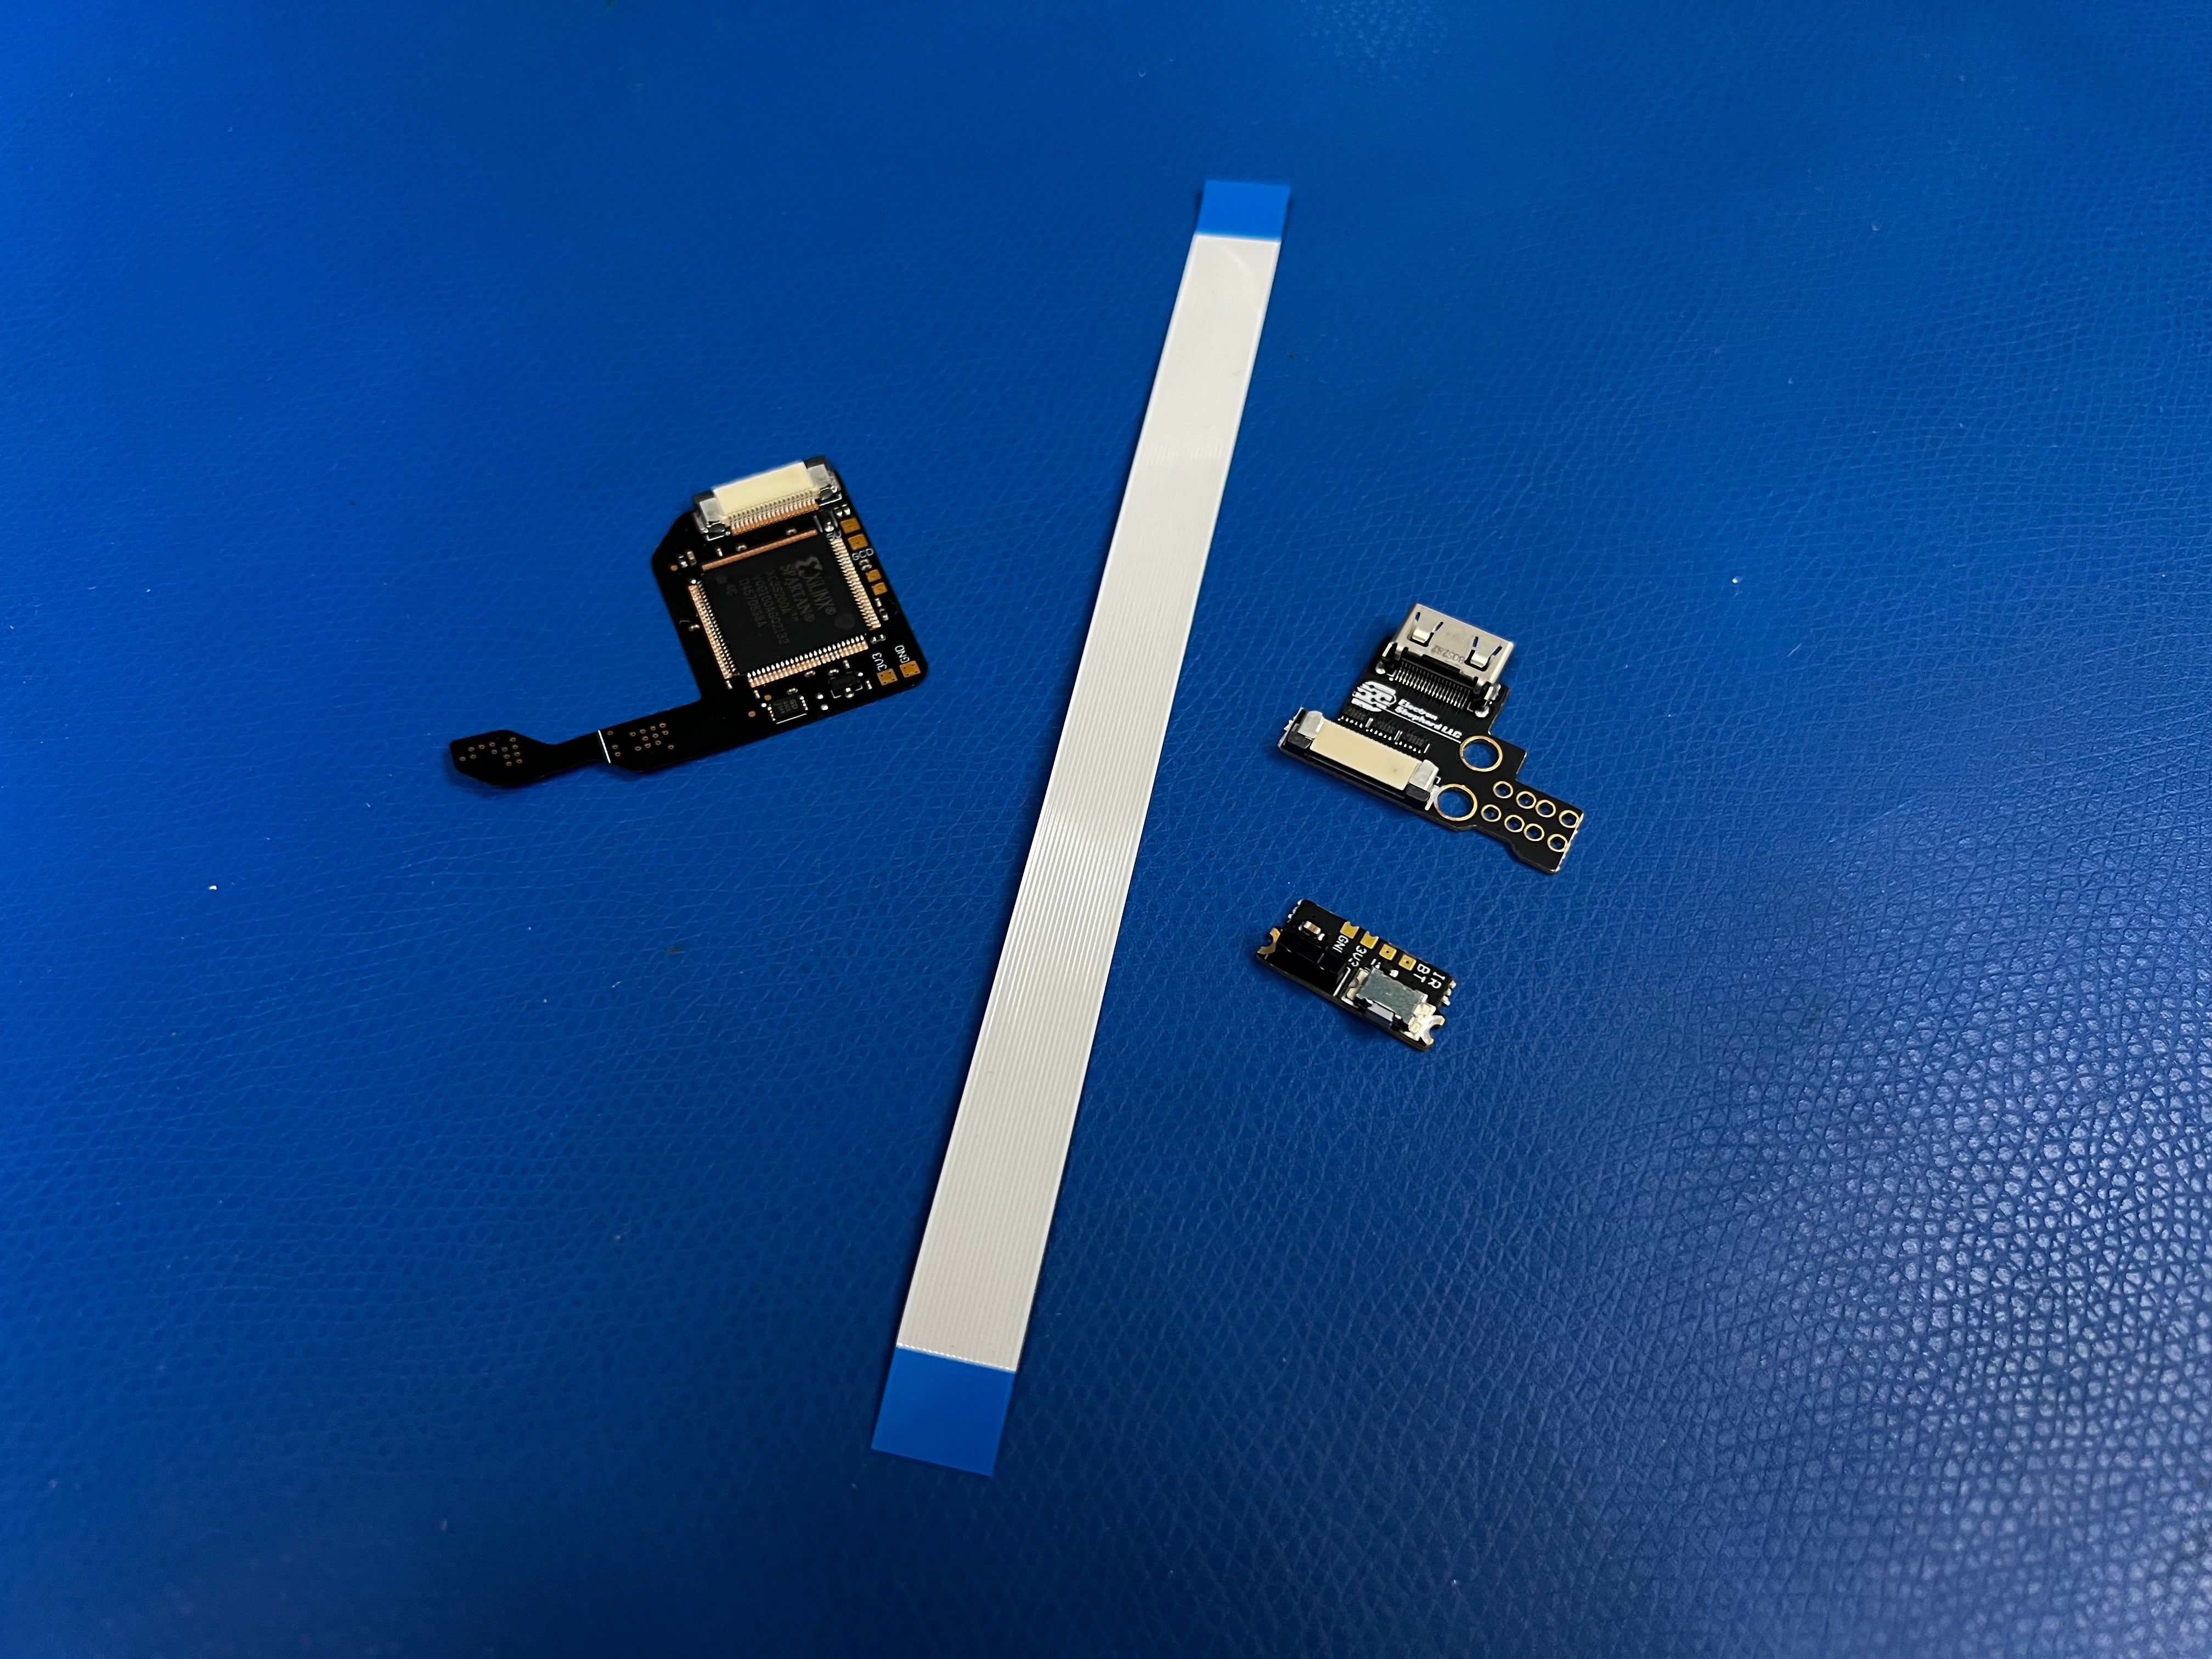
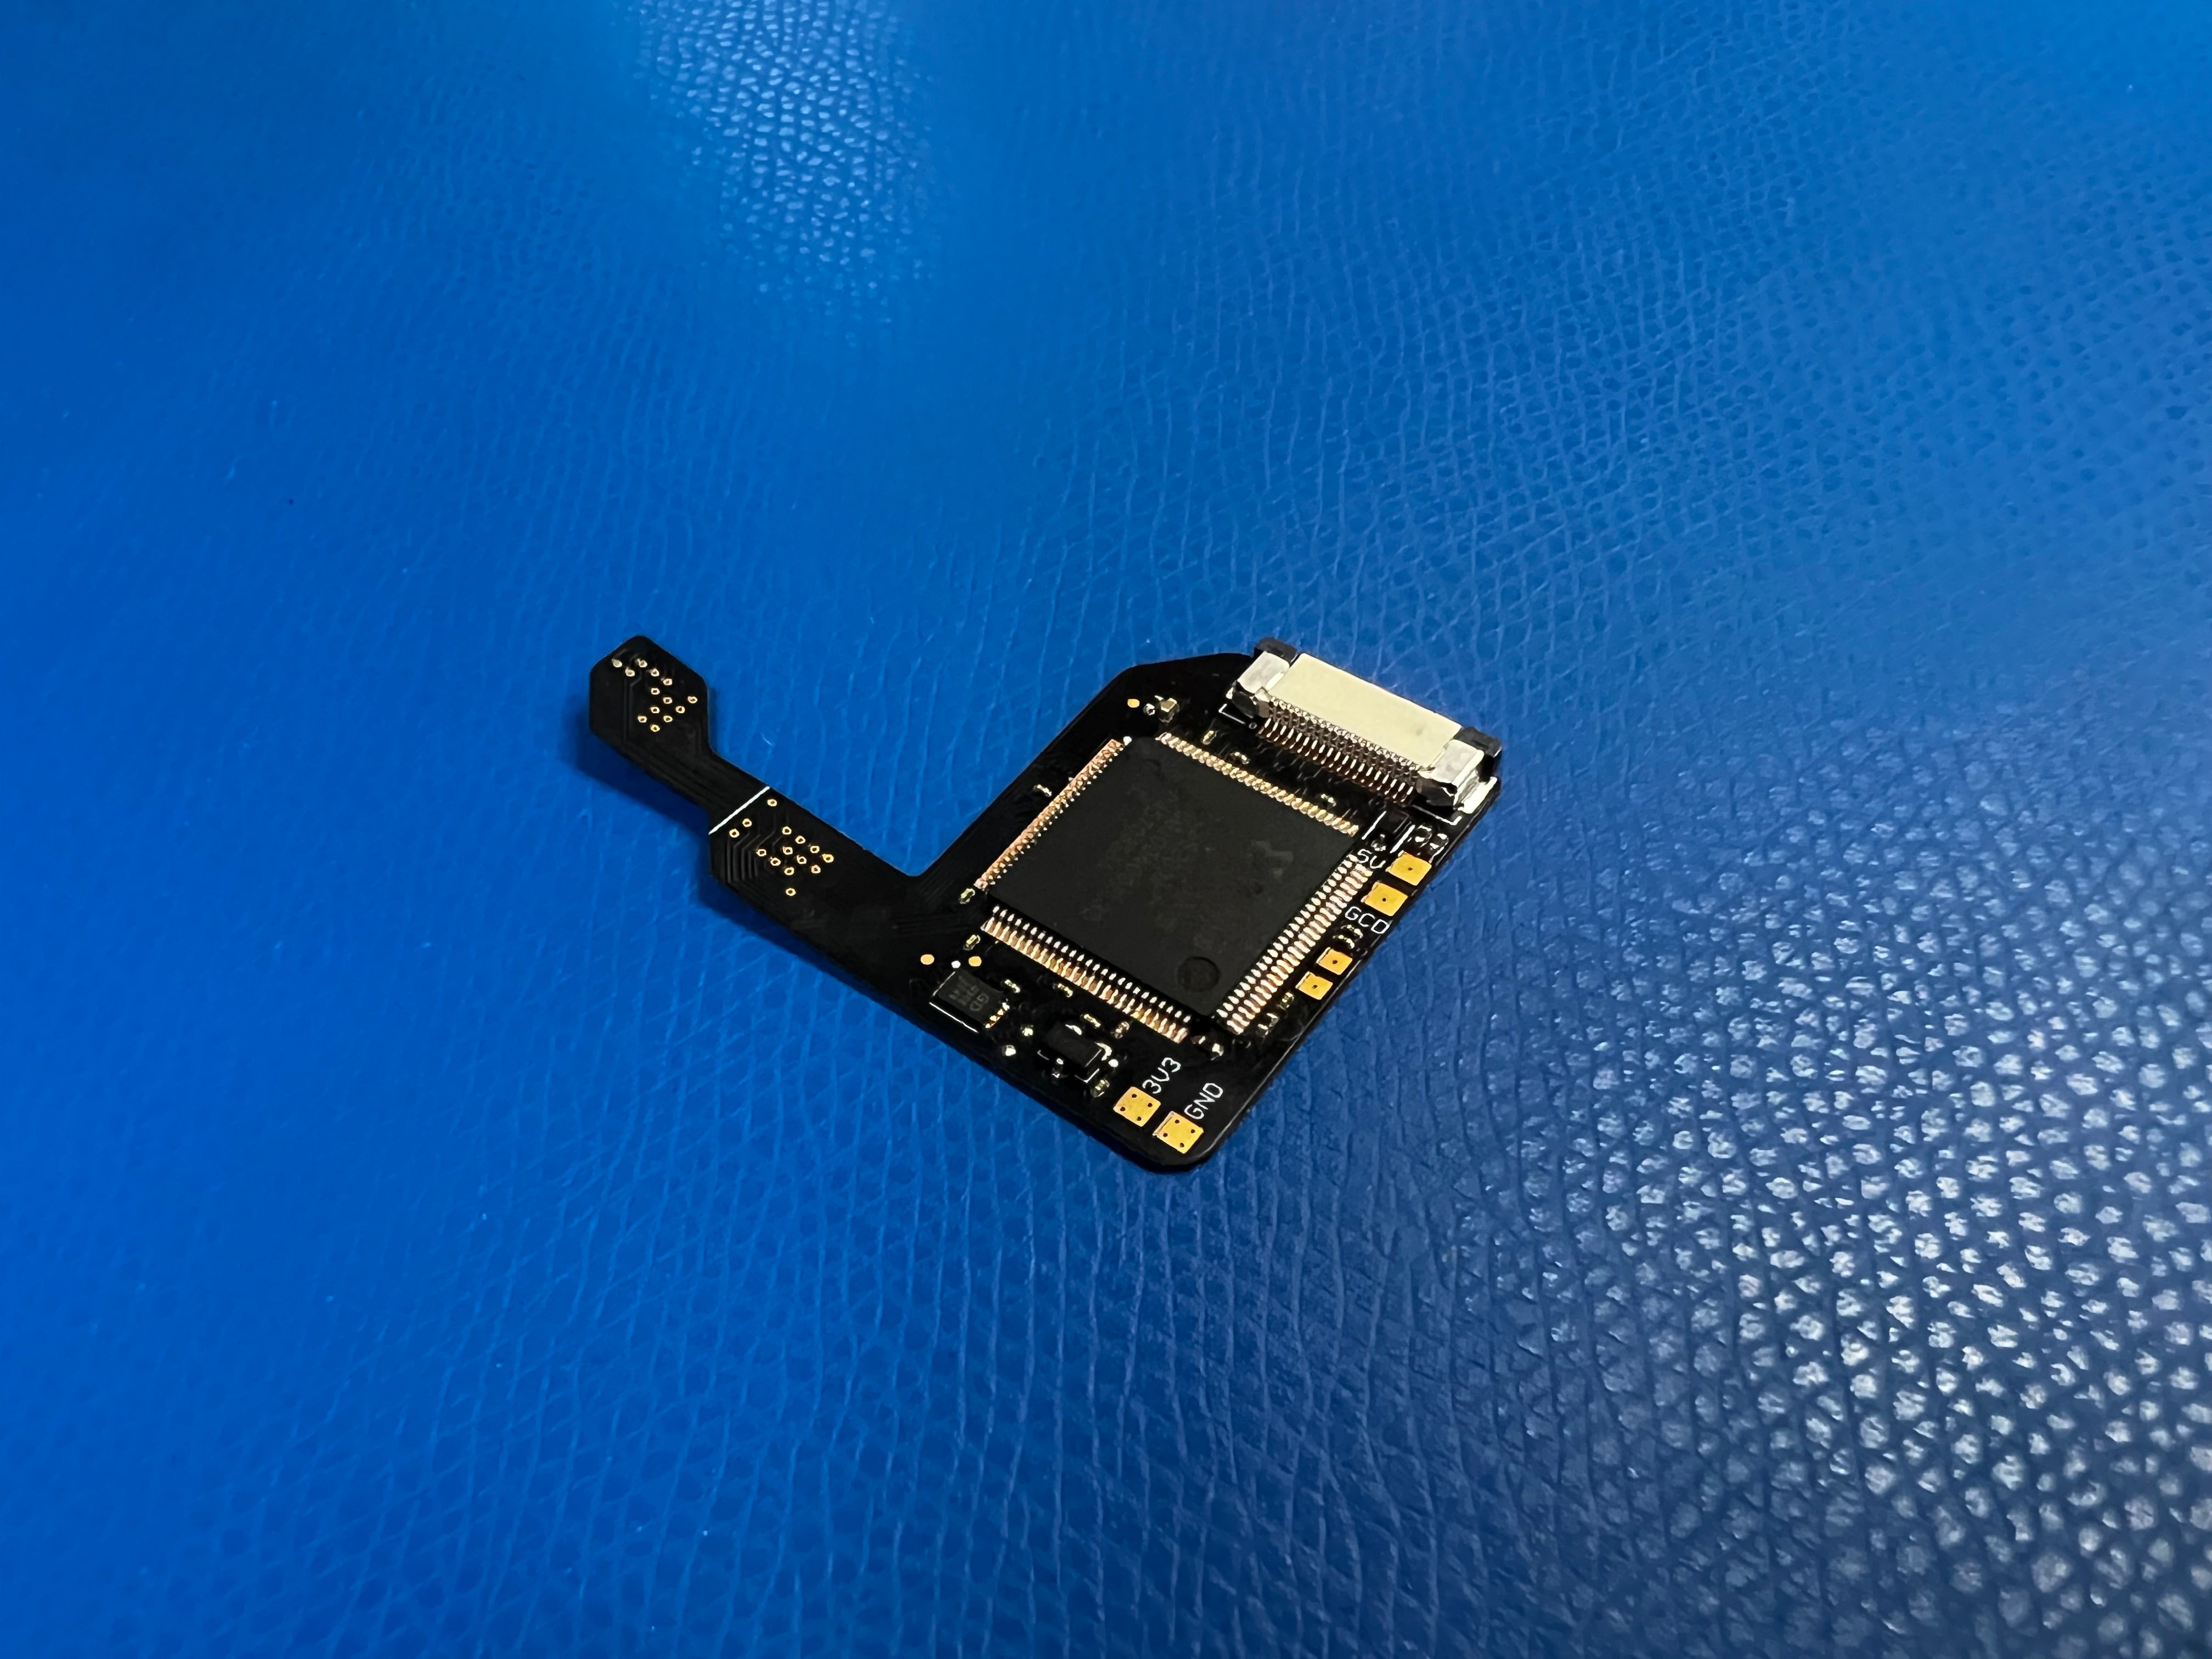
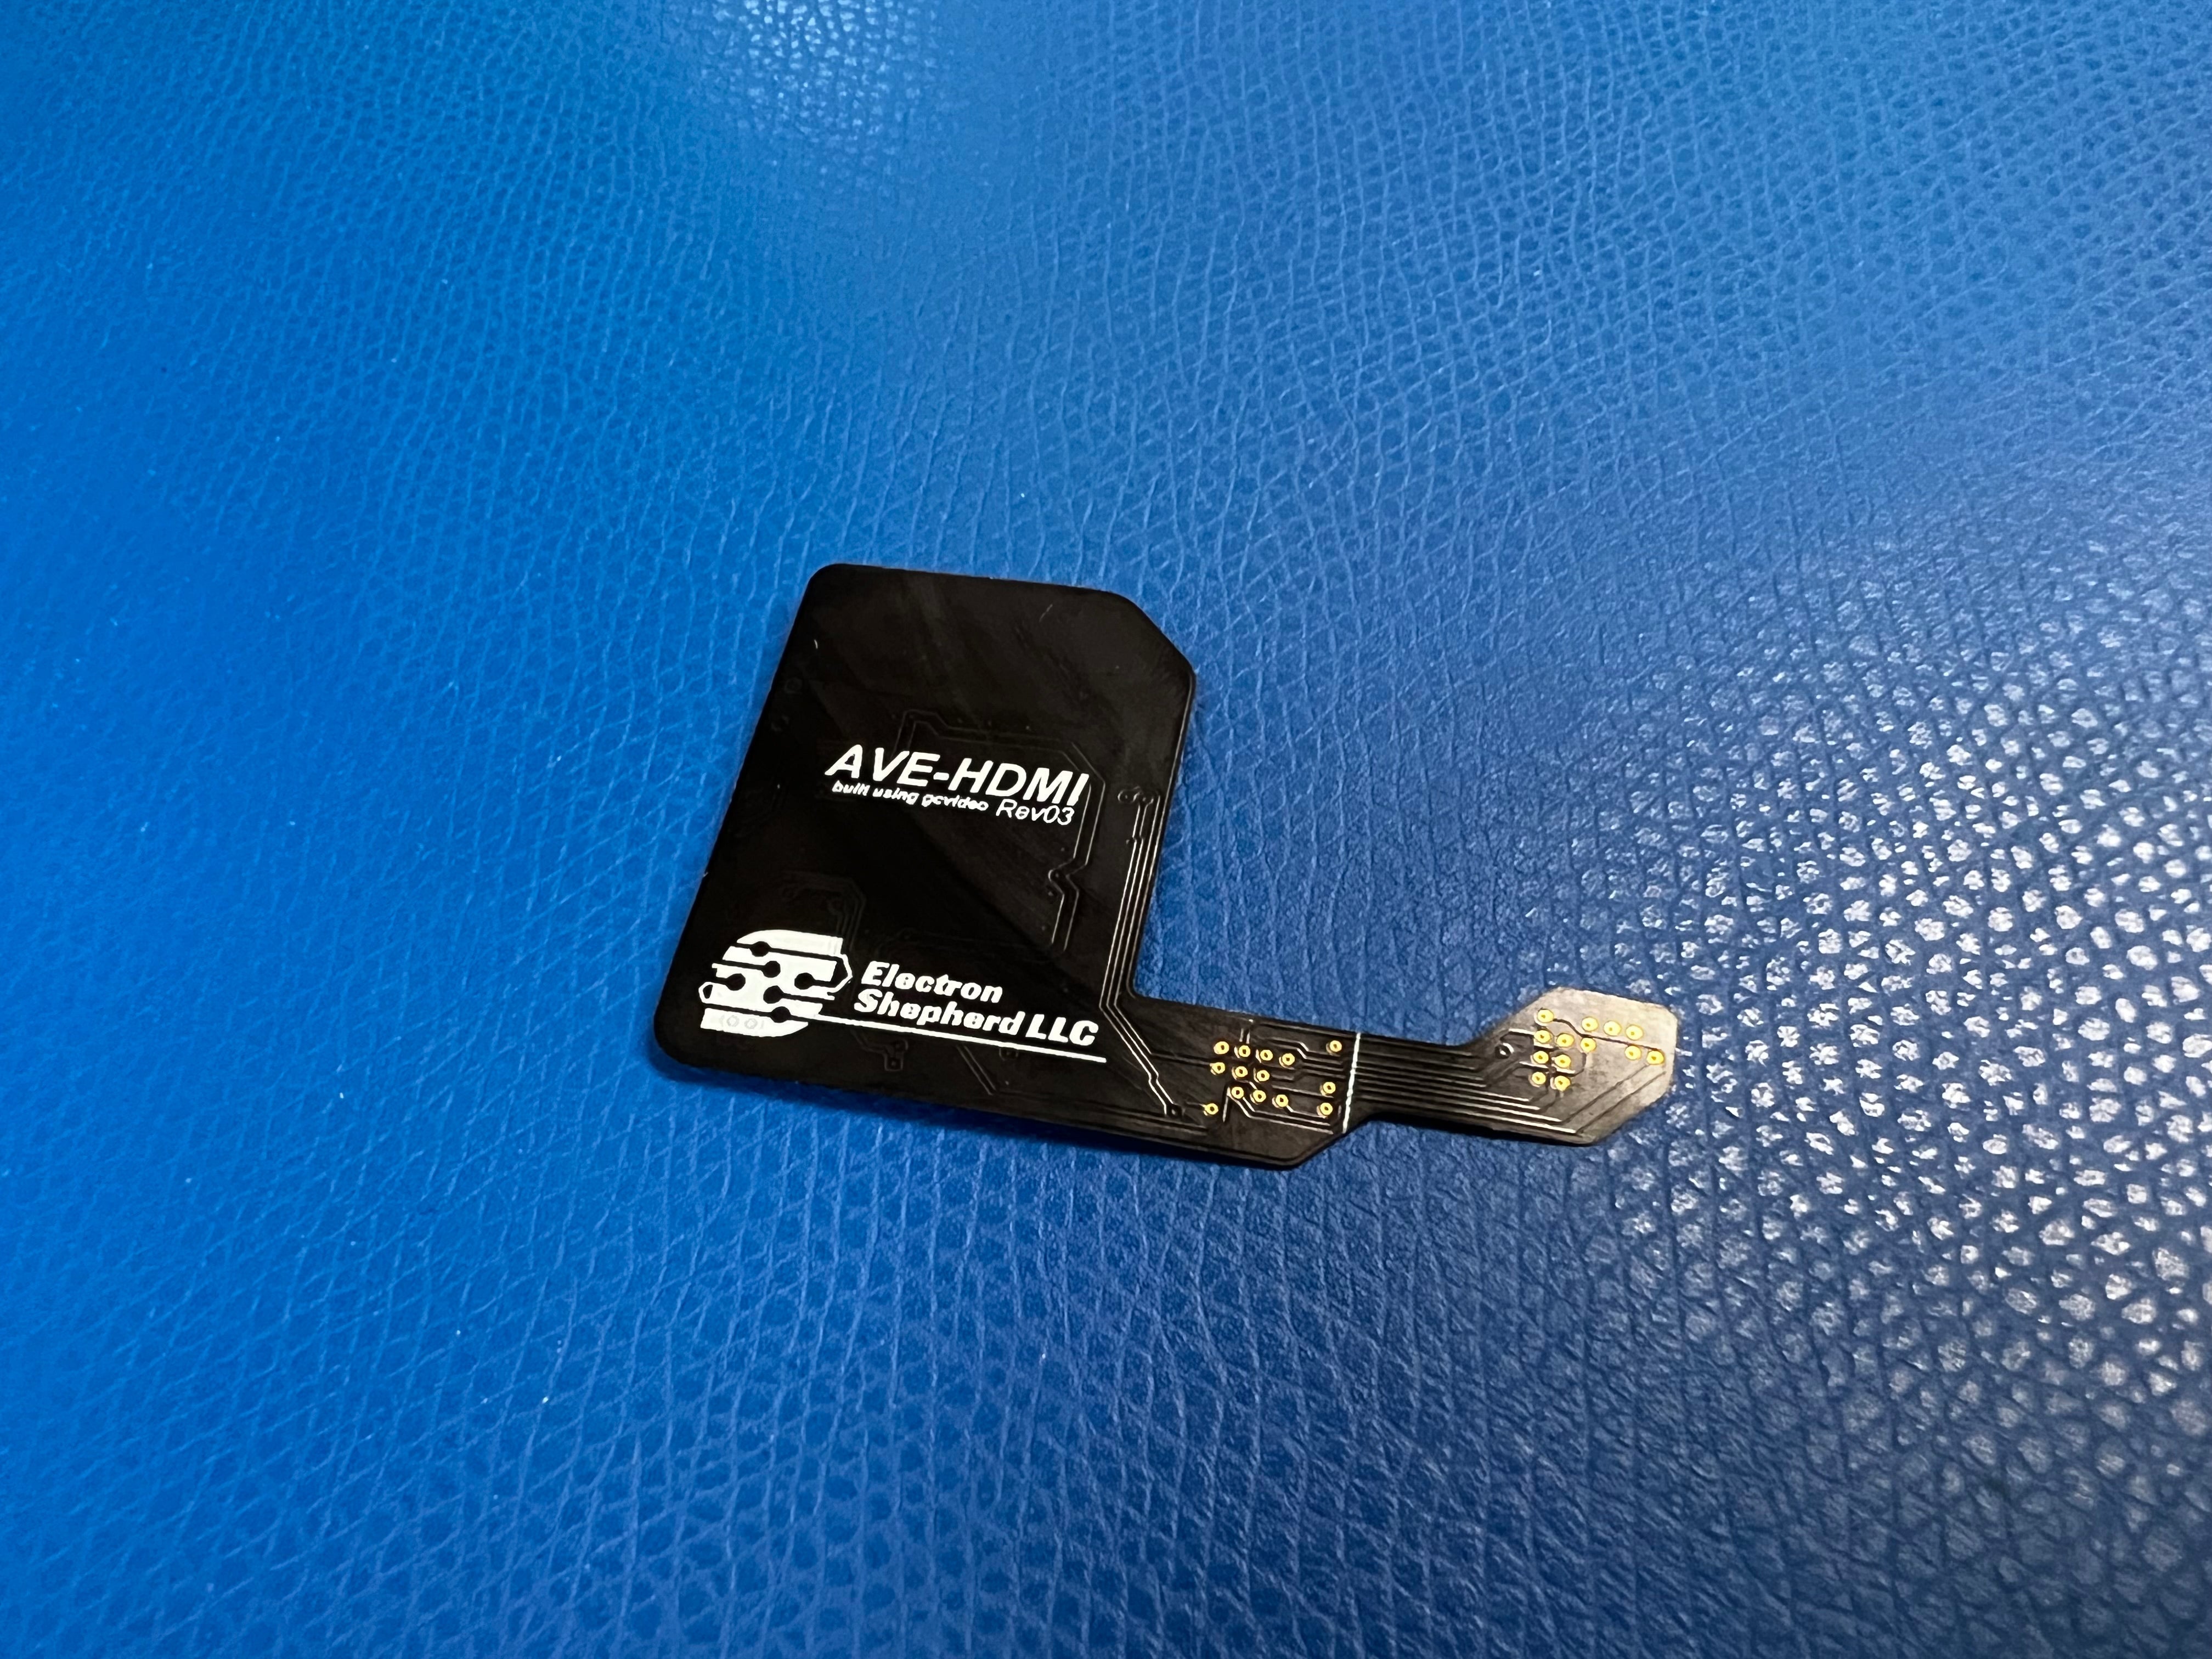
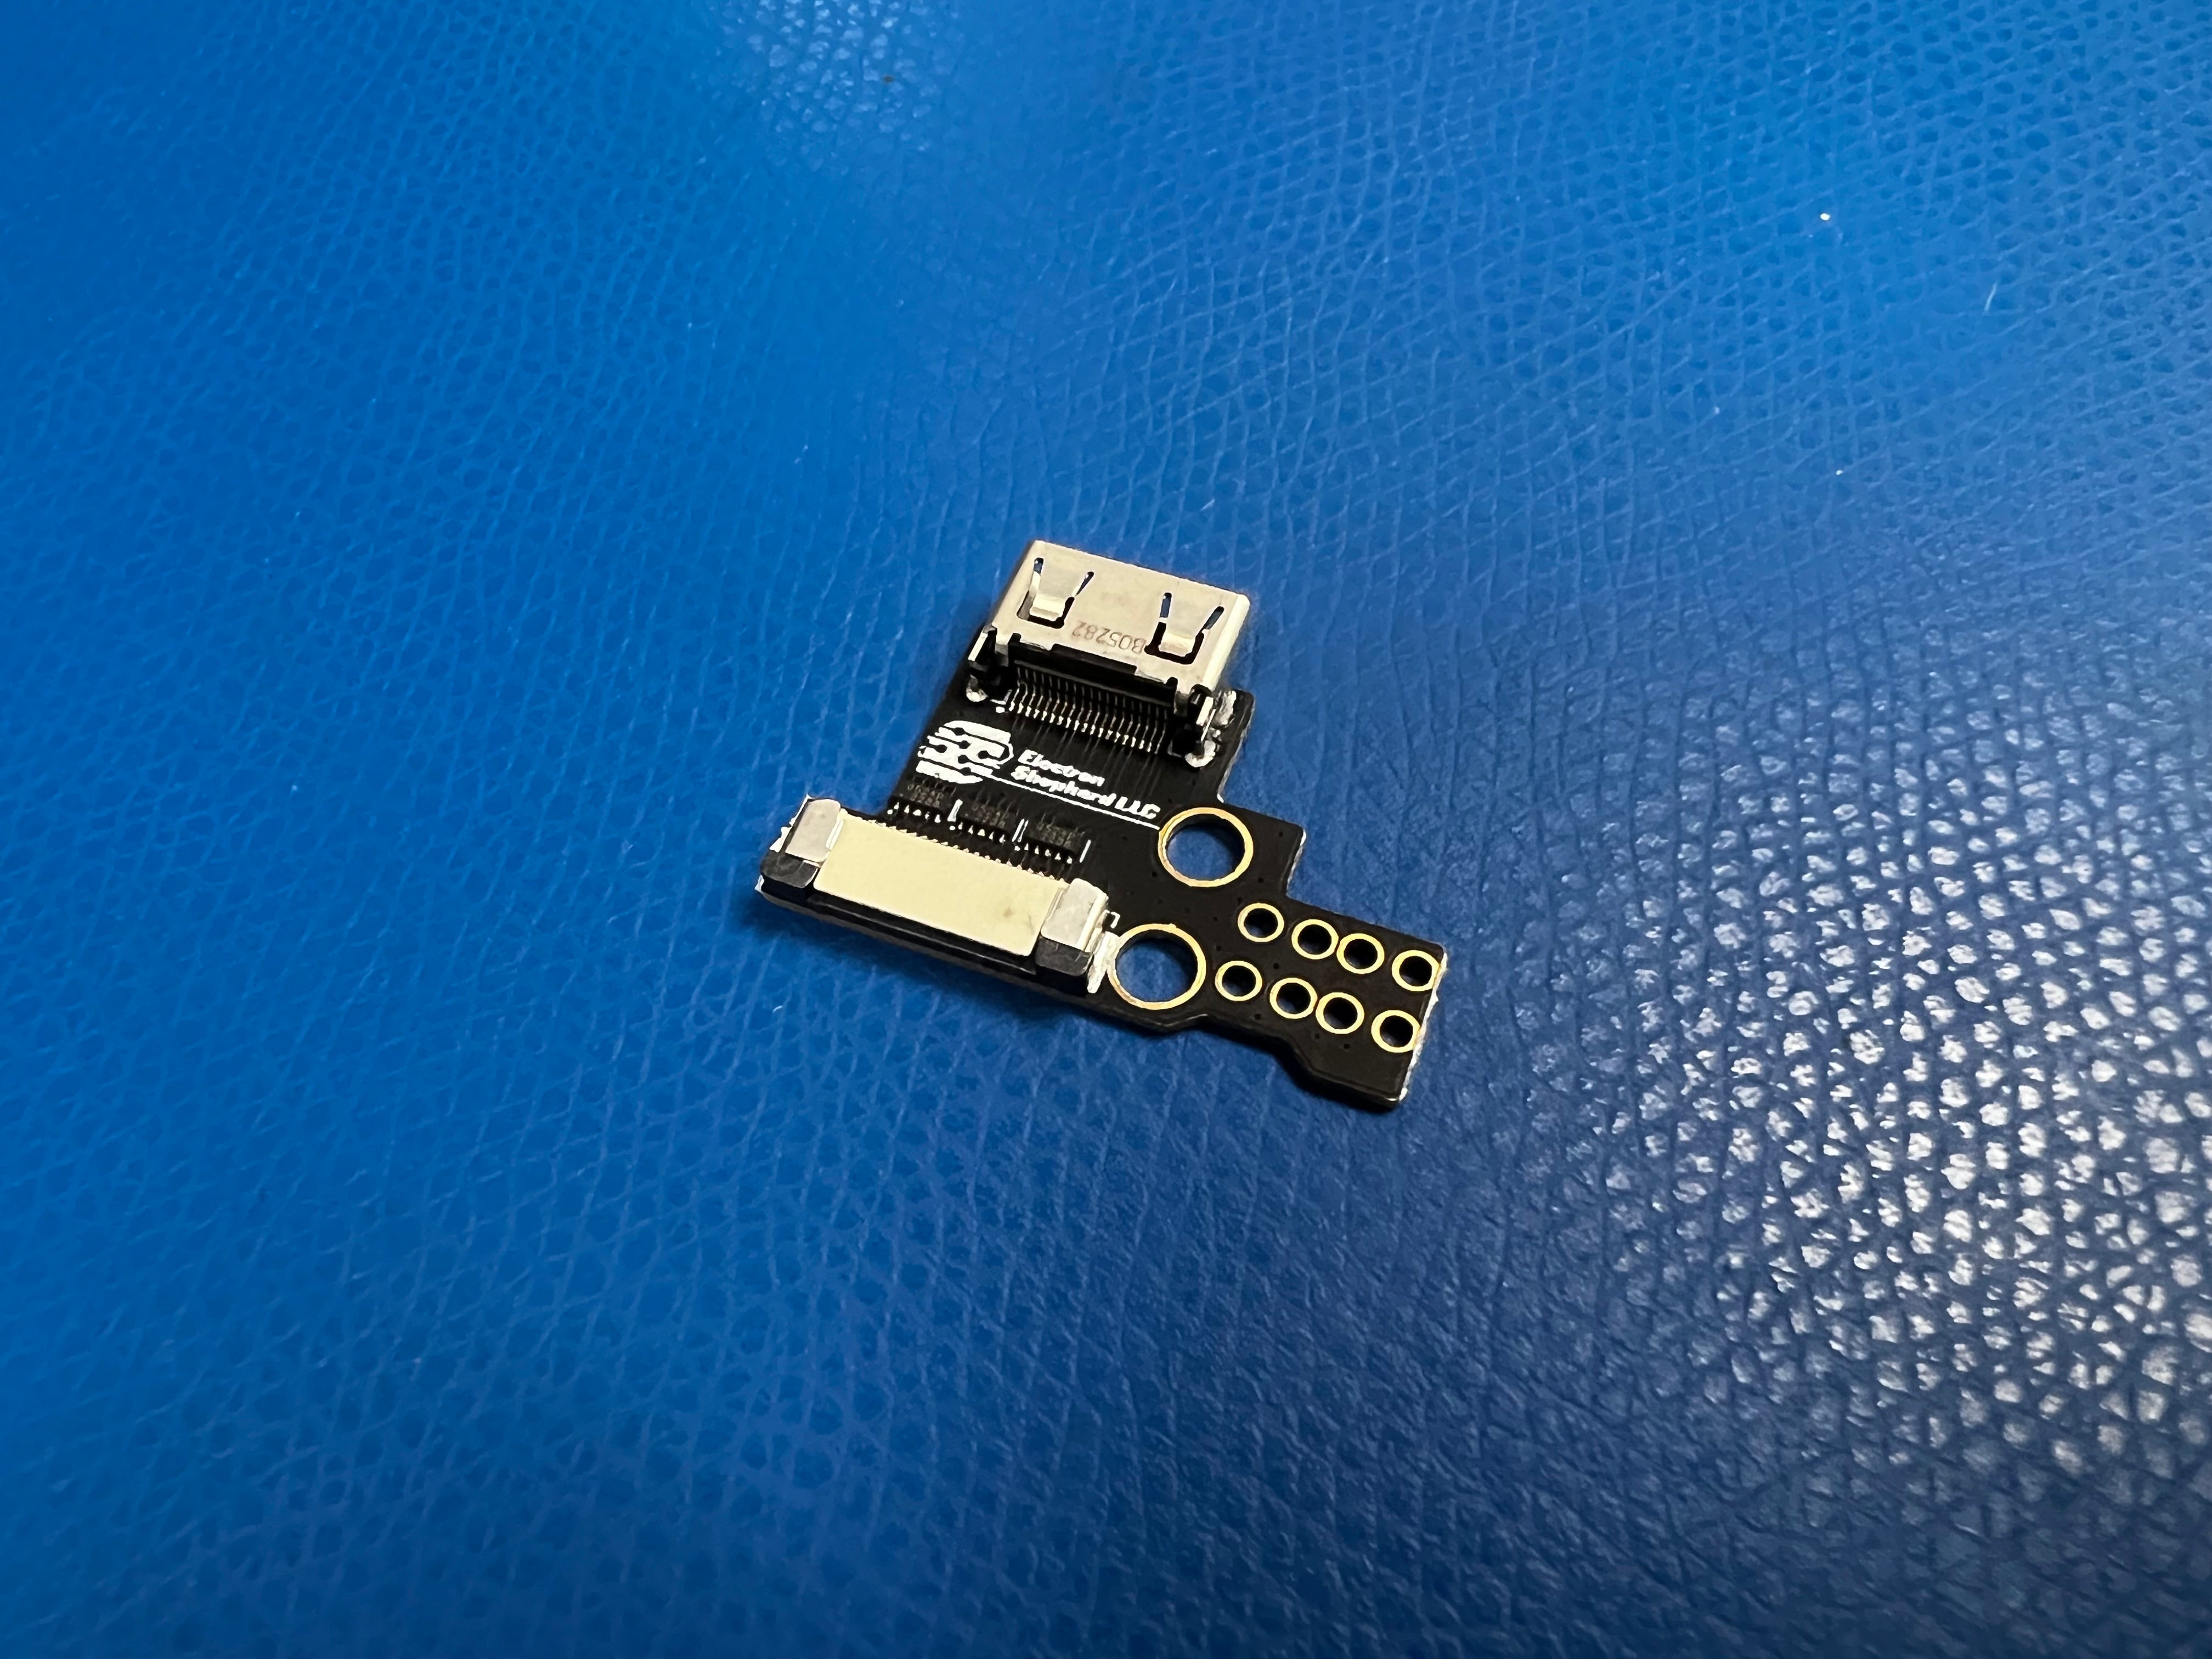
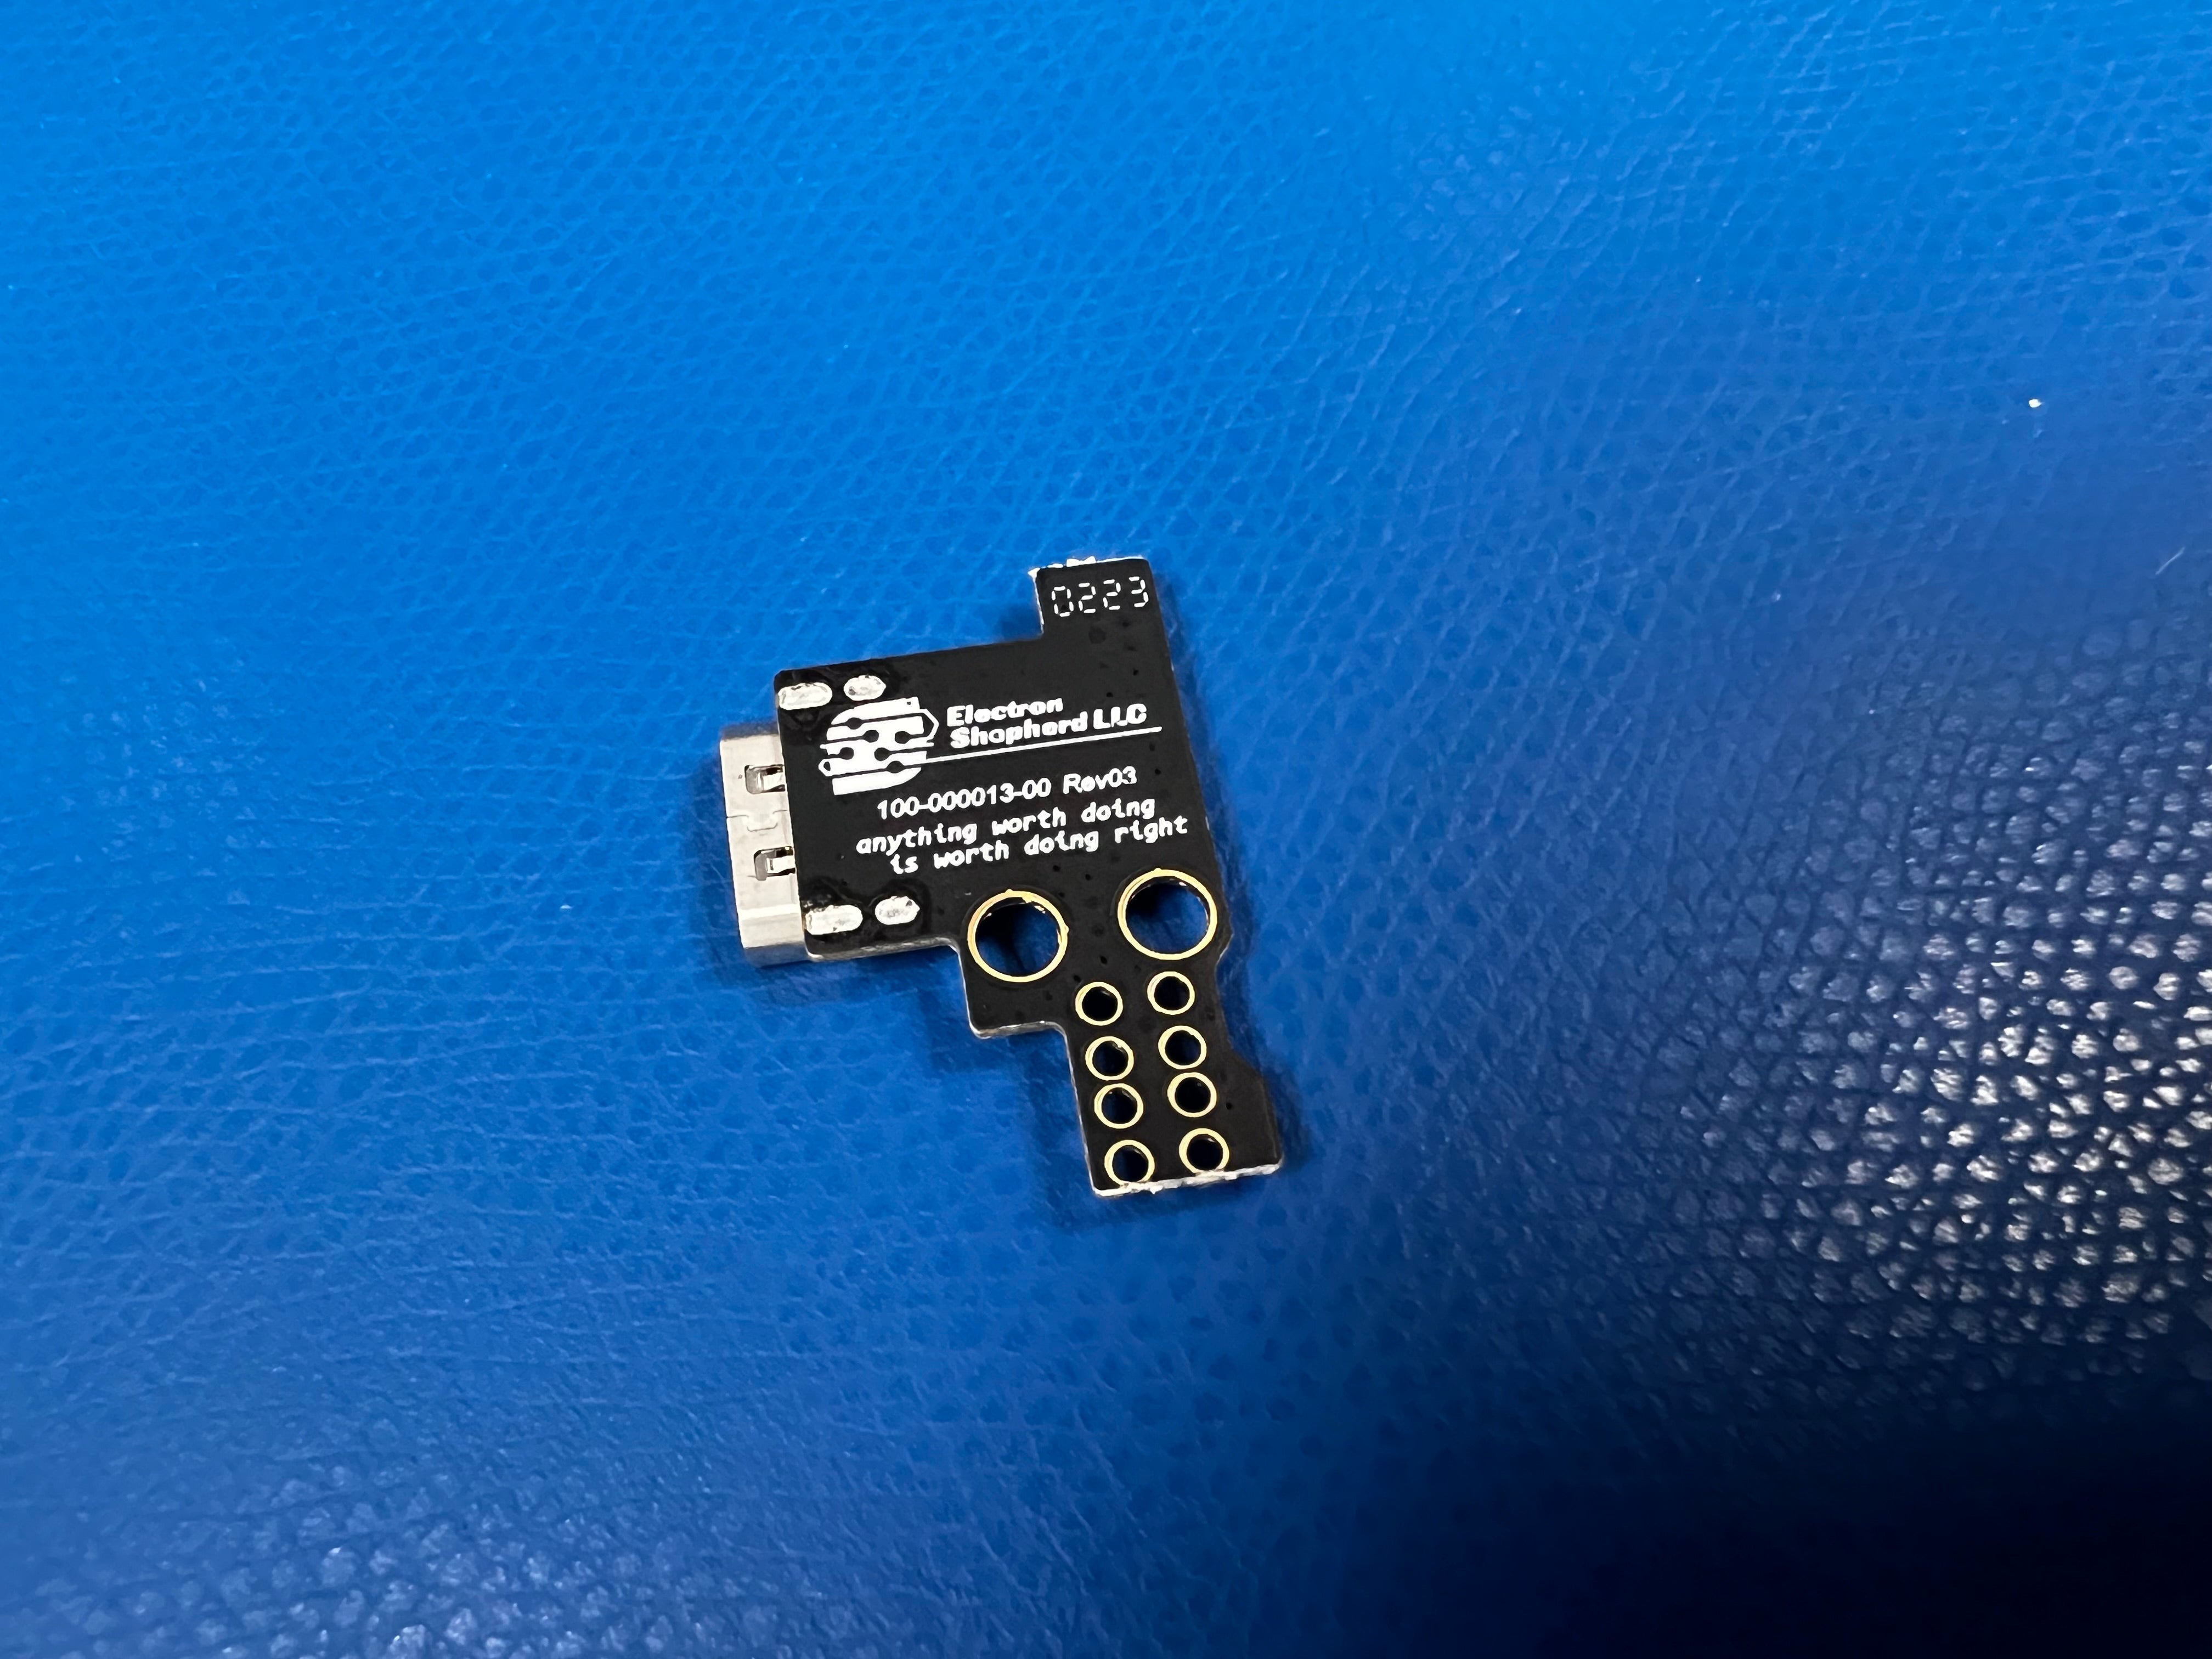
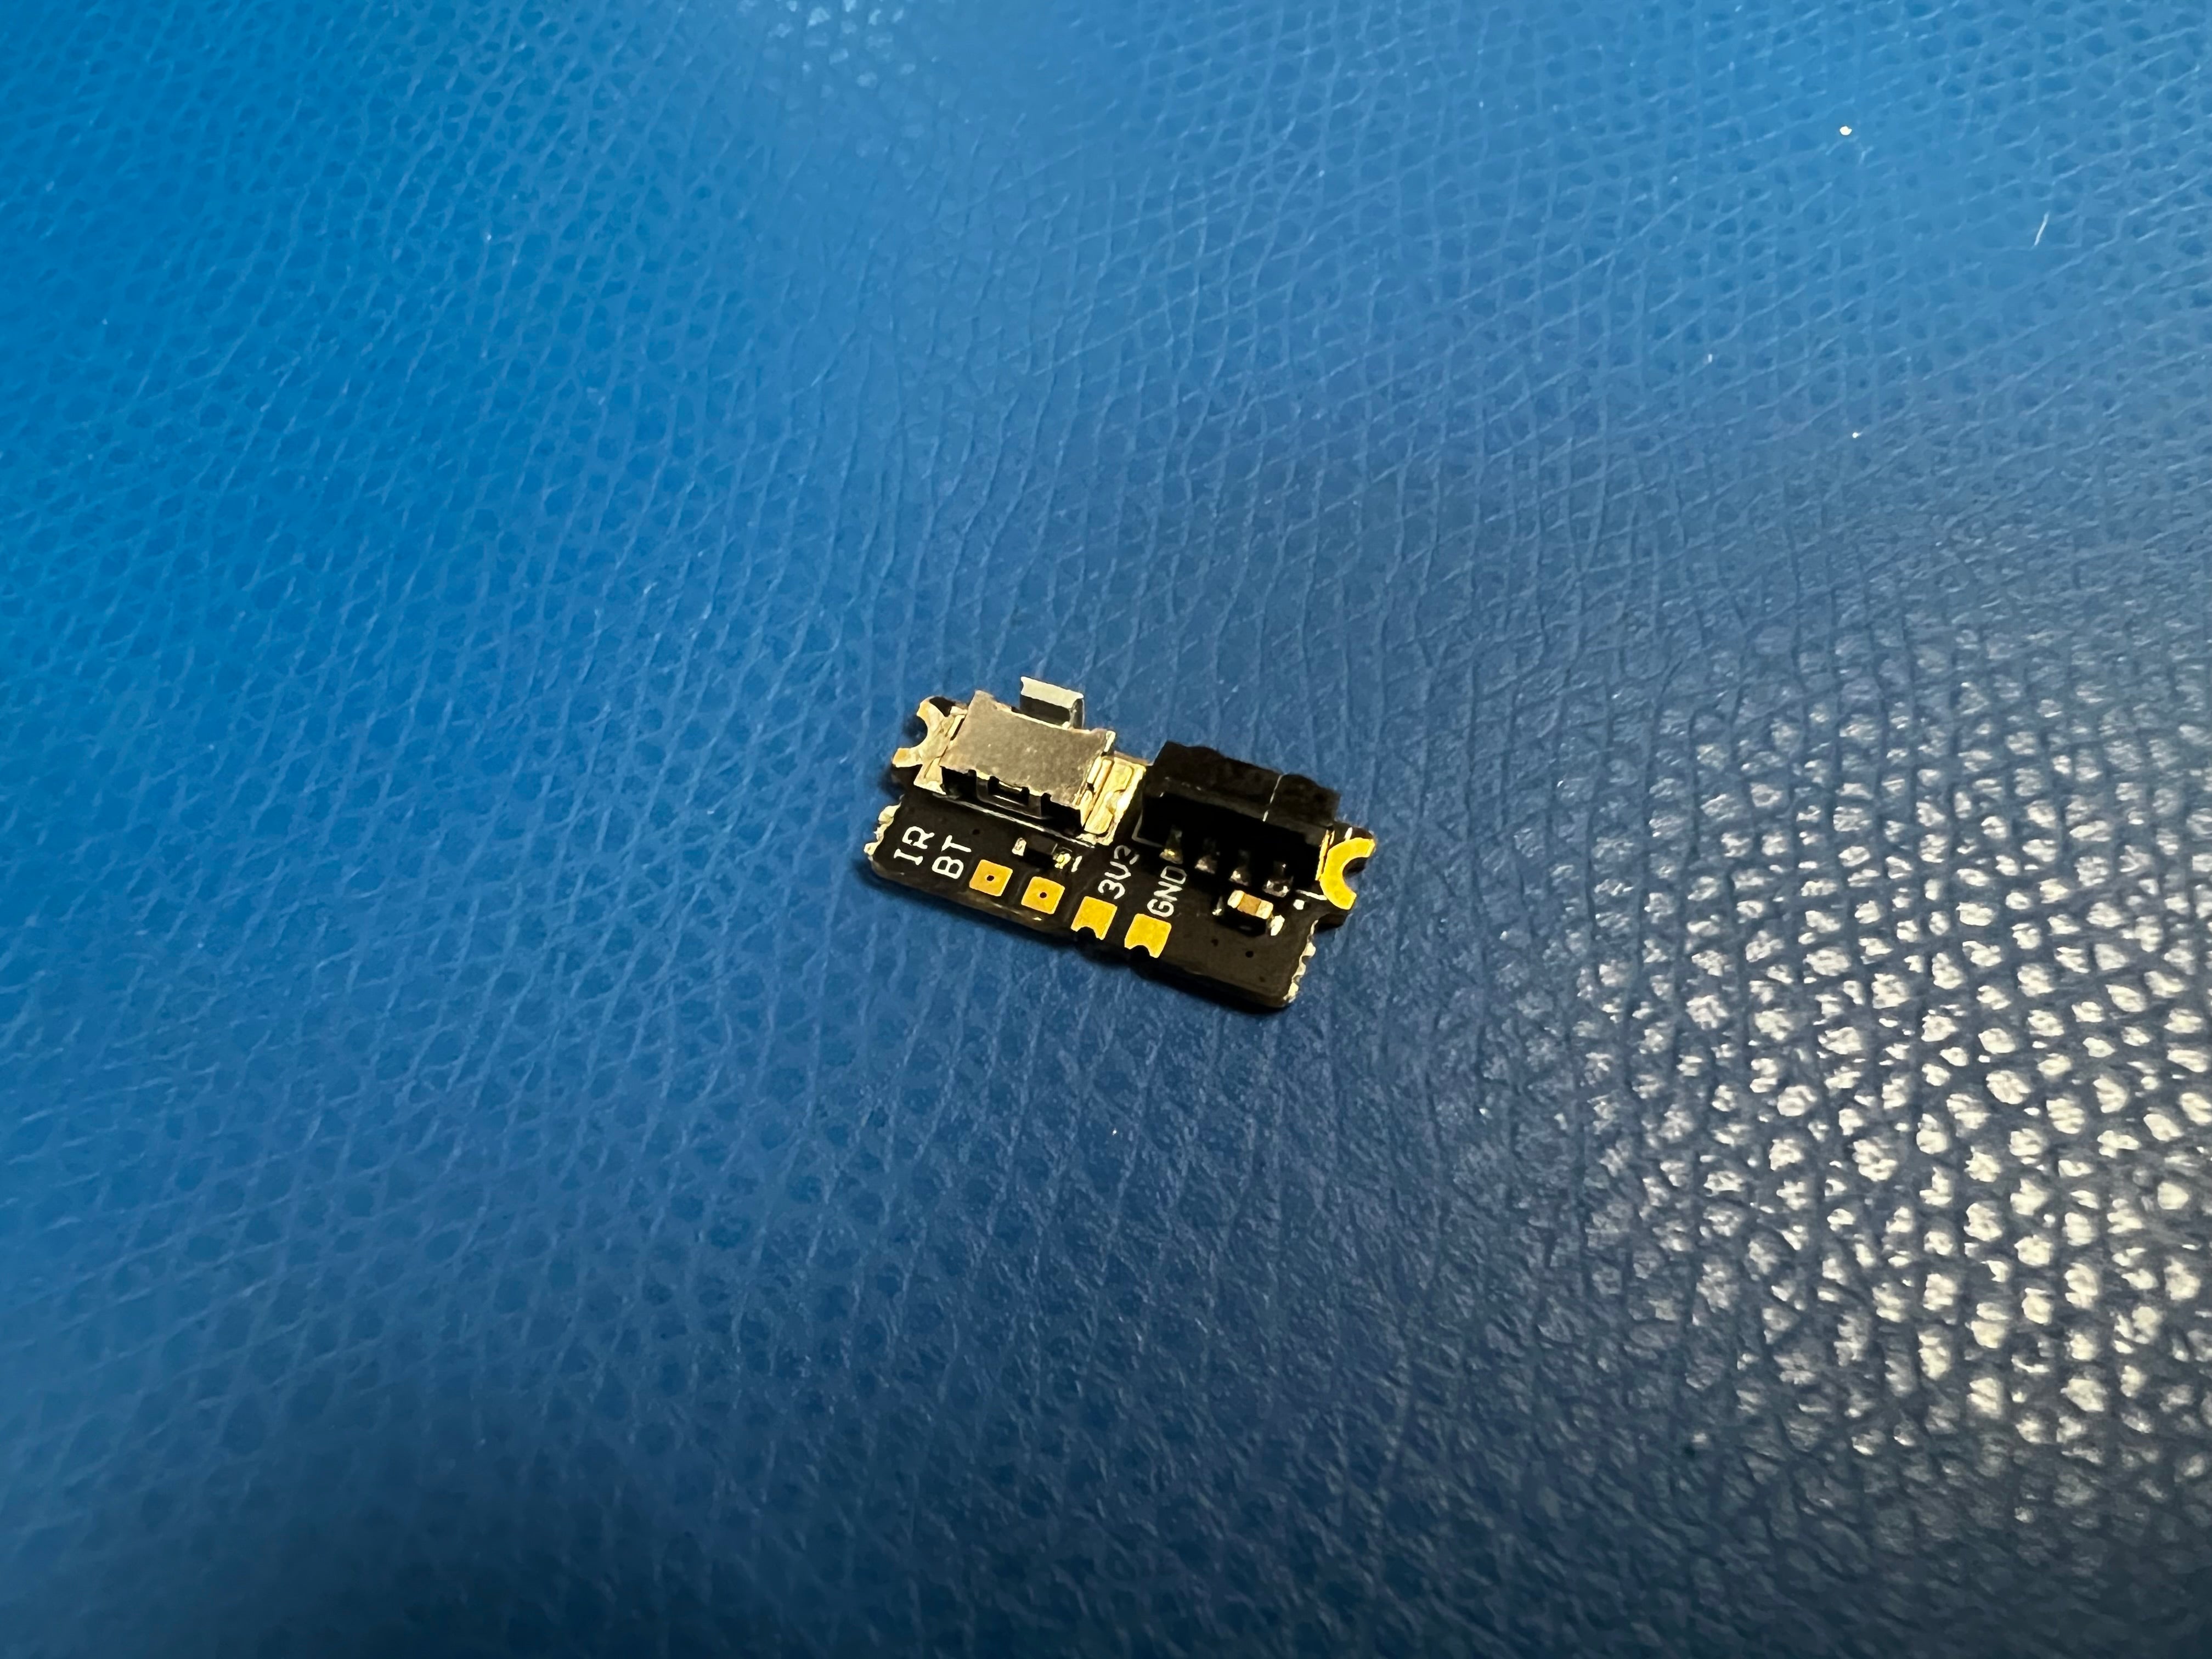
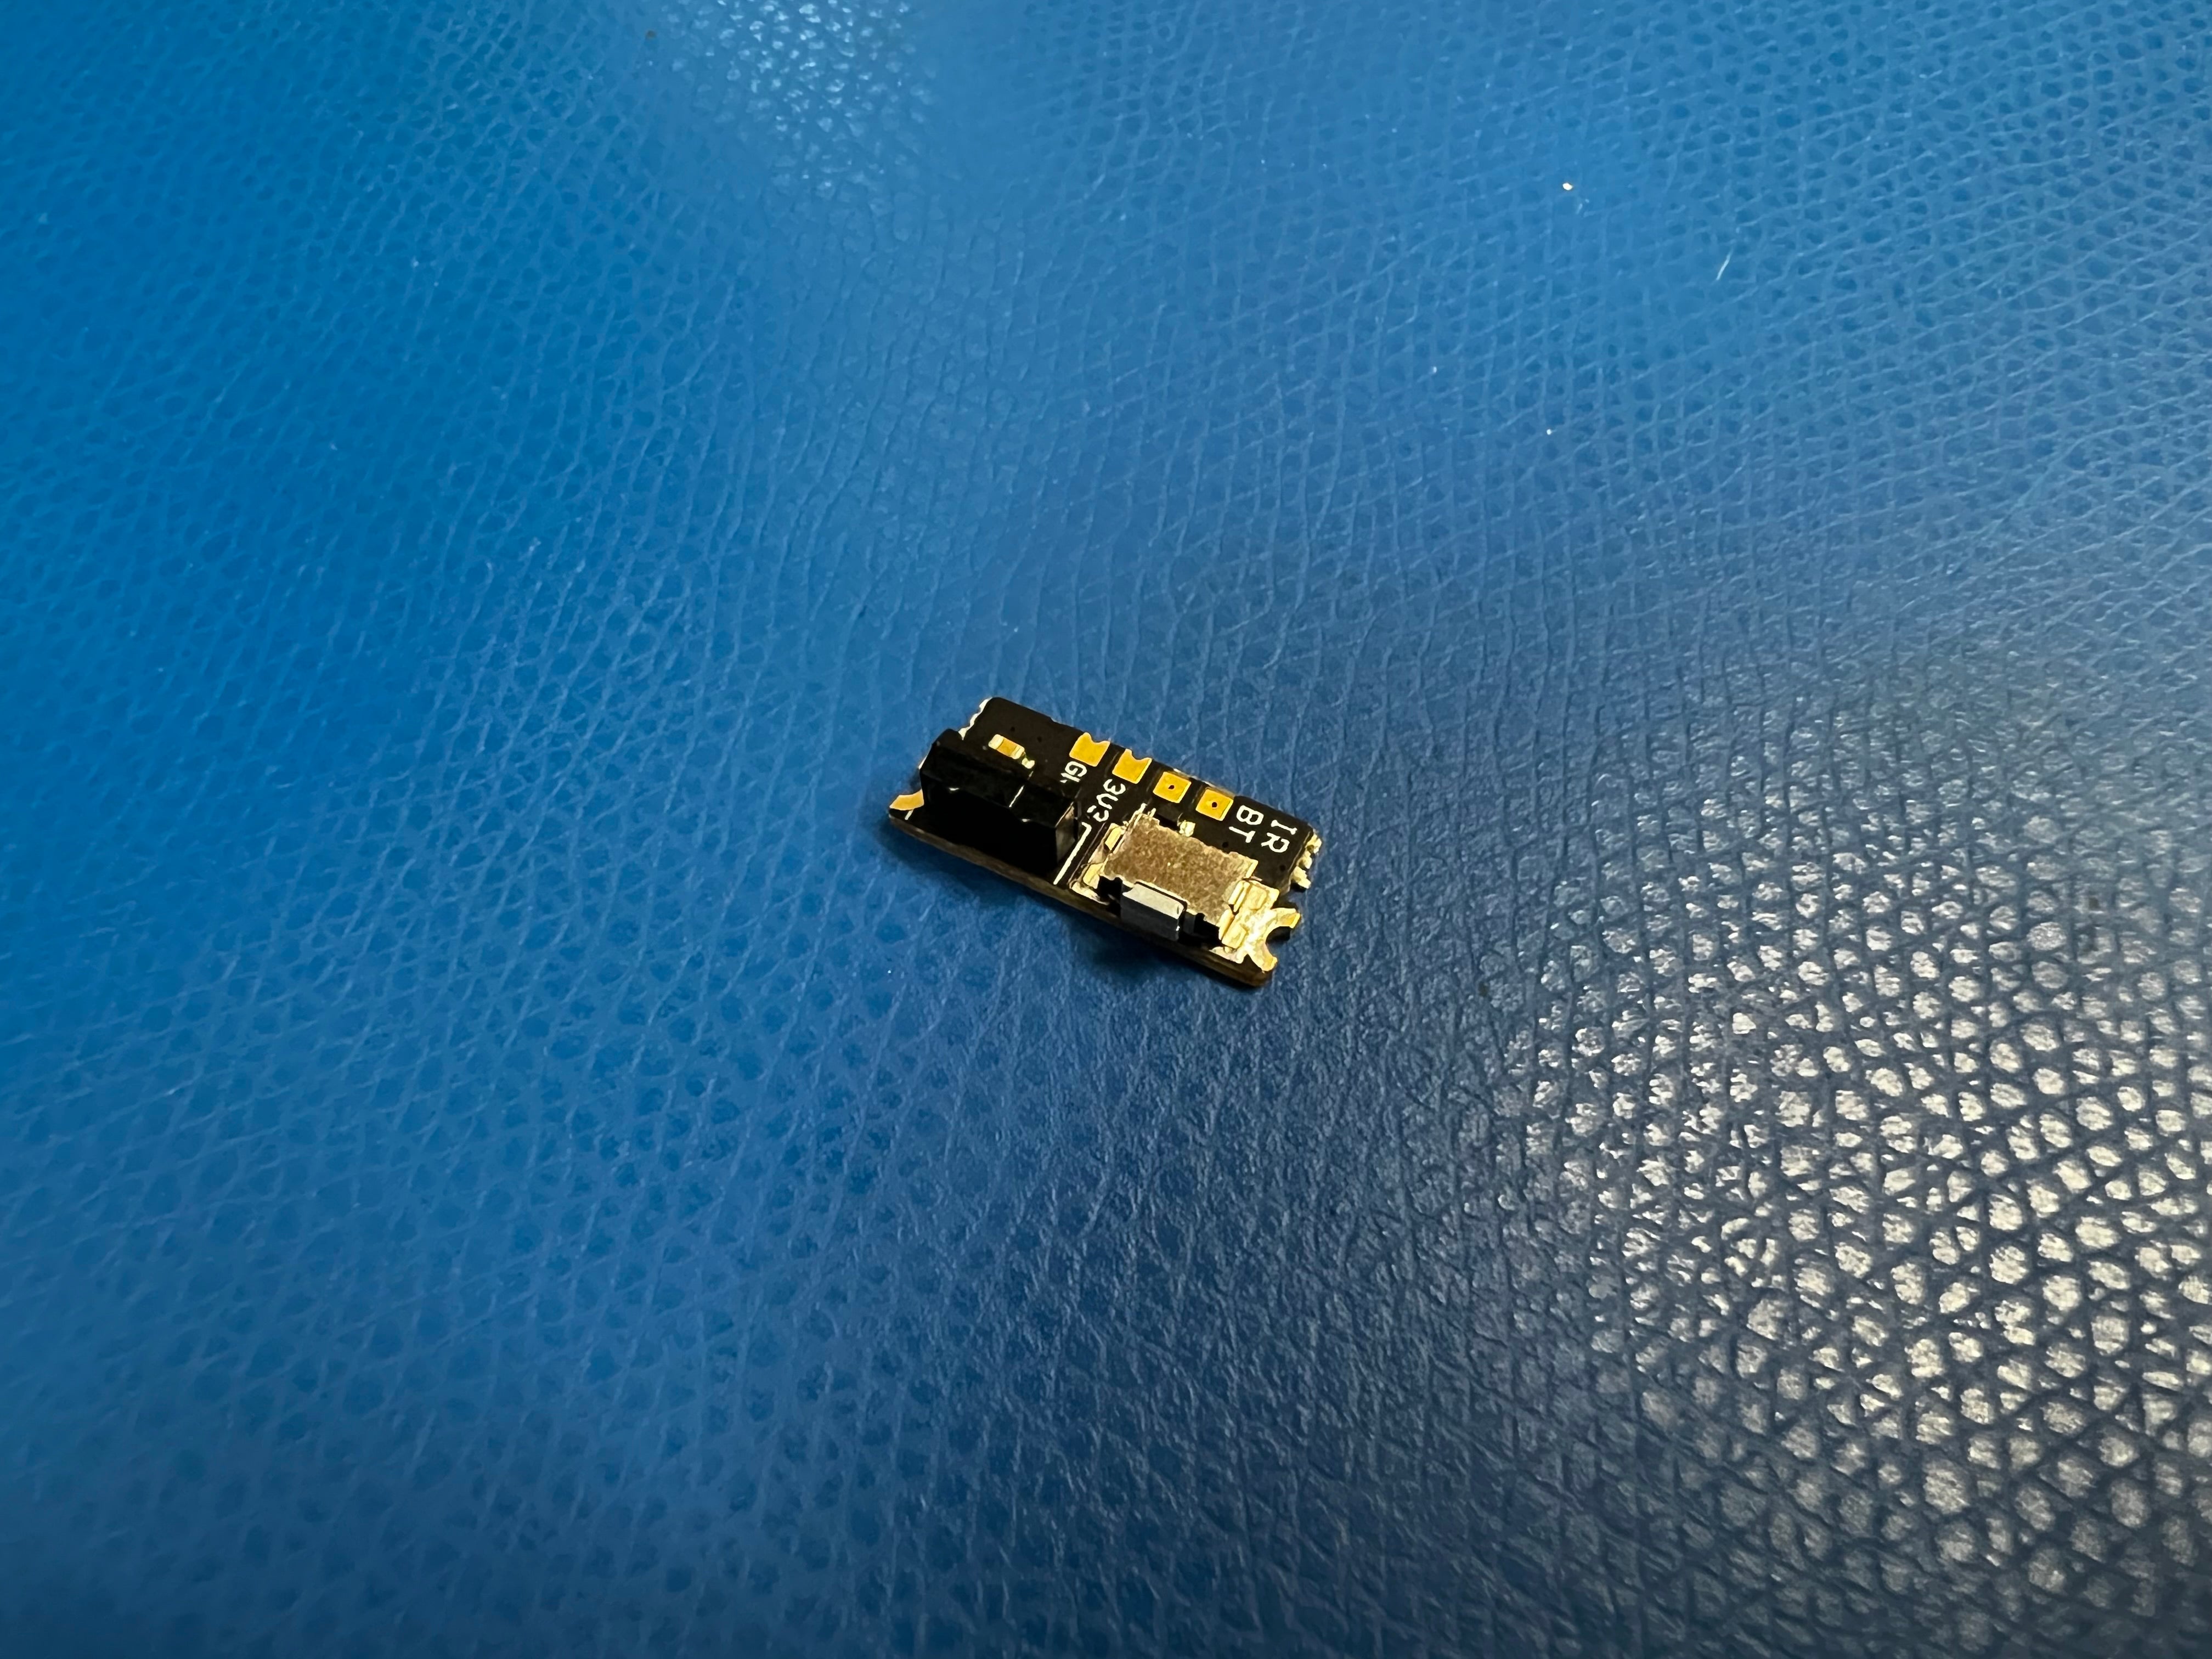
Unlike the original version of the ElectronAVE, this product is a kit. This kit contains the ElectronAVE, a 150mm long flex cable, and a mini-HDMI™ breakout board. As of April 4th, 2023 all purchases of this kit will include an IR Sensor Board by default for Wii's that do not have a GameCube controller ports. This board can be installed in Wii's that do have GameCube controller ports, but it is not necessary.
This design can either be used directly as is or configured with the use of a universal remote or a GameCube controller. If you want to use a GameCube controller for configuration, then you can press L+R+X+Y and the configuration menu will open. GameCube controllers can only be used on Wii's that have GameCube controller inputs.
All software licensing that appears on ikorb’s repository for GCVideo applies to this product. Electron Shepherd LLC claims no ownership of the binary that is loaded onto this product.
All company, brand, and product names are trademarks or registered trademarks of their respective holders. Electron Shepherd LLC has no affiliation to, is not associated or sponsored by, and has no express rights to third-party trademarks. The terms HDMI, HDMI High-Definition Multimedia Interface, HDMI trade dress and the HDMI Logos are trademarks or registered trademarks of HDMI Licensing Administrator, Inc.
Warnings
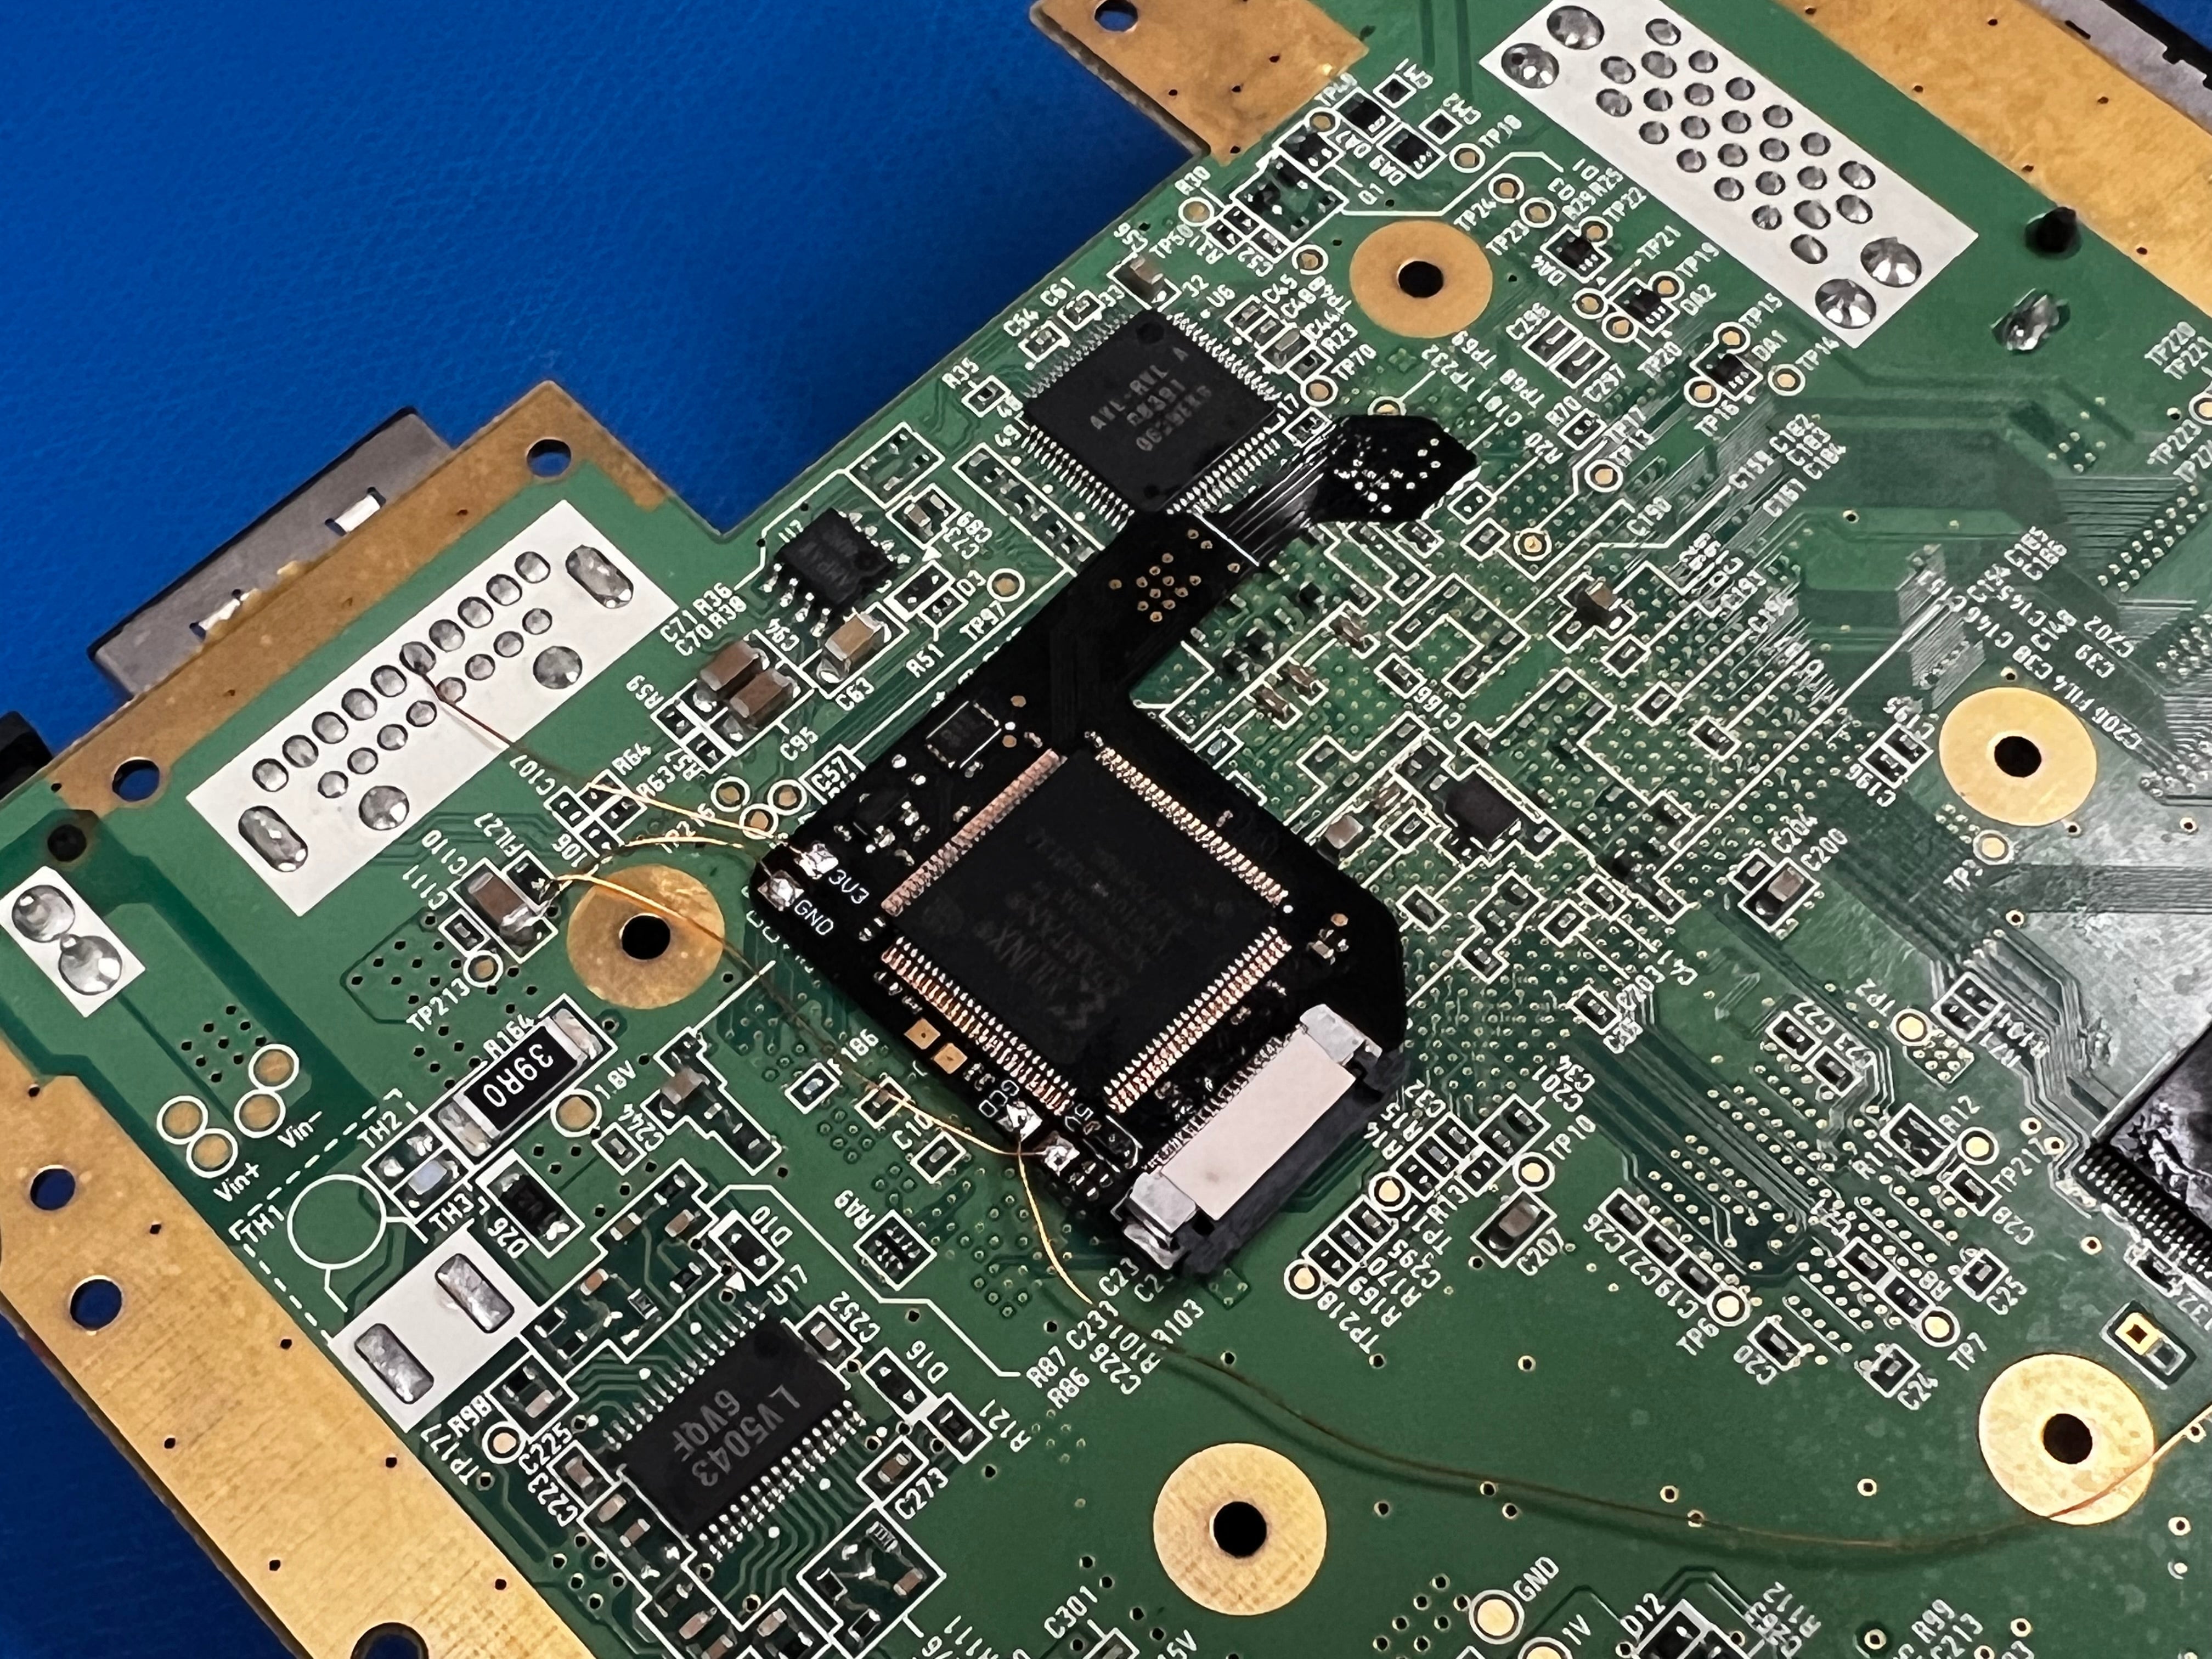
This installation is difficult if you are not confident in your soldering skills or if you do not have magnification available. We highly recommend that you review the installation video below before purchasing this to determine whether or not you feel comfortable with all of the steps involved. If you do not feel comfortable with this installation, then please consider using one of the Recommended Installers in the table below.
When installing the FFC into the kit please ensure that the blue stiffener of the FFC is on the bottom and not the top.

Because of the involved nature of this installation, Electron Shepherd will not be able to process returns or refunds for boards that have previously been installed on a Wii. We will only be able to accept returns and refunds if the kit has not previously been installed. All of our kits are programmed, inspected, and verified to be functional prior to being shipped out to our customers.
Please be aware that these boards contain components that are sensitive to ESD strikes. Be sure to handle these using proper ESD handling techniques.
FAQs and Debugging
If you have some questions about this product or you're looking to debug your installation, then you should start by reviewing our ElectronAVE - FAQ and Debug page.
Installation Instructions
The following link has instructions on how to install the ElectronAVE into your Wii (please note that this page is a work in progress and I welcome suggestions on how to improve them): ElectronAVE - Installation Instructions.
If you'd rather follow a video that shows the installation process from start to finish, then please check out the videos linked in the sections below.
Recommended Installers
Electron Shepherd is in the process of validating each of these installers (and new installers to add to this list),
| Name | Website | Location | Verified? | ||
| Voultar | - | @Voultar | https://voultar.com/ | Kentucky, USA | YES |
| iFixRetro | info@ifixretro.com | @ifixretro | - | New York, USA | YES |
| Modzvilleusa |
modzvilleusa@gmail.com
|
@modzvilleusa | https://modzvilleusa.com/ | - | YES |
| Retro Digital LLC | retrodigitalstore@gmail.com | @RetroDigitalLLC | https://www.retrodigital.store/ | Florida, USA | YES |
| PastPerfectGames | pastperfectgames@gmail.com | @bahamutfan | https://www.pastperfectgames.com/ | North Carolina, USA | YES |
| Prof_gLX | atelier.retrotech@gmail.com | @Prof_gLX | - | Quebec, Canada | YES |
| PowrUp Gaming | powrupgaming@gmail.com | @PowrUpGaming | https://www.powrupgaming.com/ | North Carolina, USA | YES |
| Logistics |
support@logisticsct.com | @logisticsct | https://www.logisticsct.com/ | Connecticut, USA | YES |
| Merki | info@merki.net | - | http://www.merki.net/ | Germany | YES |
| Pink Skeleton Gaming | - | @Pink_Skelly | https://pink-skeleton-gaming.com/ | In Process | |
| Nostalgic Indulgences | nostalgic.indulgences@gmail.com | @nosIndulgences | - | Singapore | In Process |
| Oldskool Consoles | david@oldskoolconsoles.com | - | http://www.oldskoolconsoles.com/ | UK | Yes |
| Bitjump Gaming | contact@bitjumpgames.com | @bitjumpgames | Provo, UT | Yes |
Installation Video
@bitjumpgaming Luis asked me to upgrade his Nintendo Wii console. What do you think of the clear shell and internal HDMI port? #retrogaming #nintendo #wii #retrogamingontiktok ♬ Chill Vibes - Febri Handika

