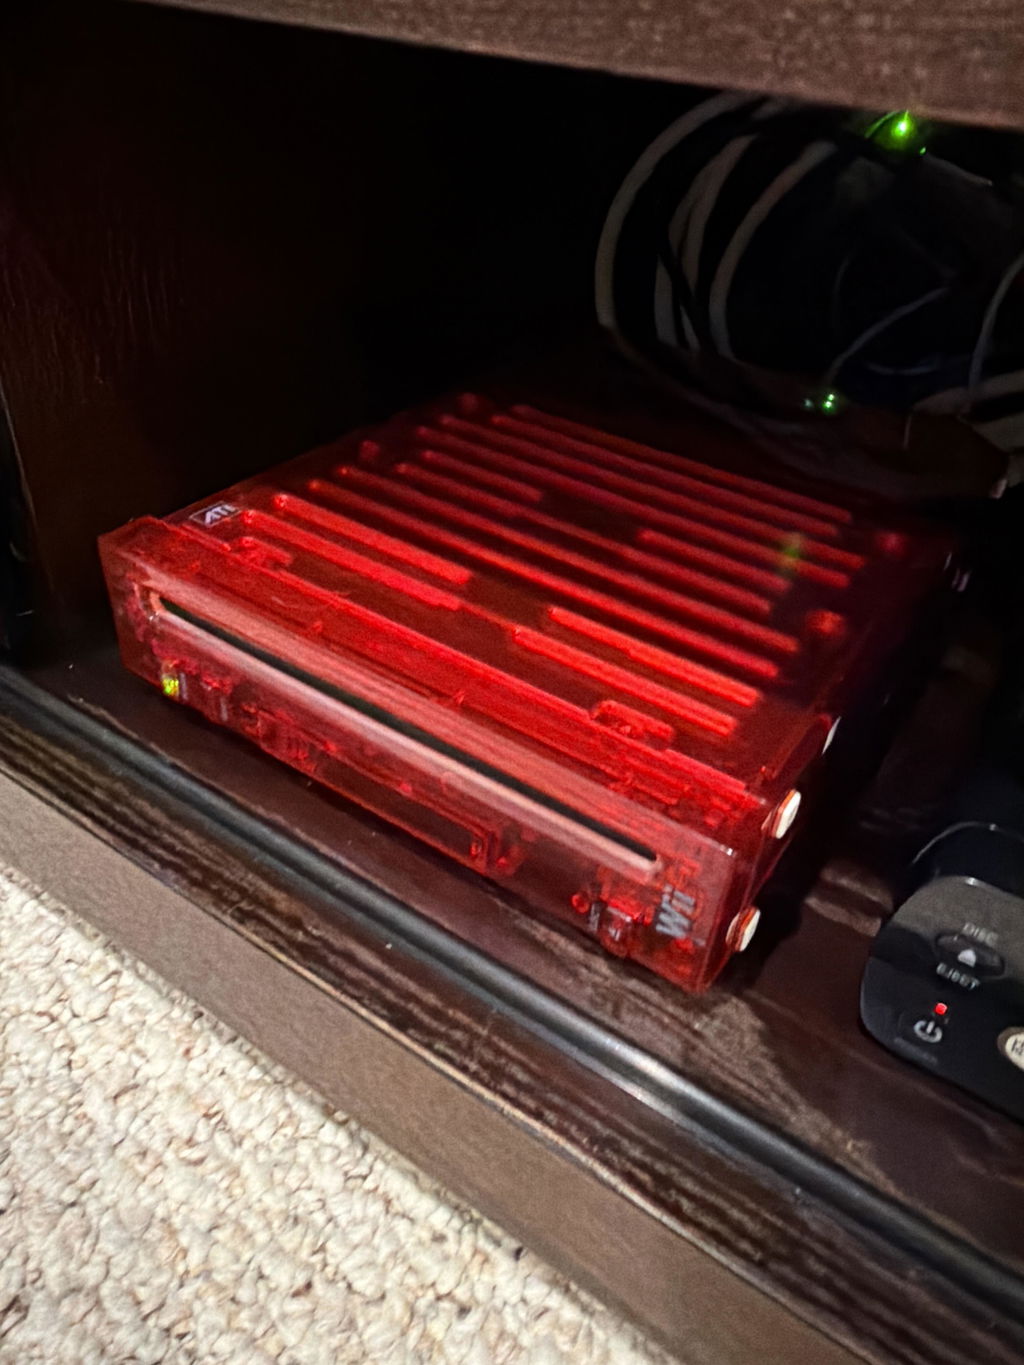


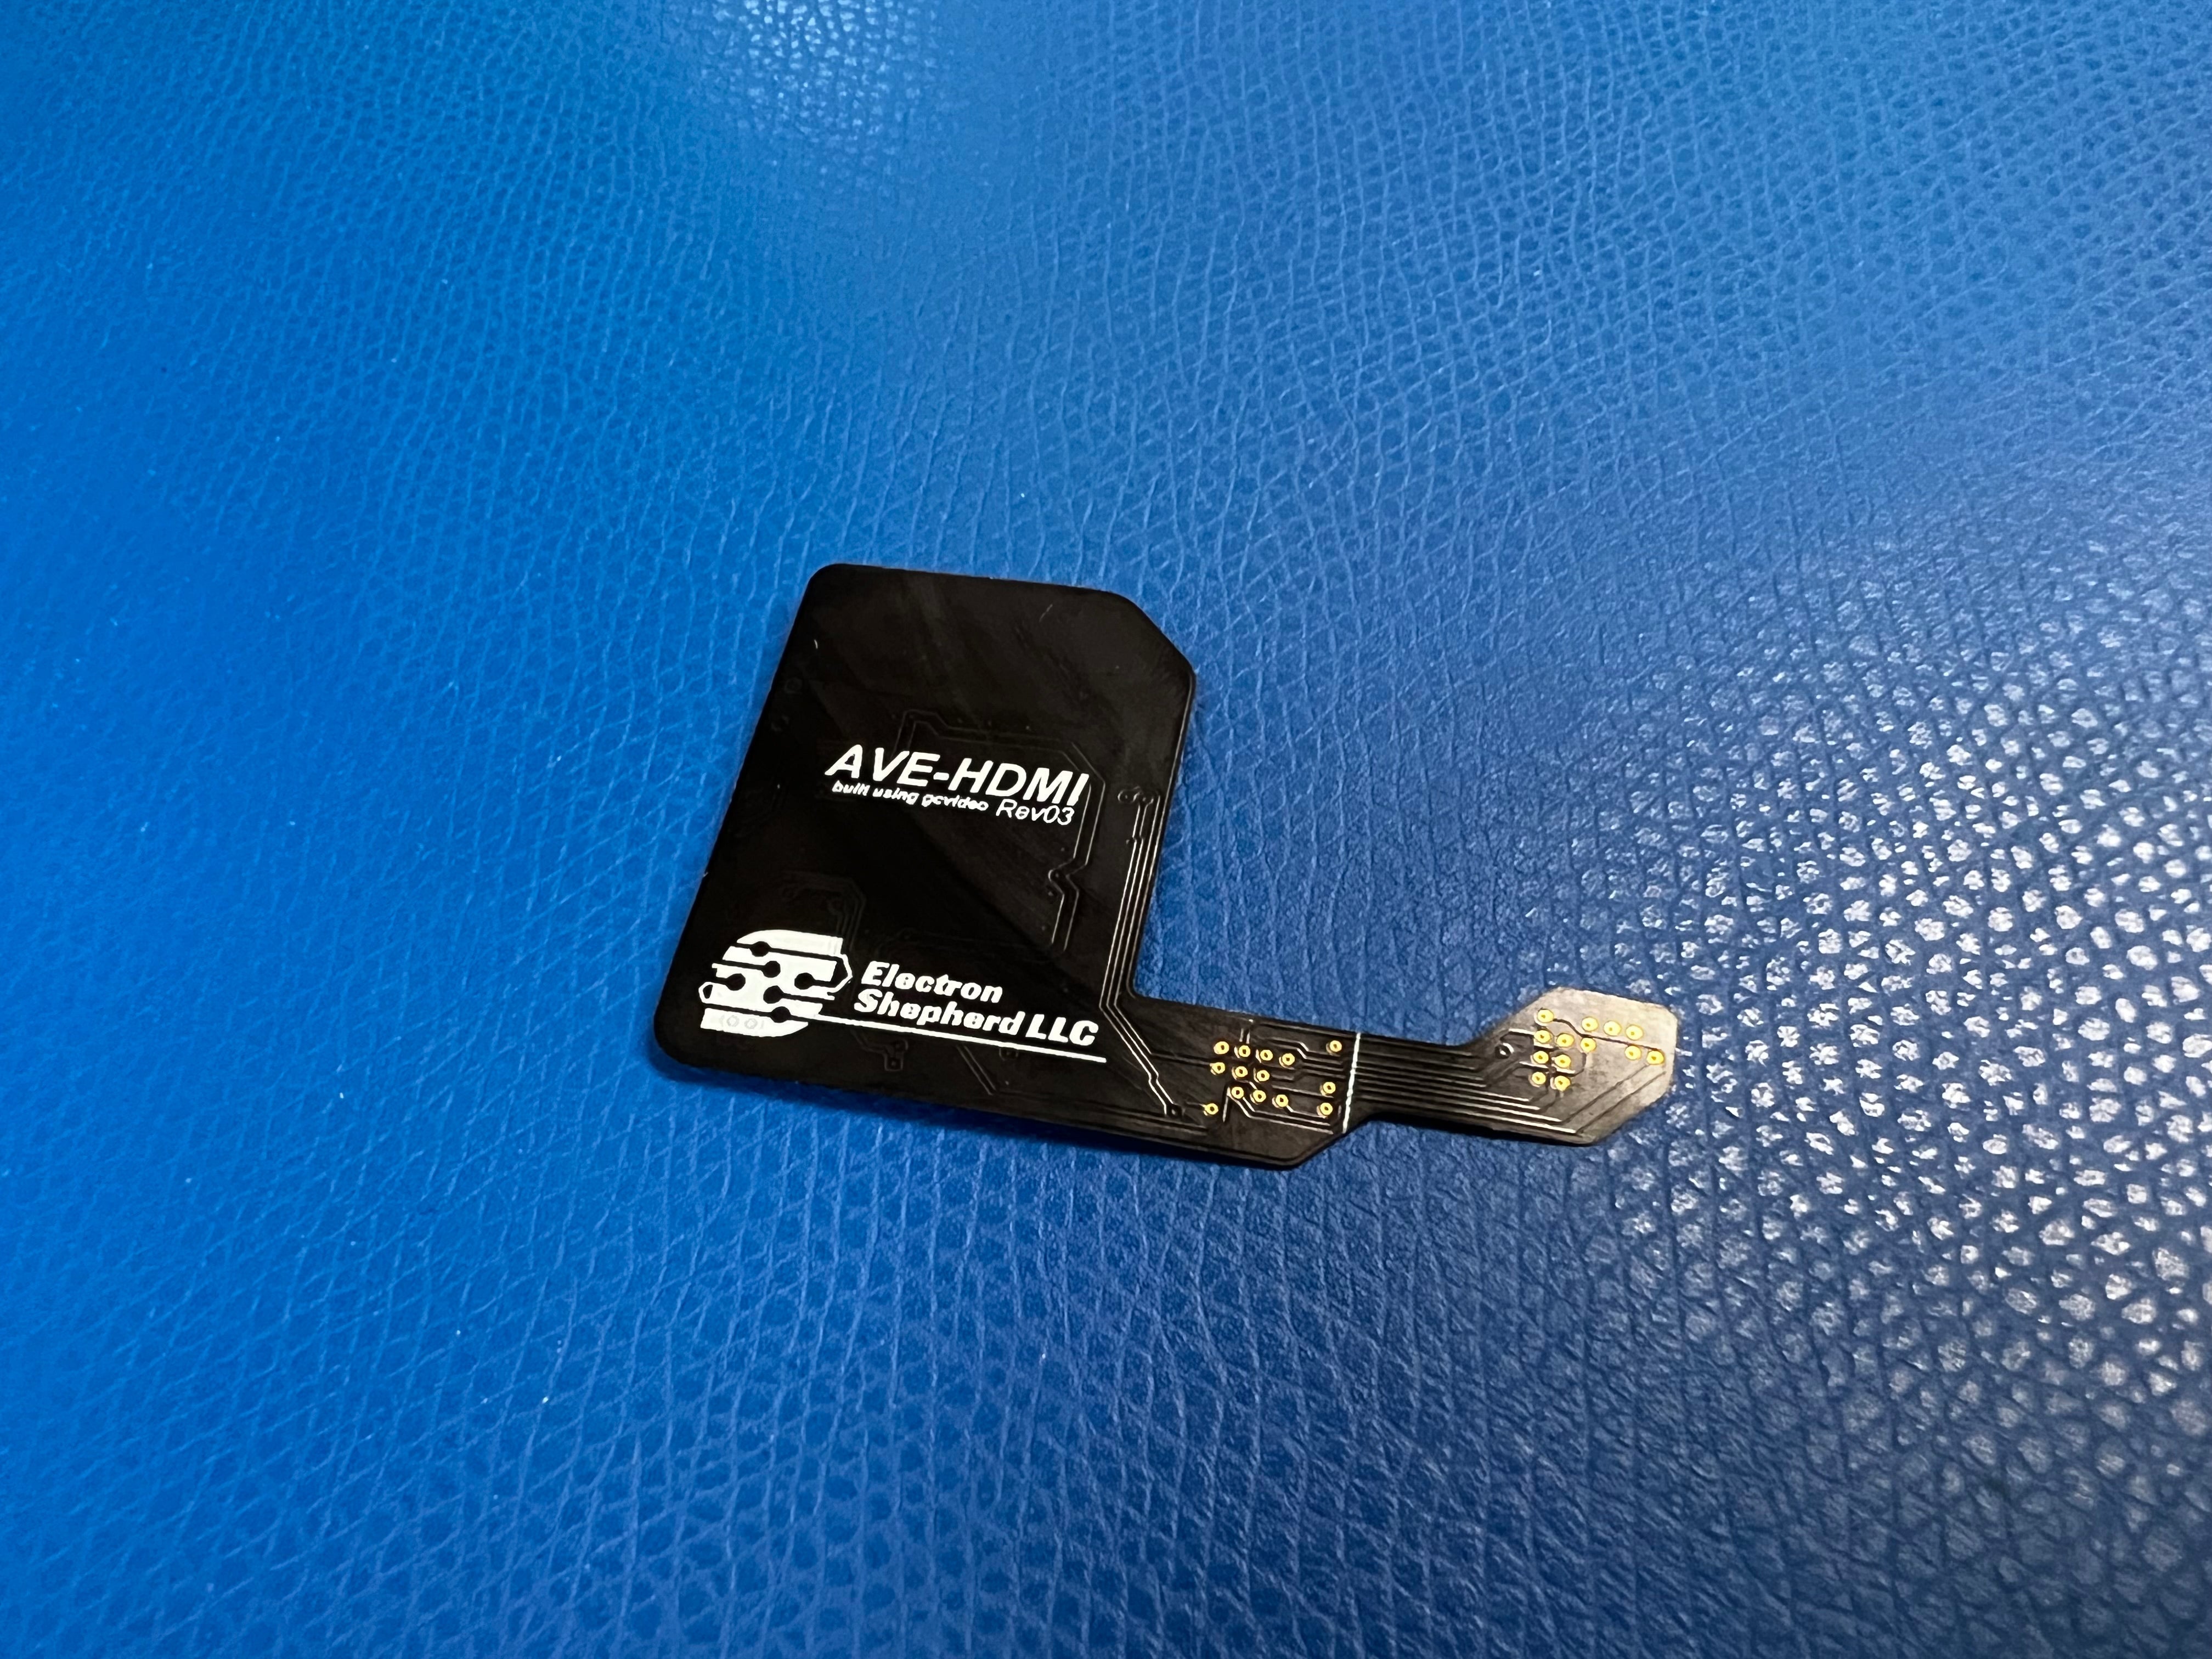

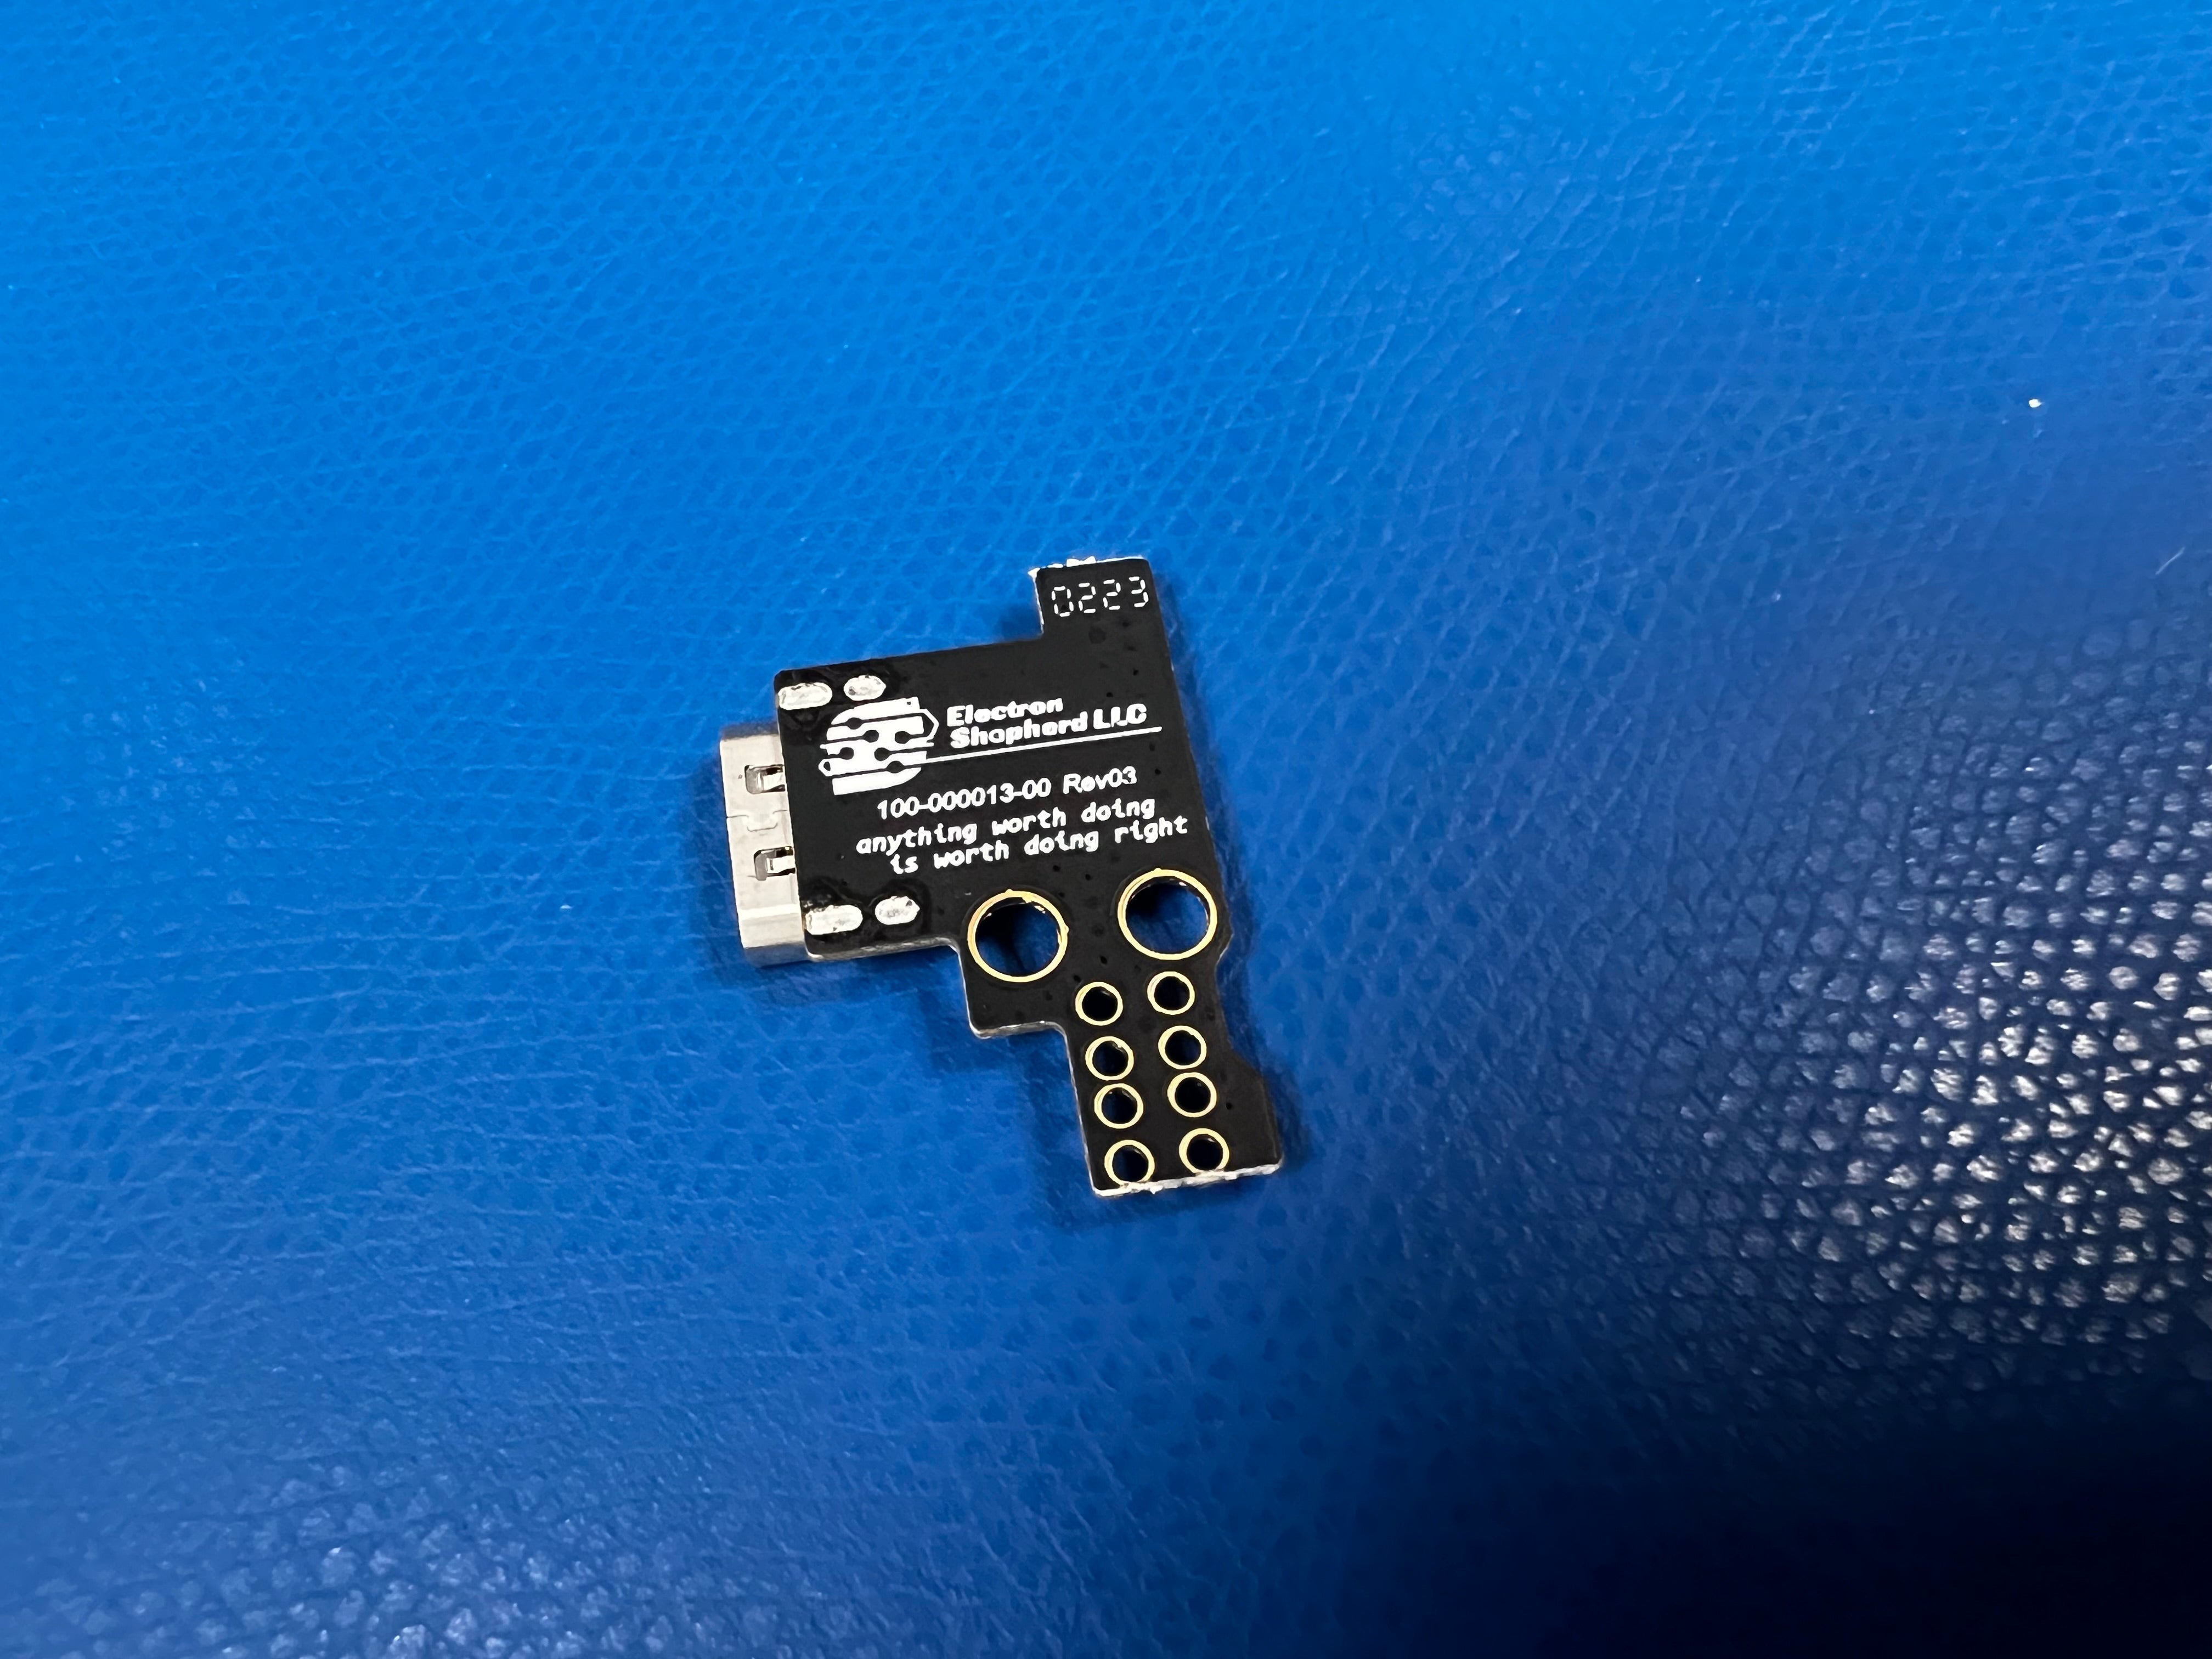

ElectronAVE Kit
for the Wii™
$79.99 USD
Initially released in this form in 2023 and considered to be one of the best methods for achieving direct HDMI™ output from the Nintendo Wii™!
In stock, ready to ship
ElectronAVE Kit
$79.99 USD
Warnings!
Frequently Asked Questions
Installation Instructions
Technical Specifications
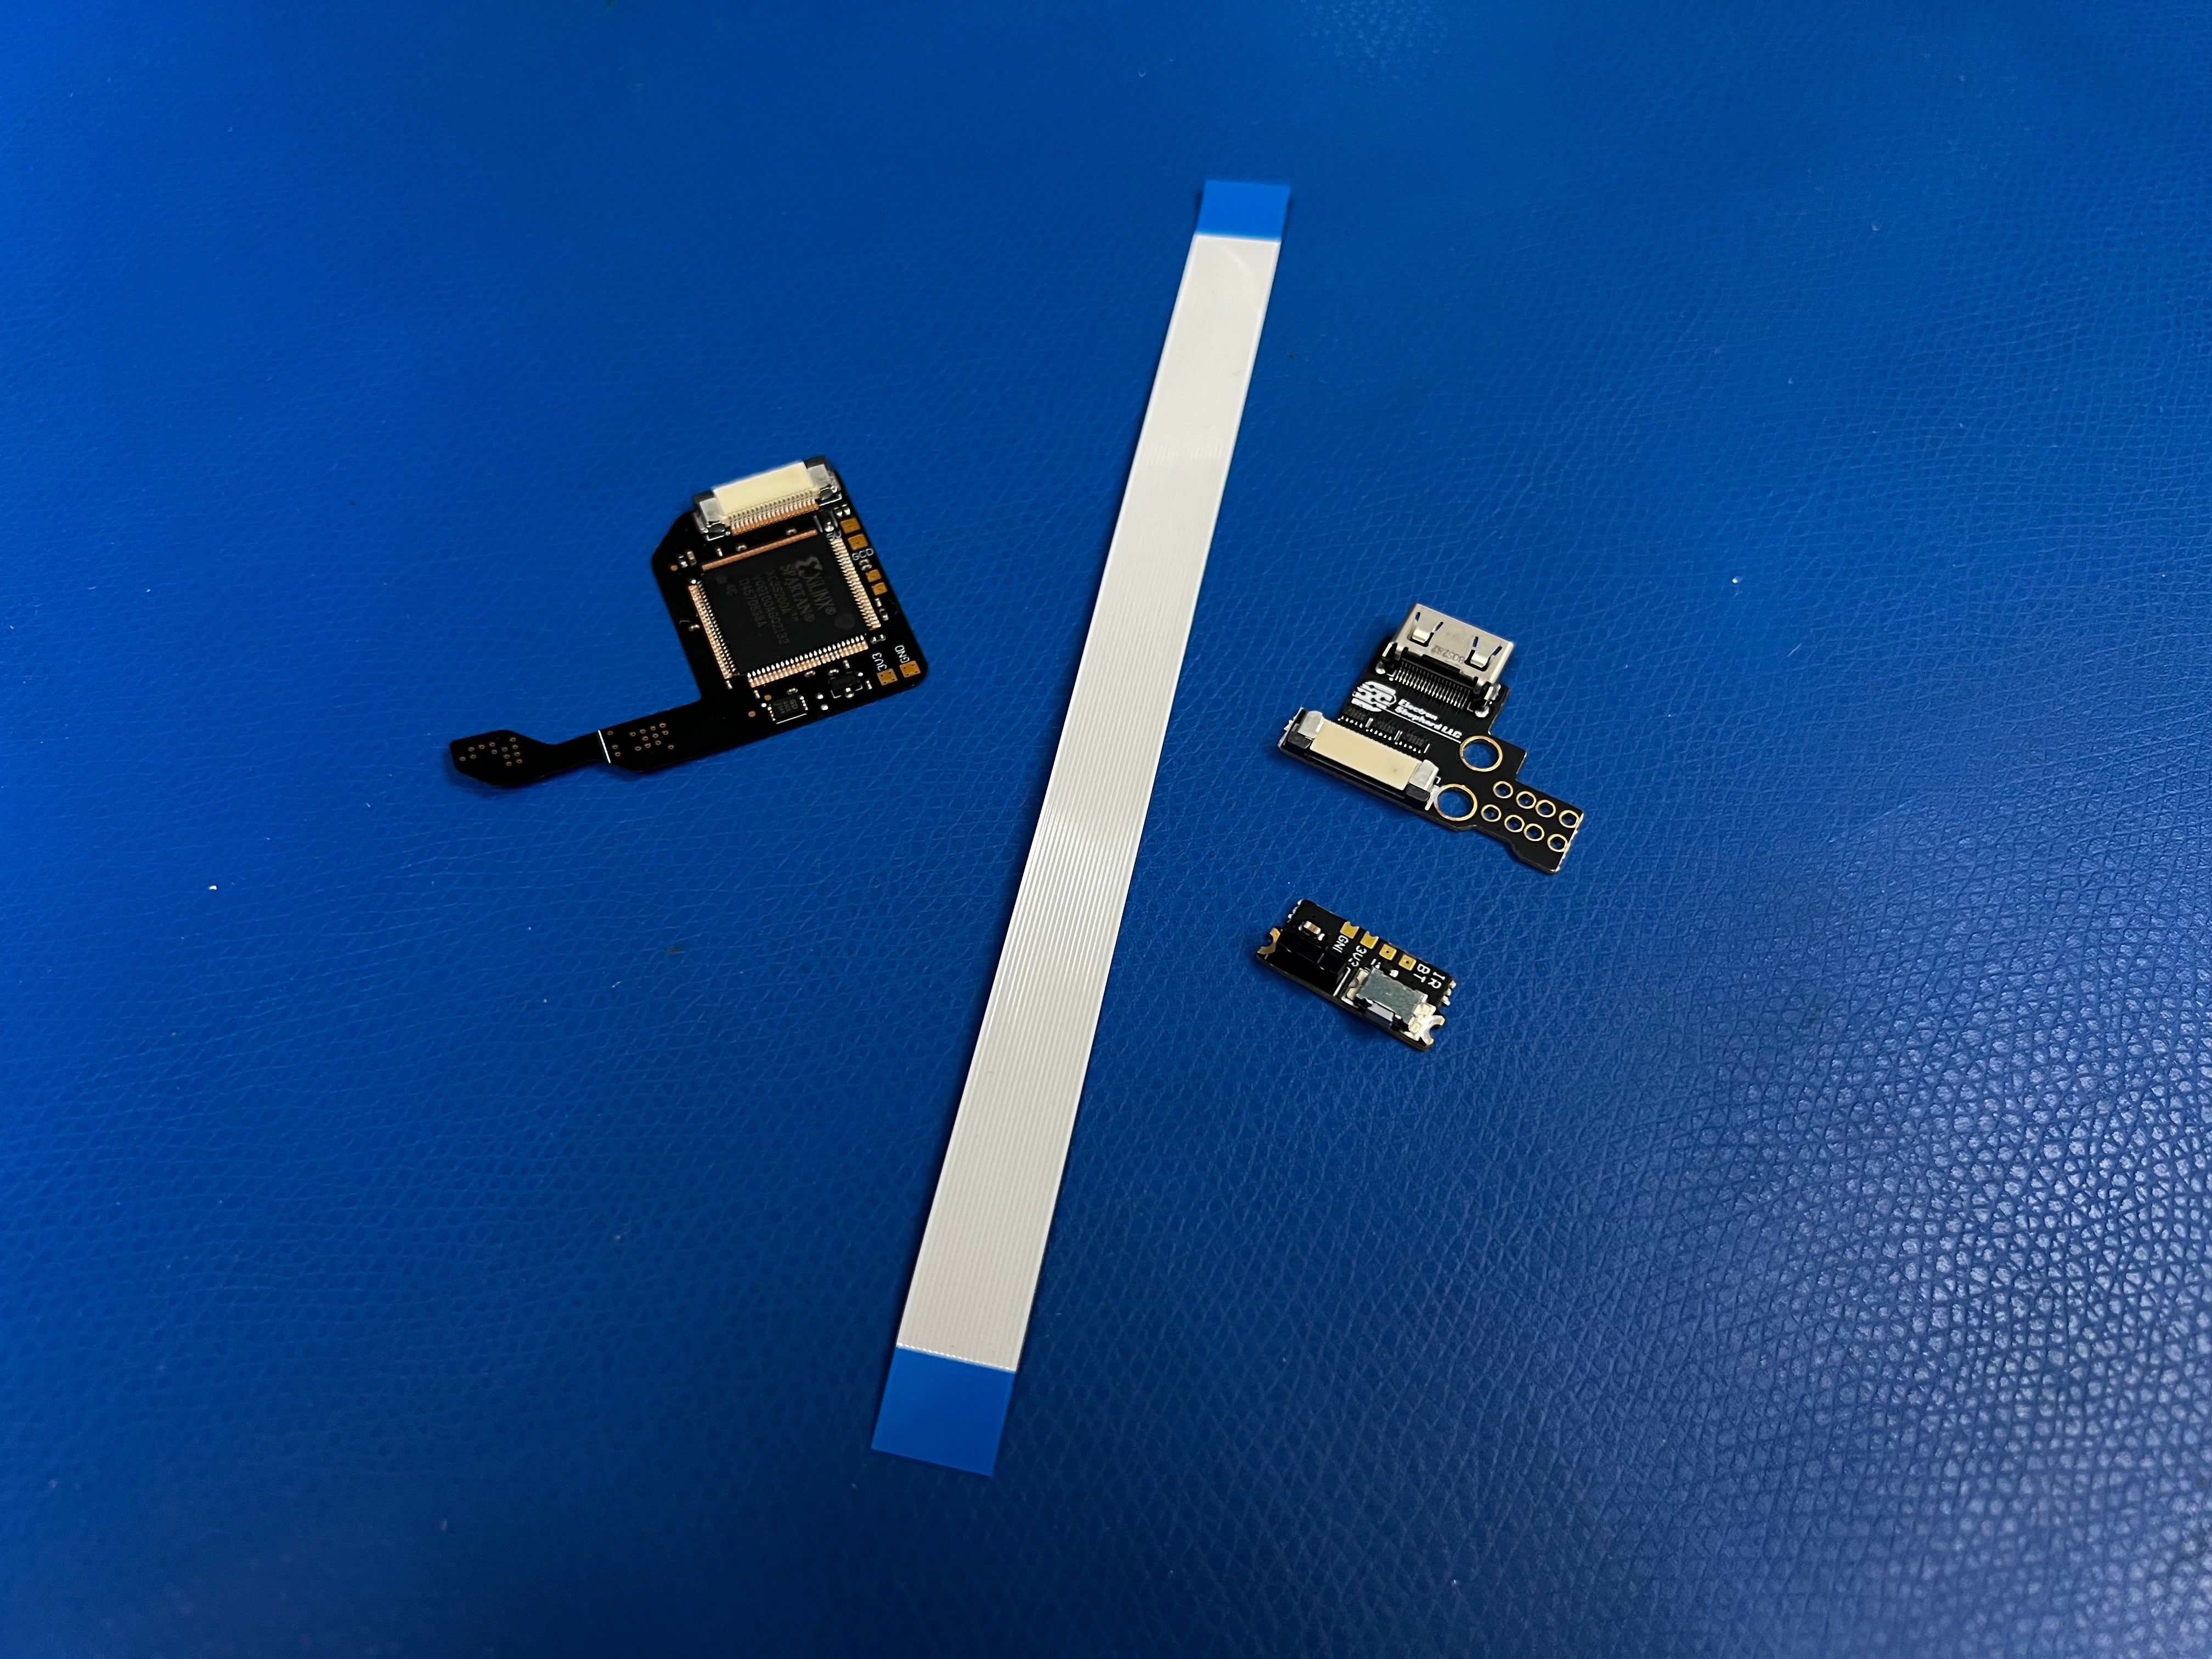
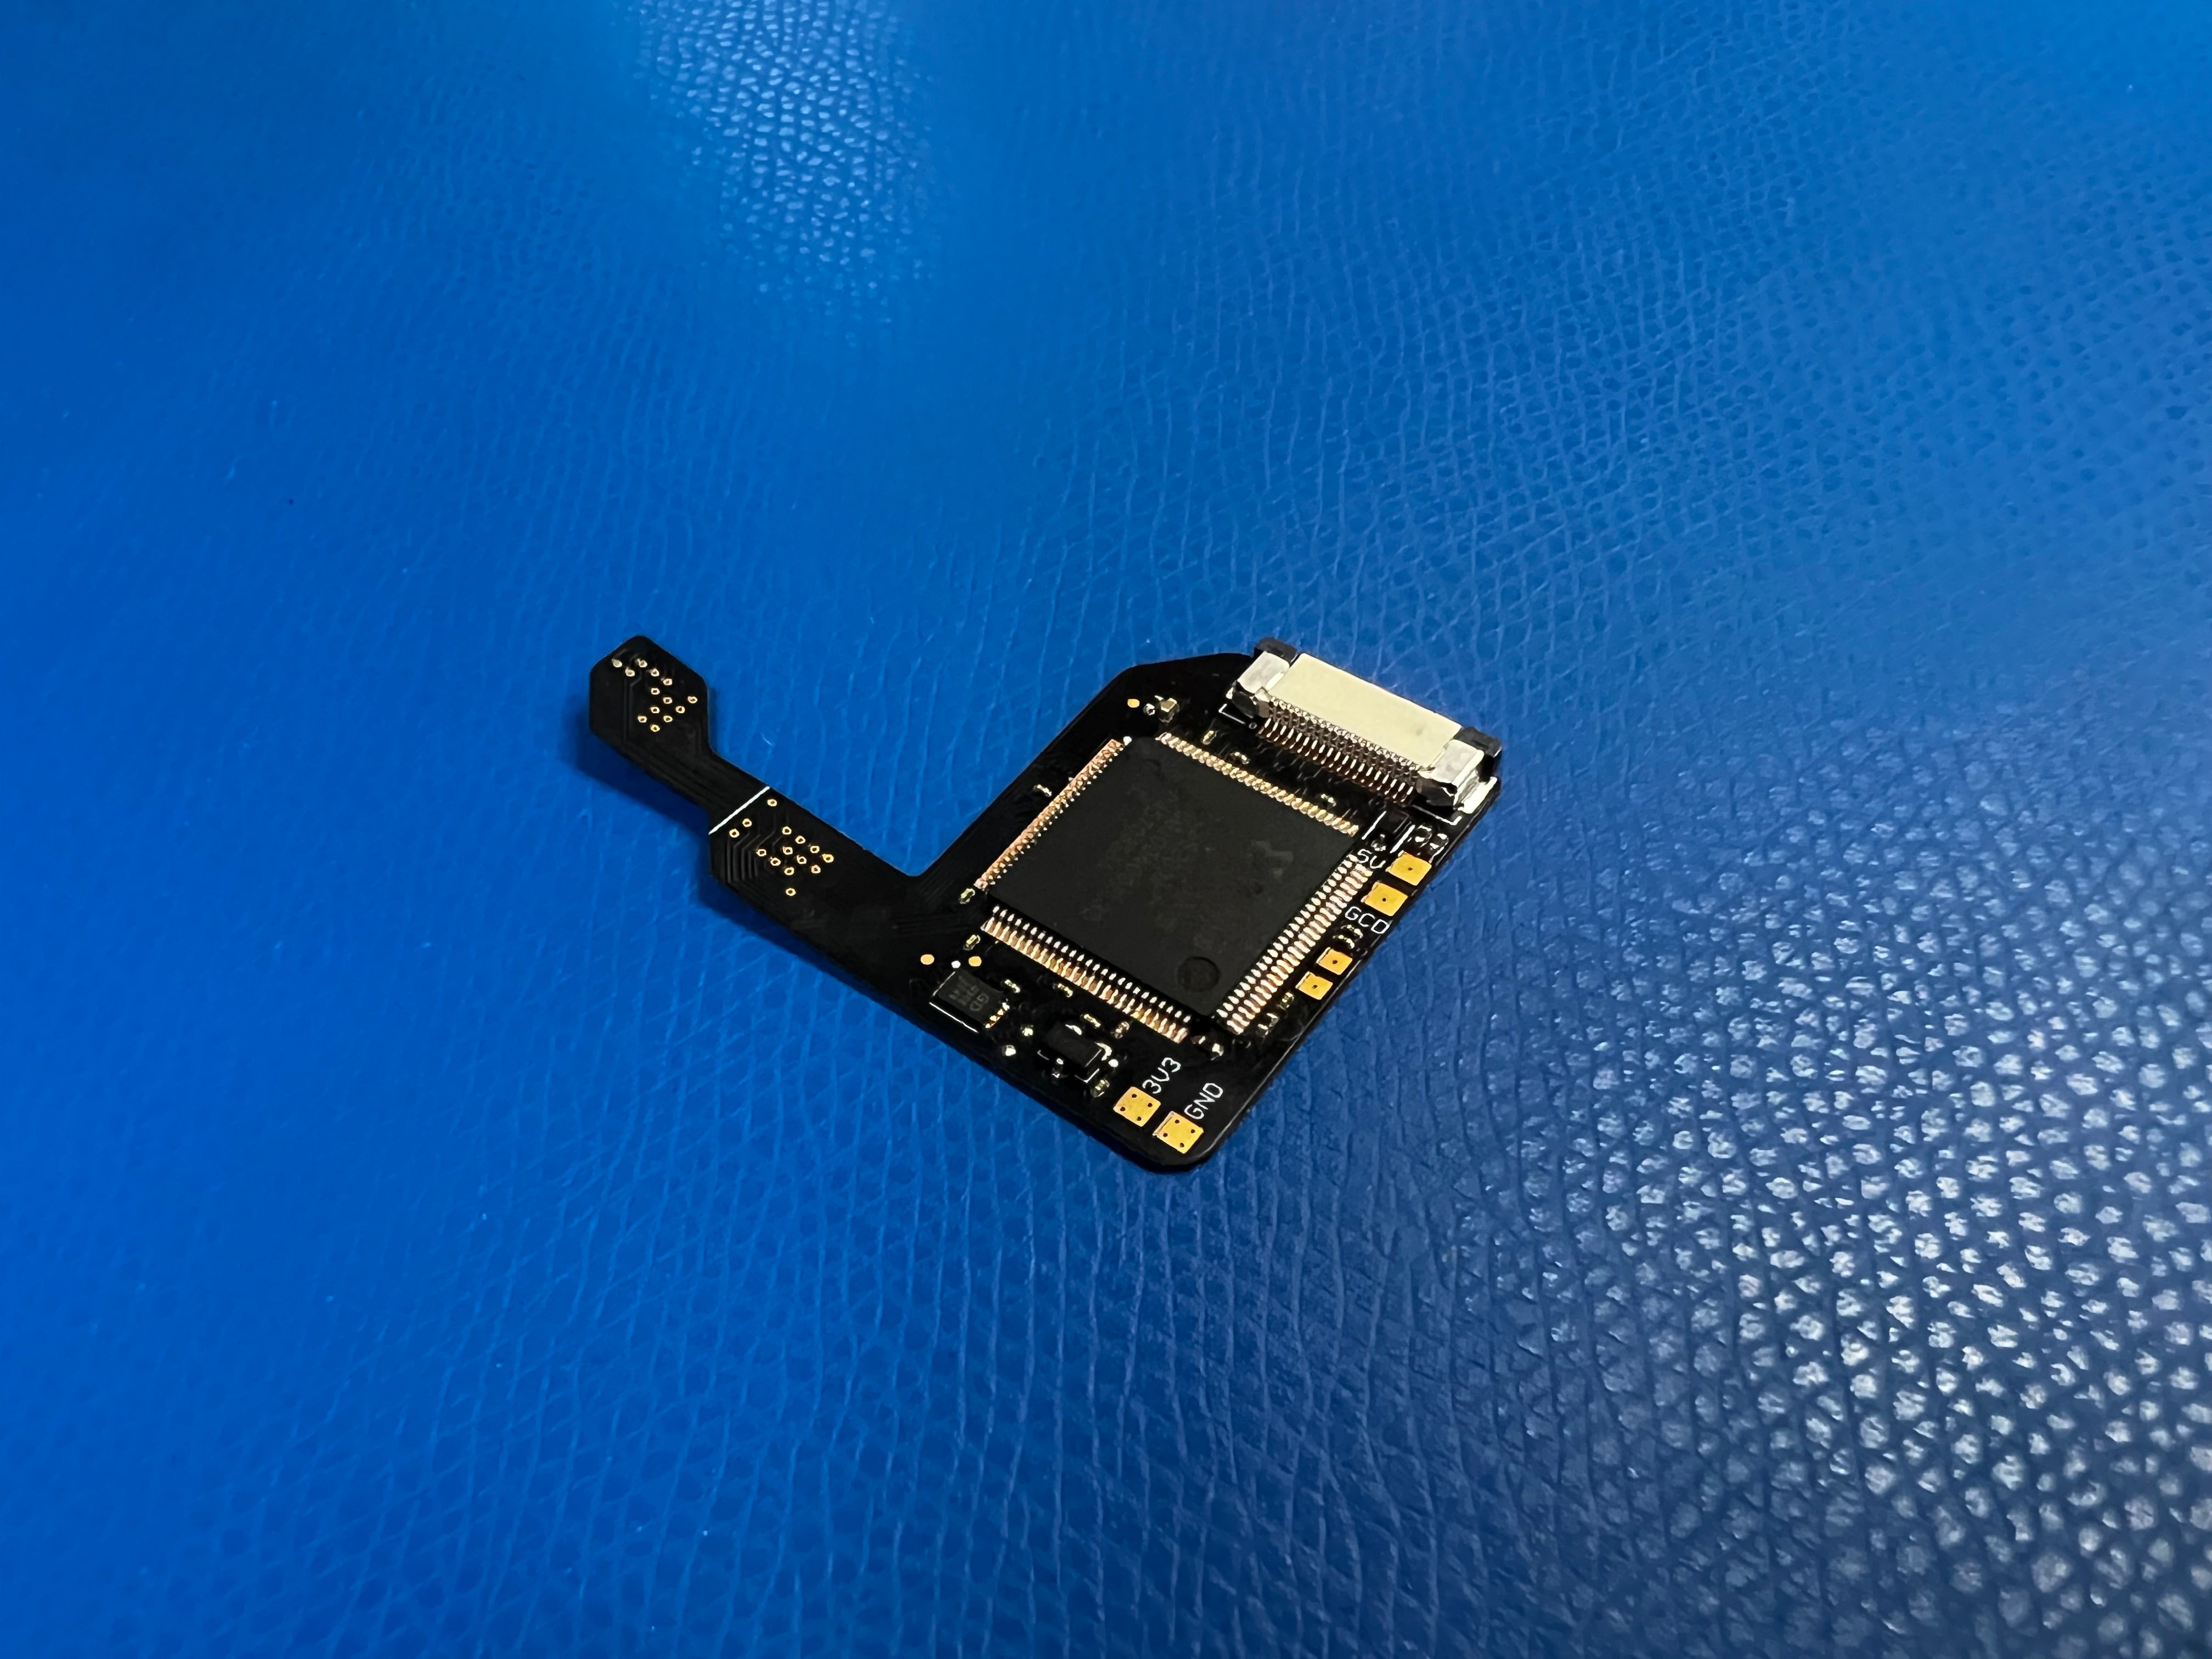
What's Included
Recommended Installers
Electron Shepherd has had conversations with each of these installers and has determined that they possess the skills to perform this installation for others.
Voultar (Kentucky, USA)
iFixRetro (New York, USA)
Retro Digital LLC (Florida, USA)
Twitter
Website
Location
Florida, USA
PastPerfectGames (North Carolina, USA)
Twitter
Location
North Carolina, USA
PowrUp Gaming (North Carolina, USA)
Email
Twitter
Website
Location
North Carolina, USA
Logistics (Connecticut, USA)
Email
Twitter
Website
Location
Connecticut, USA
Bitjump Gaming (Utah, USA)
Email
Twitter
Website
Location
Utah, USA
Modzvilleusa (USA)
Pink Skeleton Gaming (USA)
Prof_gLX (Canada)
Merki (Germany)
Nostalgic Indulgences (Singapore)
Oldskool Consoles (United Kingdom)
Twitter
-
Website
Location
United Kingdom
Quality Comparison
Videos
Electron Shepherd has no affiliation with the following creators. These videos were linked because they showcase the capabilities of this product.