


The PlayStation 2 has one of the best game libraries ever assembled. Getting it onto a modern TV should be simple. It usually isn't - and the reasons are almost never explained clearly.
Most cheap adapters produce a blurry, washed-out picture. Some produce no picture at all. And even people who buy a quality adapter often run into a black screen the first time because of a system setting they didn't know existed. This guide explains what's actually going on, why it happens, and what to do about it.
What the PS2 Actually Outputs (And Why It Matters)
The PS2 outputs video through its AV Multi connector - a proprietary Sony port on the back of the console that can carry several different signal types depending on what cable is connected and how the system is configured.
Out of the box, with the standard cable that came with most consoles, it outputs composite video - the yellow/red/white RCA cables. Composite combines all video information onto a single wire, which produces a soft, blurry image that shows every flaw when scaled up on a large modern TV.
With component cables - the red, green, and blue RCA cables - the PS2 outputs YPbPr, a significantly higher-quality signal that keeps brightness and color on separate wires. Component also supports 480p progressive scan on games that enable it, which produces a noticeably sharper picture than 480i interlaced. This is the signal that quality PS2 HDMI converters are built around. If you want more background on what makes component video different from composite, the composite vs. component vs. RGB explainer covers the fundamentals.
The PS2 also has an RGB output mode, used primarily for SCART connections in European setups. This is where a lot of confusion starts - because the PS2 stores its output mode setting in memory, and if it was ever set to RGB, that setting persists even after you connect different cables.
The RGB vs. YPbPr Setting - The Most Common Reason Adapters Fail
This is the single most common cause of PS2 HDMI adapter problems, and it's almost never explained clearly in product listings or setup guides.
The PS2 has a System Configuration menu with a "Component Video Out" option that offers two choices: RGB and Y Cb/Pb Cr/Pr (the label for YPbPr). Component-to-HDMI converters require the YPbPr setting to function correctly. If the console is set to RGB instead, the converter receives a signal it can't properly handle - and the result is one of the following: no picture at all, a black and white image, or severe color distortion where everything looks wrong.
This setting is not automatically reset when you change cables. If your PS2 was previously configured for an RGB SCART setup - common if you bought the console secondhand from Europe or from someone who had it set up that way - the setting persists. You can be using the right component cable and the right converter and still get no picture, simply because of this menu setting.
The fix is straightforward once you know it exists. The problem is that most people don't know it exists until they've already spent an hour troubleshooting.
How to Change the Output Mode - Including When You Can't See the Screen
If you can see the PS2 menu on your TV: go to System Configuration, select Component Video Out, and change the setting from RGB to Y Cb/Pb Cr/Pr. That's it.
If you can't see anything - the blind navigation method:
This is the situation most people find themselves in: the console is set to RGB, the component converter isn't outputting a picture, and they can't get into the menu to fix it because there's nothing on screen. Here's how to change the setting without being able to see the display.
-
1
Power on the PS2 with no disc in the tray.
-
2
Wait 20 seconds for the main menu to fully load. Don't rush this step.
-
3
Press Down once on the D-pad, then press X. This enters System Configuration.
-
4
Press Down three times, then press X. This selects the Component Video Out option.
-
5
Press Right once, then press X. This switches to YPbPr mode.
The PS2 plays a confirmation sound when a menu selection is made. Turn the TV volume up - you'll hear the selection sounds even without a picture. The sequence above assumes the console is at the main menu with no disc inserted.
Note: there are slightly different button sequences floating around on old forum posts, and some of them are wrong or apply to different starting states. The sequence above is the standard navigation from a clean boot with no disc.
Why Cheap Adapters Still Look Bad Even With the Right Setting
Once the output mode issue is sorted, the quality of the converter itself is the next factor. And this is where the cheap options fall short in ways the listings don't tell you.
The most common problem: many cheap PS2 HDMI adapters aren't actually doing a component-to-HDMI conversion. Despite connecting via the PS2's AV Multi port, they're converting the composite signal - the same low-quality signal as the yellow AV cable. The connector looks right, but internally the adapter is ignoring the component channels entirely. The result is a soft, blurry image with color bleeding, even with the YPbPr setting correctly configured.
Adapters that do perform a genuine component-to-HDMI conversion vary significantly based on the IC chip doing the conversion. Cheap chips introduce chroma noise, color fringing, and banding that are subtle on a small display and distracting on a large one. A higher-quality IC processes the signal cleanly and outputs it faithfully.
There are also two PS2-specific issues worth knowing about regardless of converter quality:
Full range vs. limited range color. The PS2 outputs a full range color signal on its component output. Some TVs interpret this incorrectly as limited range, which makes the picture look washed out or overly dark - like someone turned the brightness down and increased contrast. If your picture looks flat or dark even with a quality converter, check the HDMI color range setting on your TV for the port being used. Setting it to Full or Auto usually resolves this.
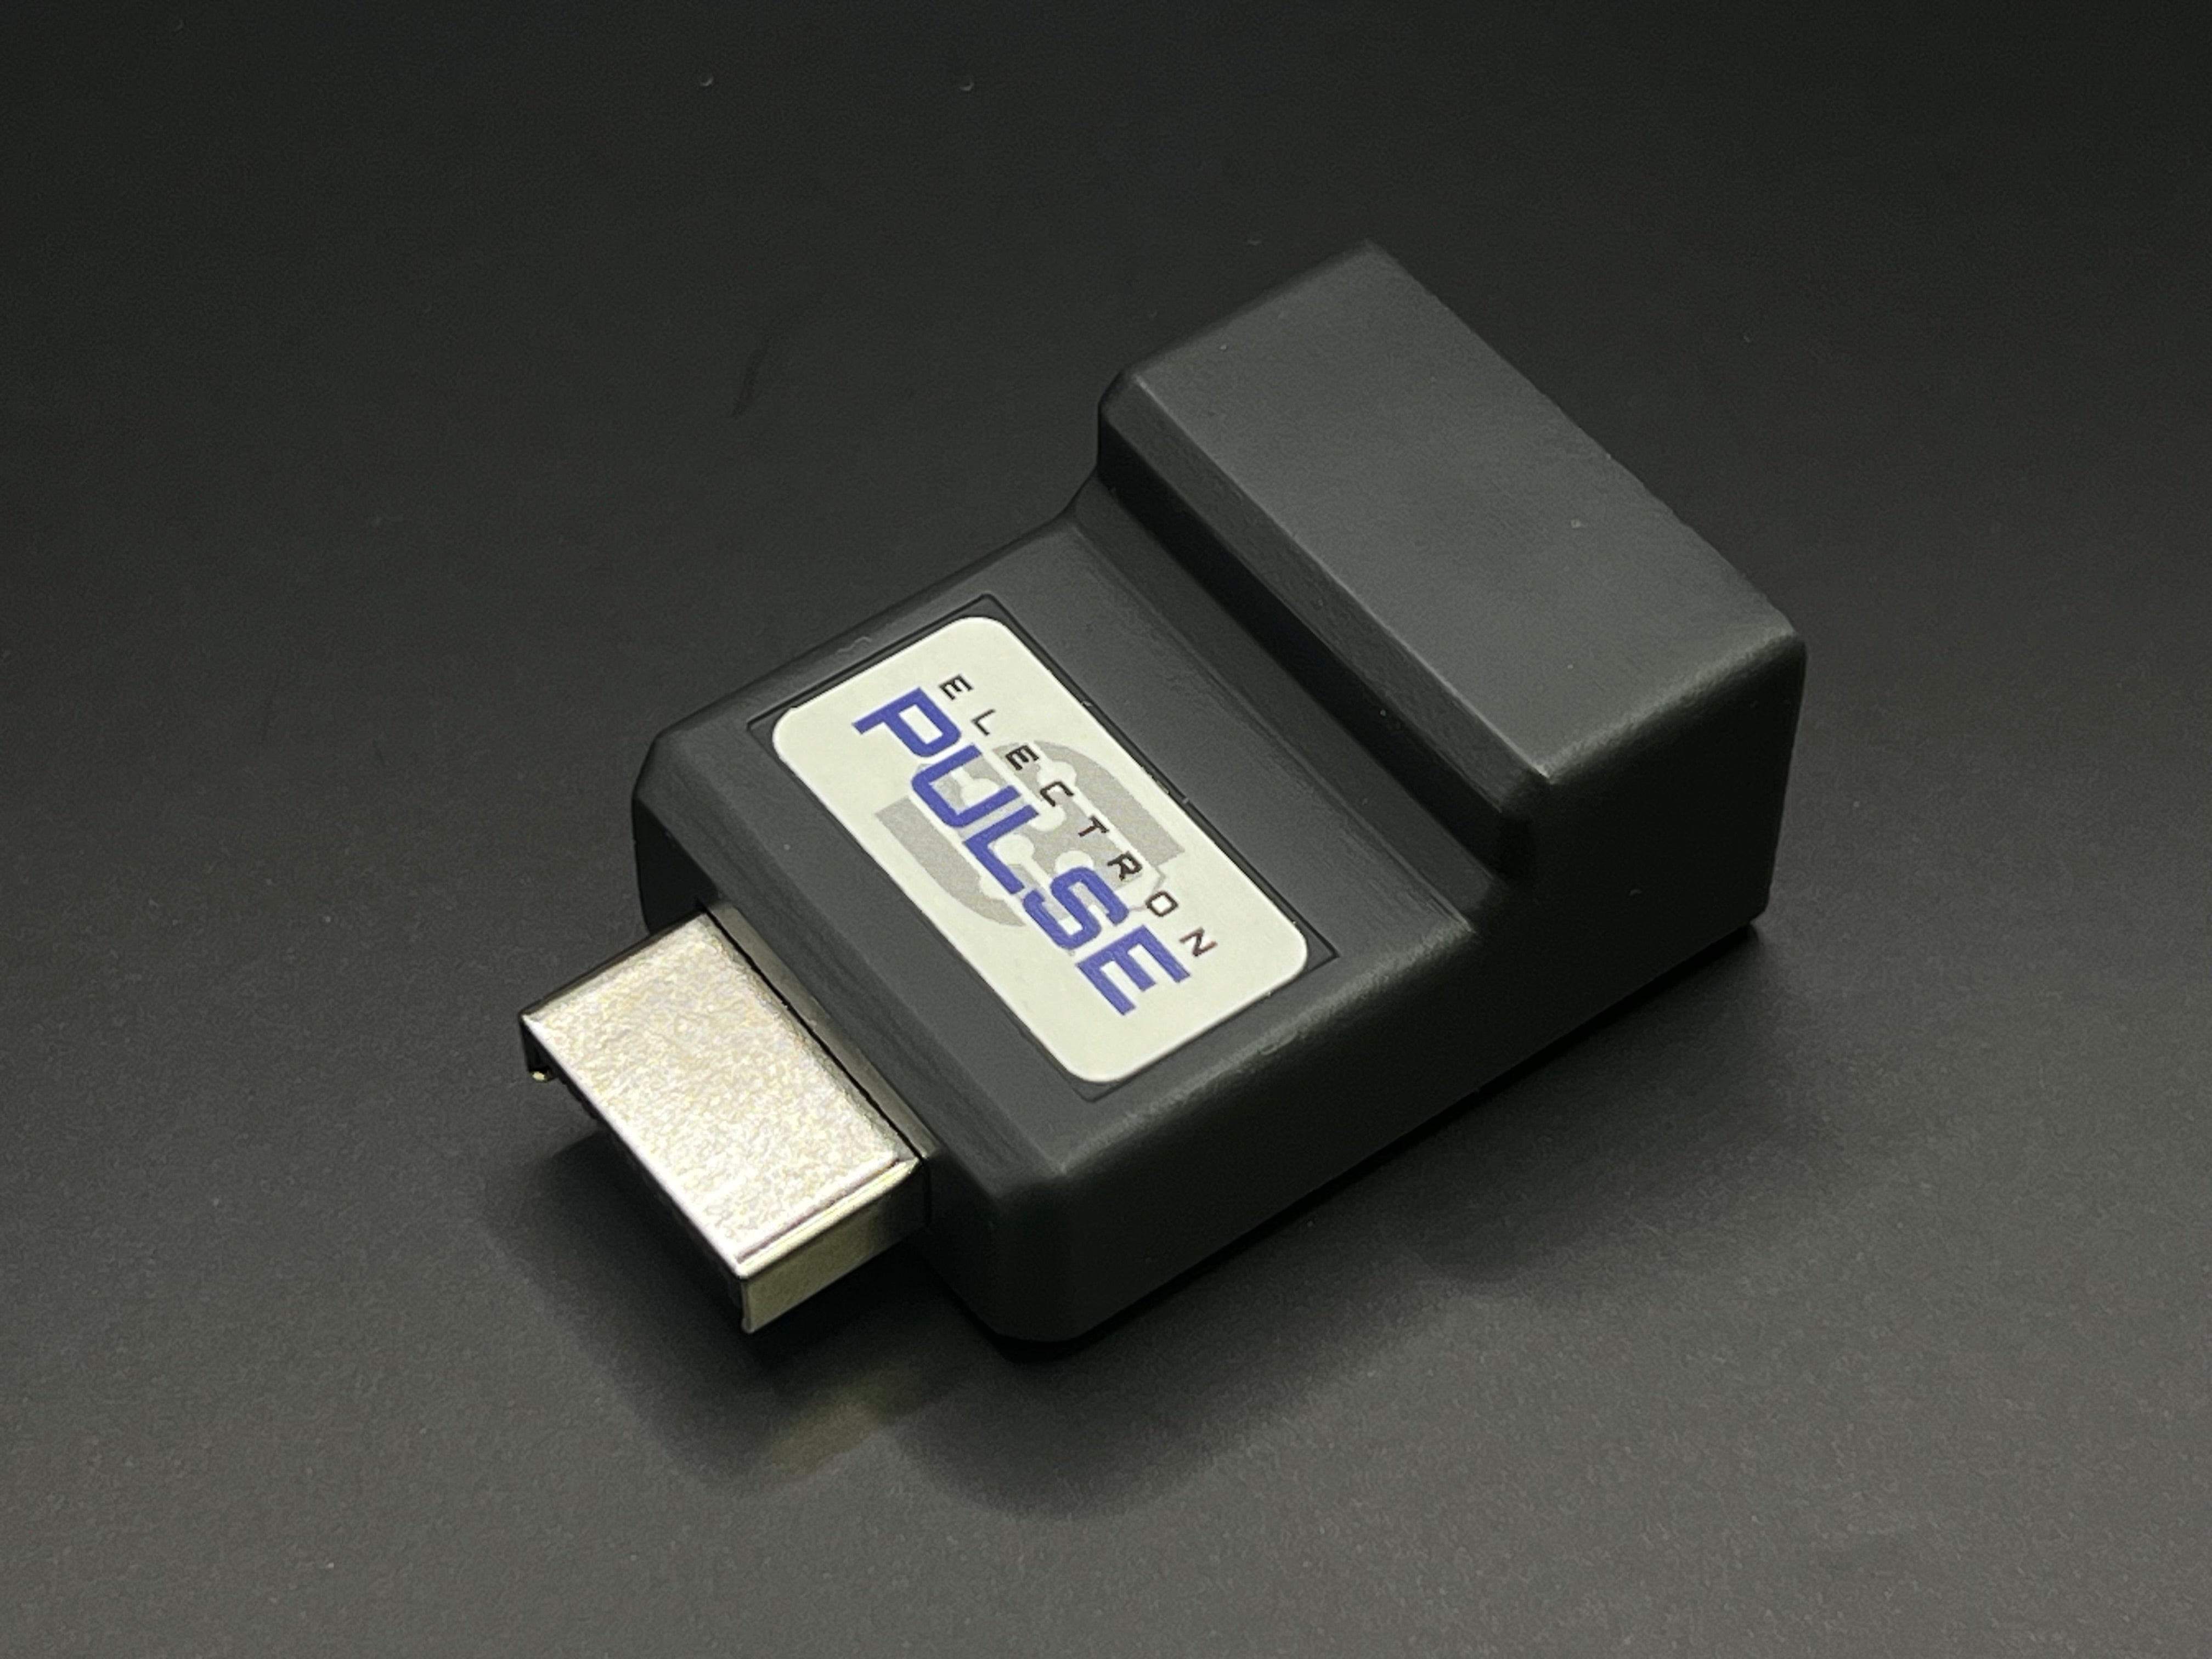
External power required. Unlike some converters that draw power from the console itself, the ElectronPulse requires 5V power via a USB-C cable connected to an external power source. If you've connected everything and have no output at all - no picture, no indication of life - confirm the USB-C power cable is connected and the power source is active. Any USB-C phone charger works.
What the PS2 Is Actually Capable of on a Modern TV
The PS2 was designed for CRT televisions running at standard definition. The overwhelming majority of its game library outputs 480i - interlaced standard definition at roughly 640x480 pixels. A converter doesn't change the source resolution. What you're doing is getting that 480i signal to your TV as cleanly as possible, and then letting the TV's internal scaler handle the rest.
A smaller subset of PS2 games supports 480p progressive scan. These look noticeably sharper - the lack of interlacing eliminates the combing artifacts that make 480i look soft in motion. If a game you're playing supports 480p, enabling it is worth doing. Some games detect the output mode automatically; others require enabling it in the game's own settings.
A number of PS1 games and some 2D PS2 titles output 240p - a lower resolution signal that some TVs refuse to display over HDMI at all. If a game produces no picture despite everything else working correctly, 240p incompatibility is likely the cause. This is a TV limitation, not a converter or console problem.
If you want the best possible image quality from a PS2 - with active upscaling, filtering, and proper handling of all resolution modes - a dedicated upscaler like the RetroTINK 4K is the right tool. It's significantly more expensive than a direct converter, but it processes the signal rather than just passing it through, and the results are a meaningful step up in quality. For most people who want to play PS2 games on a modern TV without spending $300 on an upscaler, a quality direct converter is the right answer - just go in knowing what it is and what it isn't.
Common Problems and How to Fix Them
-
No picture at all
Almost always the RGB/YPbPr output mode setting. Follow the blind navigation steps above. If using the ElectronPulse, also confirm the USB-C power cable is connected to an active 5V power source.
-
Black and white picture
The console is outputting RGB but the converter or TV is expecting YPbPr. The signals are electrically similar but mathematically different - the color channels don't align. Change the output mode to YPbPr using the steps above.
-
Washed out or dark picture
Full range vs. limited range color mismatch. Go into your TV's picture settings for the HDMI input being used and change the color range from Limited to Full or Auto.
-
No picture on some games but not others
The game is likely outputting 240p and your TV doesn't accept that resolution over HDMI. This is a TV limitation - the options are to use a different display, use an upscaler that handles 240p correctly, or accept that those specific titles won't display on your current setup.
-
Works on one TV but not another
Resolution compatibility - the refusing TV is likely rejecting 480i over HDMI. Try a different display, or try enabling 480p in games that support it, which is more widely accepted by modern TVs.
-
Picture is clean but looks soft or blurry
This is what 480i looks like on a modern TV. It's not a problem with the converter - it's the nature of the source signal. The TV's upscaler is doing its best with a 480i input, and how well it handles that varies significantly by TV model.
The right converter for the PS2
For a plug-and-play component-to-HDMI converter specifically designed for the PS2 and PS3, the ElectronPulse was built for this. Custom PCB, higher-generation IC, compatible with both NTSC and PAL consoles, handles both 480i and 480p correctly. Requires external 5V power via USB-C - any USB-C phone charger works.
For active upscaling and the best possible image from your PS2 on a modern 4K display, the RetroTINK 4K is the honest answer for that use case - significantly more capable, at a significantly higher price point.
For most people: configure the output mode correctly, use a converter that's actually doing a component-to-HDMI conversion, and you'll get the best image the console is capable of producing. The game library is worth the effort.
Share:
Original Xbox Capacitor Problem: Symptoms & Fixes
Getting the Best Picture From Your PS2 on a Modern TV